The sequence at a glance
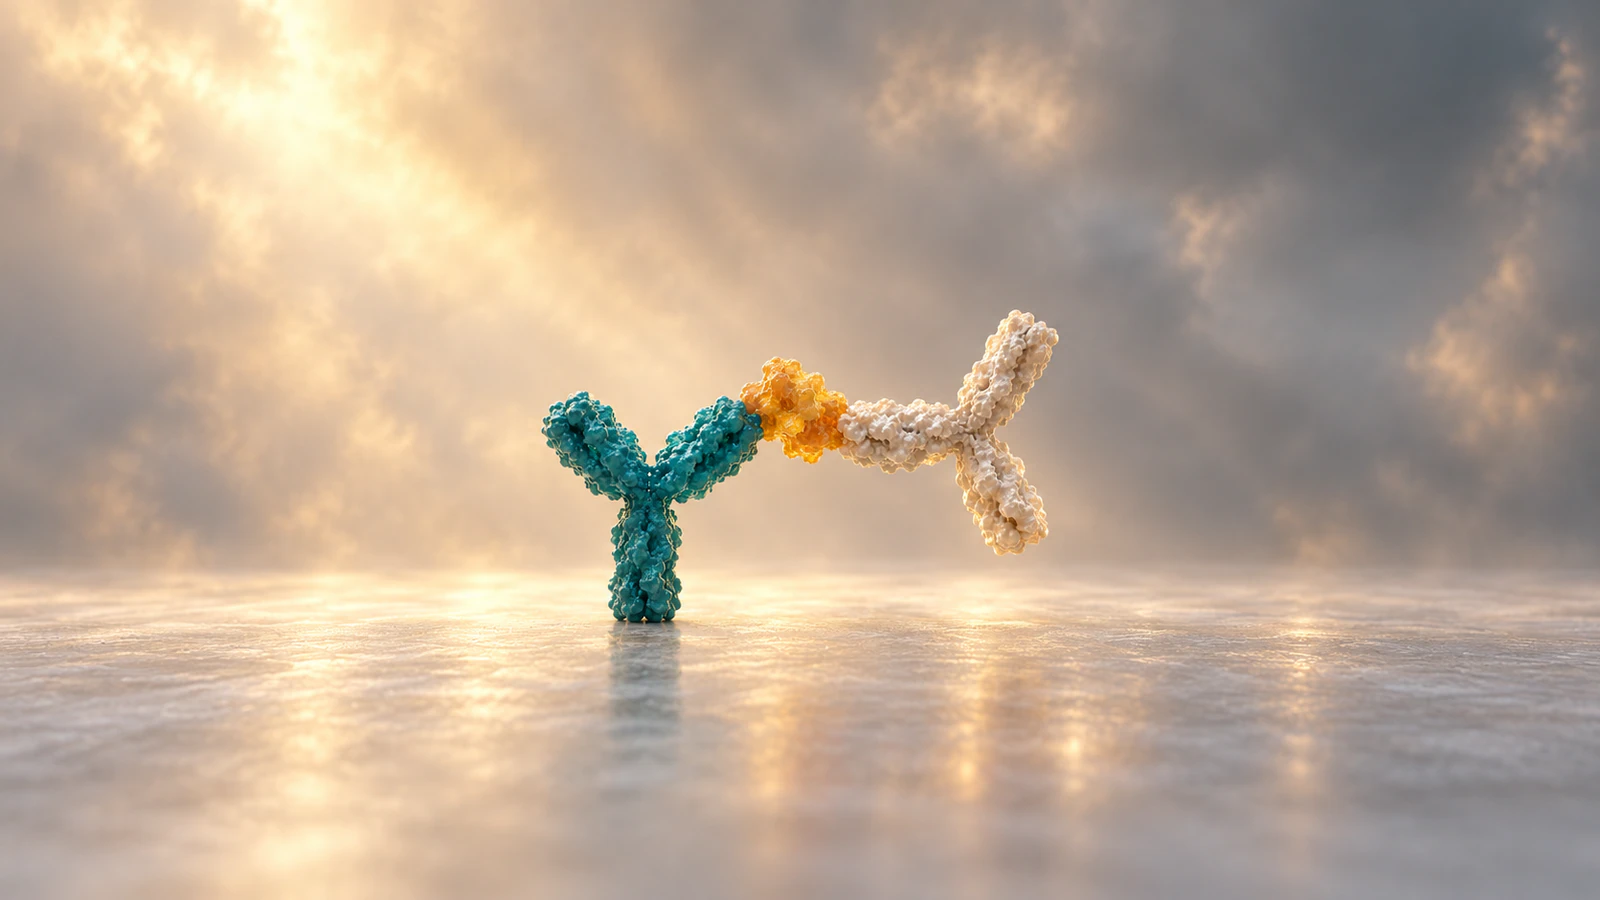
The sandwich ELISA steps are coating, blocking, sample binding, washing, detection-antibody binding, another wash, signal development and measurement. Some formats add a separate enzyme conjugate before the substrate. The central idea is to retain a target protein between two antibodies, remove unbound material and measure an enzyme-generated signal against standards.
ELISA means enzyme-linked immunosorbent assay. This guide explains a sequential colorimetric format and provides a worksheet for teaching it. It does not replace a kit protocol: a pre-coated plate may arrive blocked, and some validated assays combine incubations. Use the instructions for the actual kit when deciding volumes, temperatures and wash cycles.
The sequence below follows the format distinctions in Thermo Fisher’s official protocols. Read the overview once, then use the retained-material table to check whether you can explain each transition without relying on a memorized list.
Identify the plate and detection route
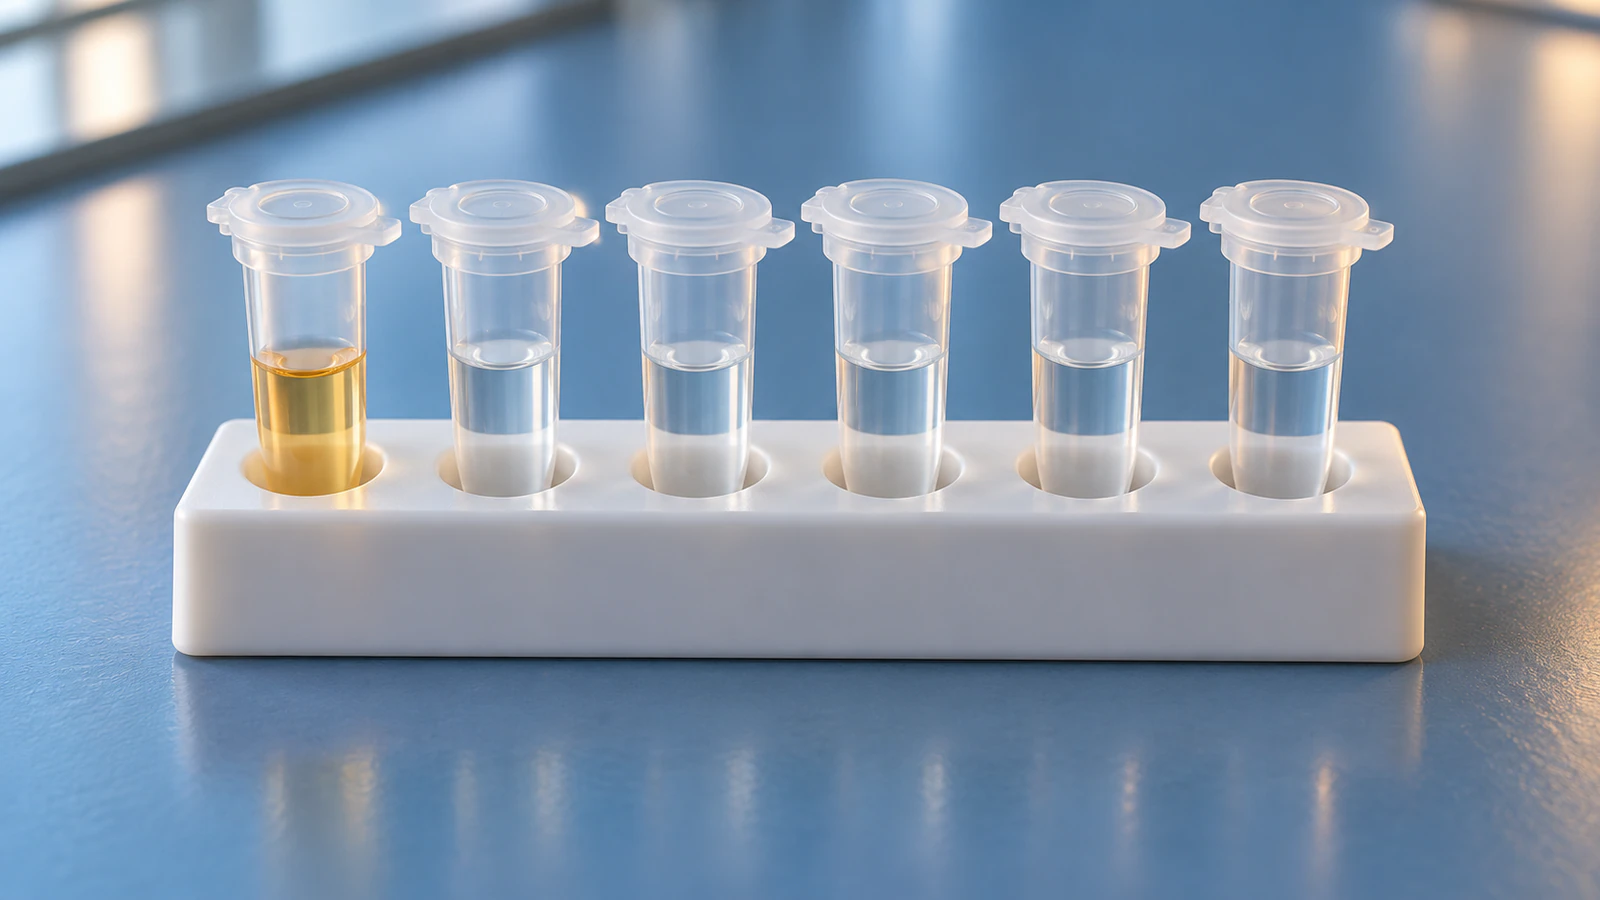
Before starting, put the kit instructions, plate map and reagent list beside one another. Identify which reagent captures the target, which recognizes it for detection and which carries the enzyme. A similarly named bottle is not enough to establish its role.
In the R&D Systems direct-detection protocol, the detection antibody carries the enzyme. A biotinylated detection antibody instead needs a compatible enzyme-bearing binding reagent, commonly streptavidin-HRP. HRP stands for horseradish peroxidase. These routes reach a similar endpoint but have different intermediate states.
For a teaching slide, write the selected route above your storyboard before drawing any molecules. If you show an enzyme already attached to the detection antibody, do not later add streptavidin merely because another diagram includes it. Keep the branch consistent across the explanation, reagent list and final image.
- Check whether the plate is uncoated, pre-coated or pre-coated and blocked.
- Reserve separate wells for standards, blanks, controls and samples using the kit’s layout guidance.
- Record sample dilution factors before loading, including any dilution already performed upstream.
Coat and block the available surface
Coating puts capture antibodies on the well surface. Blocking then occupies exposed adsorption sites to reduce unwanted binding of later reagents. Treat these as different tasks: the capture antibody provides recognition, while the blocker helps control background.
The direct sandwich protocol specifies coating and blocking as separate operations. Commercial pre-coated formats can change where the user enters that sequence, so a universal instruction to coat every plate would be wrong.
In an illustration, show a surface-bound antibody and a protected background surface. Perfectly upright, evenly spaced antibodies are a drawing convention, not a measurement of their orientation on plastic. Keep that convention visible in the caption. Otherwise a clean teaching model can accidentally imply an engineered arrangement that the assay has not established.
Capture the target, then remove unbound material
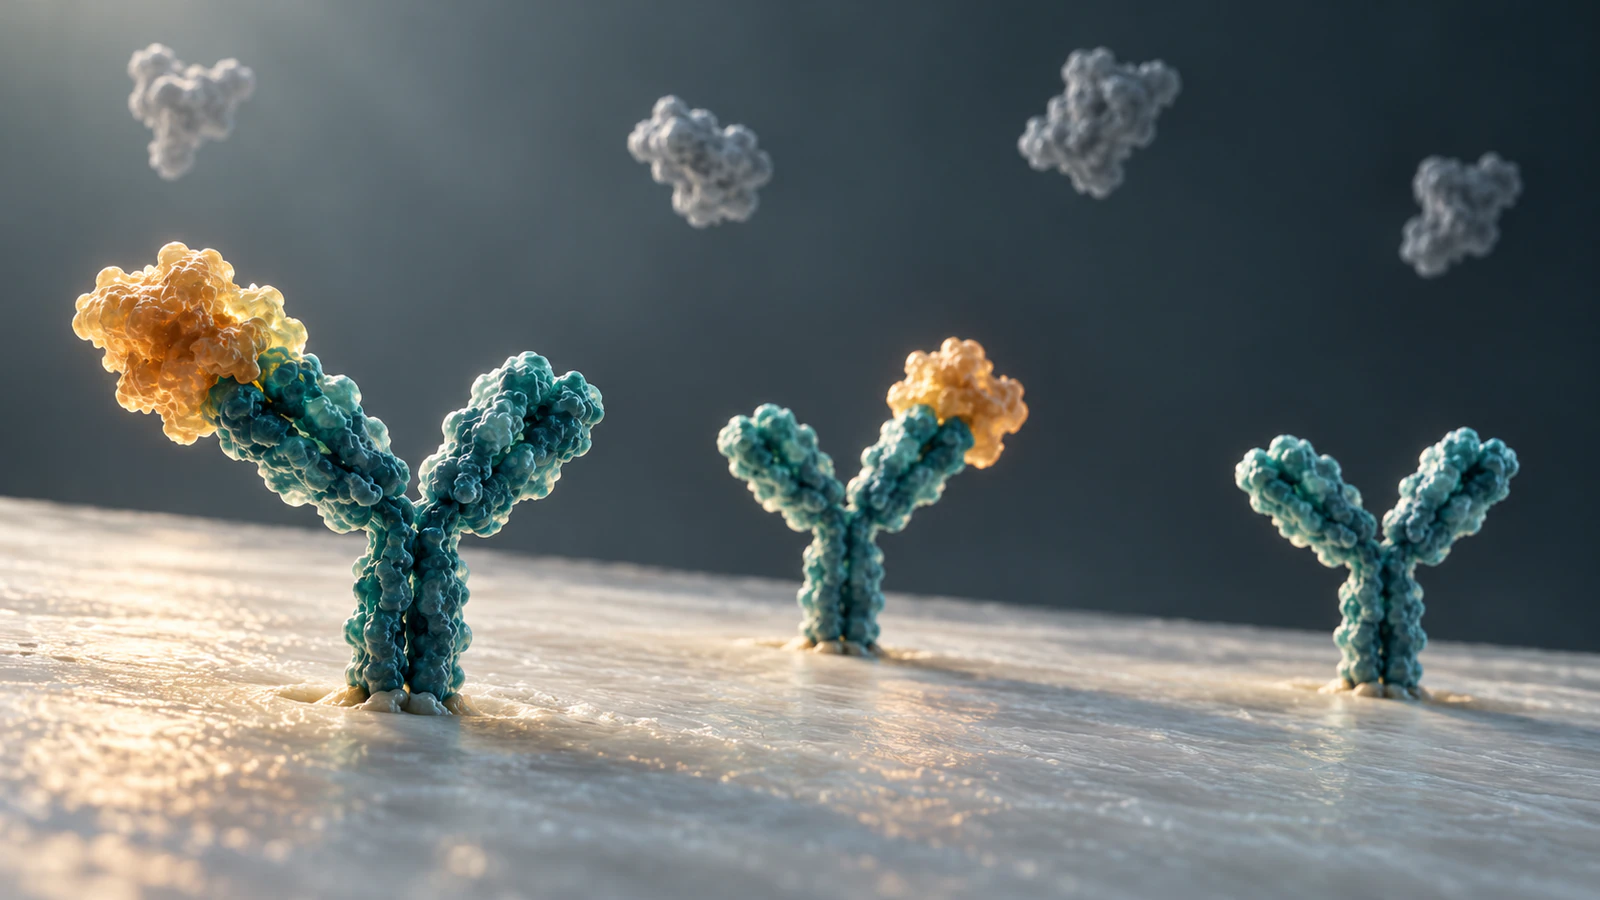
Add standards and prepared samples to their assigned wells. The target, also called the analyte or antigen, can bind the capture antibody. After the prescribed incubation, remove the liquid and perform the specified washes. The intended retained material is surface-bound capture antibody with captured target; soluble sample components should be reduced.
Follow the actual kit’s washing instructions, including buffer, cycles and residual-liquid handling. The animation should show the purpose of washing without inventing a universal number of rinses or a guaranteed percentage removed.
Pause a lesson at this point and ask learners to draw only the retained components. If their picture contains free enzyme or a detection antibody, ask which reagent introduced it. That question catches sequence errors before the colored endpoint makes every intermediate step look plausible.
Complete the sandwich and attach the reporter
The detection antibody must recognize an accessible site on the captured antigen that permits both antibodies to bind. An epitope is the molecular feature an antibody recognizes. Two antibodies that each bind a target separately are not automatically a workable sandwich pair.
The R&D Systems pairing guidance cautions against overlapping or closely situated epitopes. For the underlying distinction between one binding interaction and combined binding strength, see affinity versus avidity.
After detection binding and washing, the direct HRP route is ready for substrate. In the biotin route, add streptavidin-HRP and wash again as specified. Thermo Fisher’s protocol explicitly separates these branches. Do not depict the capture antibody itself becoming an enzyme or the antigen generating color unaided.
Use a retained-material checklist
This worksheet is an original teaching aid for the sequential format described above. It tracks identities, not molecule counts or equilibrium occupancy. A real wash is not a magical separation that removes every unwanted molecule while preserving every desired interaction.
Give learners a blank version with the middle column hidden. Let them fill it after each film pause, then compare answers. Accept a different sequence only when they can identify the actual assay instructions that support it.
| Checkpoint | Intended retained components | Question to ask |
|---|---|---|
| After coating and blocking | Capture antibody on a blocked surface | Where can later reagents bind? |
| After sample incubation and washing | Capture antibody plus captured antigen | Which sample components should leave? |
| After detection and washing | Capture-antigen-detection complex | Is the reporter already present? |
| After streptavidin-HRP and washing, if used | Complex plus bound enzyme conjugate | What links the enzyme to the target? |
| After substrate development | Colored reaction product in the liquid | Why does the readout need standards? |
Develop color, then measure against standards
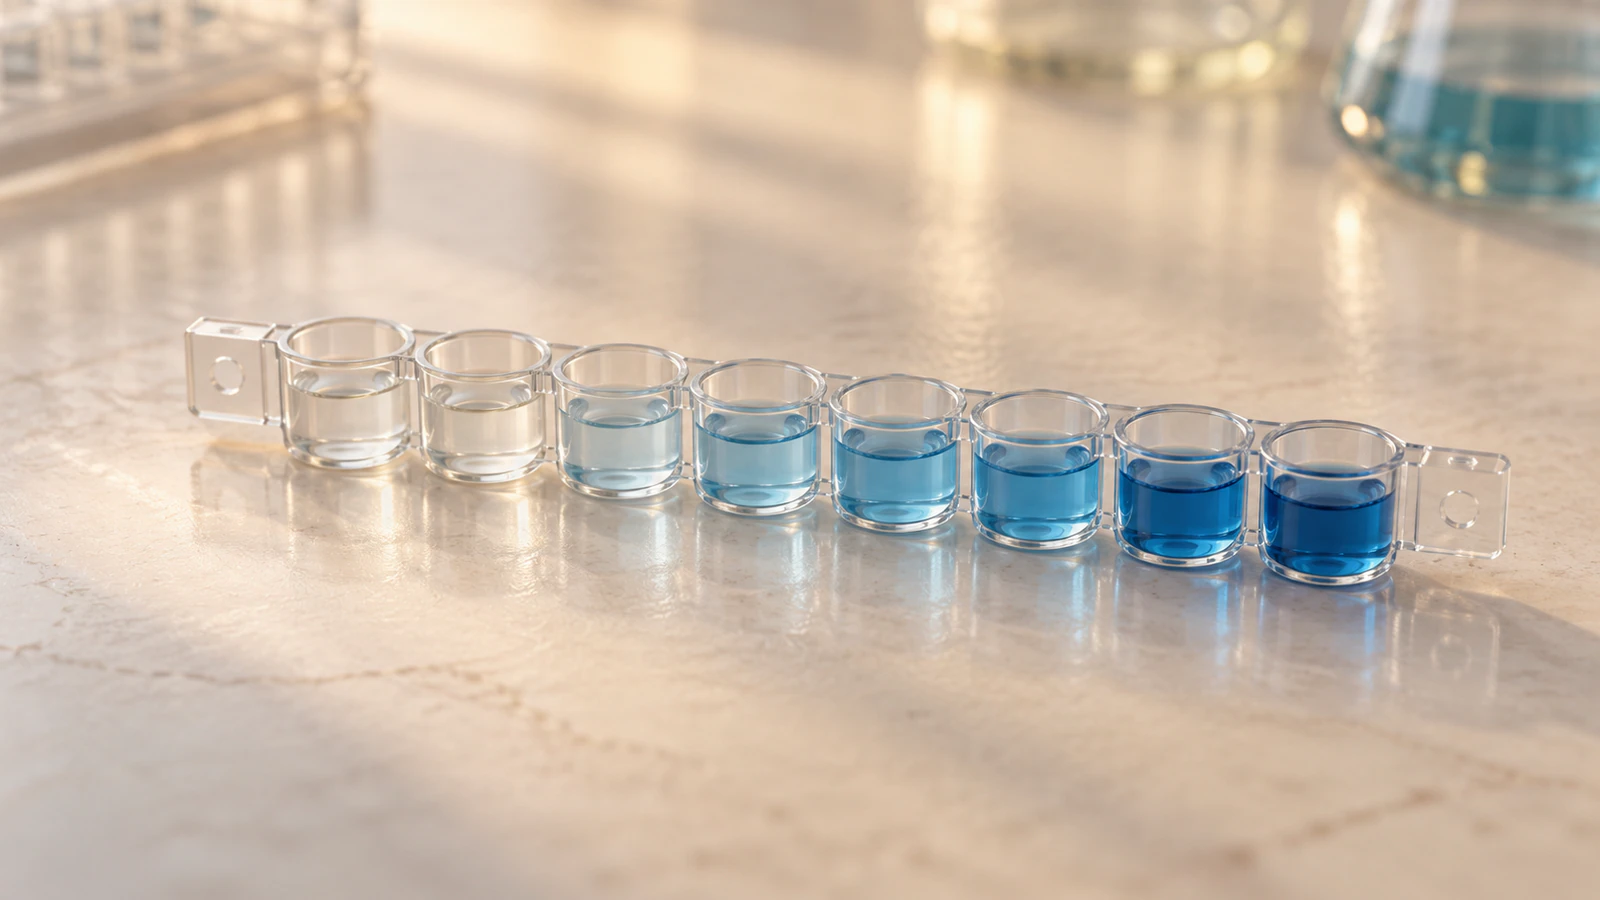
For HRP with TMB, the substrate system develops a blue color; acid stopping changes the readout to yellow in the common format. The official colorimetric protocol gives the applicable stop and read instructions. A film that ends at blue is showing the development stage, not necessarily the final state measured by the instrument.
A standard curve relates signal to known target concentrations. Thermo Fisher’s analysis guidance recommends standards on each plate, replicate measurements and appropriate blanks. Use the validated analysis model and working range rather than assuming twice the color means twice the antigen.
As an arithmetic example only, suppose interpolation gives 40 pg/mL for a sample diluted tenfold. Its original concentration would be 400 pg/mL if the dilution is valid and the result lies within the assay’s accepted range. The correction applies to the interpolated concentration; multiplying raw absorbance is not generally equivalent for a nonlinear curve.
For teaching, ask what additional information is needed before assigning a concentration to a blue well. A useful answer names the standards, blank correction, analysis model and dilution history. Color alone does not supply those missing quantities.
Locate a failure before changing the story
A weak or strong signal can have several causes. The official troubleshooting guide treats washing, reagent condition, incubation and pipetting as separate checks. Use controls to narrow the problem before interpreting a sample as biologically different.
The table below turns that reasoning into review questions. It is a starting checklist, not a diagnosis or permission to change a validated protocol. Preserve the original readings and document any repeat experiment separately.
| Observation | First checks | Misleading animation shortcut |
|---|---|---|
| Blank or negative wells are strongly colored | Wash execution, contamination and nonspecific reporter retention | Showing color as proof of target presence |
| Standards and samples are all weak | Reagent identity, activity, incubation and detection route | Assuming every sample lacks antigen |
| Replicate wells disagree | Pipetting, mixing, timing and plate conditions | Averaging away an unexplained discrepancy |
| A sample is outside the calibration range | Appropriate dilution and the kit’s reporting rules | Extending a curve indefinitely |
Read the Animiotics film with its structural limits
The 40-second sandwich ELISA film moves from plate-scale handling into a well, then follows capture, detection and color development. Its published notes identify molecular surfaces based on three Protein Data Bank entries. Those provenance notes are useful, but they do not establish an experimentally solved sandwich complex.
1IGT is an intact mouse IgG2a antibody structure, described in its primary study as anti-canine lymphoma Mab231. It is not evidence for an IL-6-binding antibody pair. 1ALU supplies human IL-6 geometry, while 1ATJ supplies horseradish peroxidase geometry. Combining these shapes in a scene does not establish their depicted contacts or conjugation positions.
The film compresses time and enlarges molecules relative to the plate. Its blue endpoint also simplifies the readout. Use it to discuss assay logic, and describe the illustrated antibody-antigen contacts as conceptual. The four images in this article are separate conceptual illustrations, not renders of those deposited coordinates.
This is the same evidence distinction discussed in colocalization versus interaction: an image can communicate a relationship without independently proving it. Keep the evidence claim narrower than the visual impression.
Build a pause-and-predict teaching sequence
Here is a reproducible lesson plan using the film and the worksheet above. It is a proposed classroom exercise, not a tested claim of improved learning. Watch the full film once, then revisit the relevant events rather than assigning timestamps that may change with future edits.
First, pause when the view enters a well. Ask learners to identify the surface and capture antibody. Next, stop after capture and ask them to remove every unbound component from their drawing. Before detection, ask where the second antibody could bind without occupying the same contact site.
At the reporter stage, have learners choose the direct HRP or biotin route and defend their choice from what is shown. At the blue endpoint, ask whether a concentration can already be reported. Finish by having them add the missing measurement and calibration context in one sentence.
A model answer is: the scene illustrates retained antigen linking capture and detection reagents, while an assay result requires calibrated measurements and controls. For a more detailed production brief, use the evidence-to-shot approach in the biology animation storyboard guide.
For a custom version, use this scene brief: show a blocked well surface, one captured antigen and a distinct detection antibody bearing HRP; remove unbound material between additions; end with substrate development and a separate plate-scale measurement shot. Keep the same colors for molecular identities, show no invented bond formation and label compressed timing in the accompanying explanation.
Frequently asked questions
What is the correct order of sandwich ELISA steps?
In the sequential format, coat and block if needed, add the sample, wash, add detection antibody, wash, add any required enzyme conjugate, wash, develop and read. The kit instructions determine the actual sequence and settings.
Why are two antibodies needed?
Capture and detection antibodies bind compatible sites on the same target, connecting recognition at the plate to the reporter. Their ability to bind separately does not prove that they work together as a sandwich pair.
Does every sandwich ELISA use streptavidin-HRP?
No. A directly enzyme-labeled detection antibody already provides the reporter. Biotin-based detection is one route that adds a separate enzyme-bearing reagent.
Does a darker well always mean more protein?
Only within the validated assay relationship and usable calibration range. Background, procedural errors and out-of-range signals must be considered before interpreting a concentration.
Can the Animiotics film serve as a laboratory protocol?
It is a visual explanation with compressed timing, enlarged molecules and conceptual contacts. Use the kit protocol for experimental instructions and the film to explain the sequence.
Make your ELISA lesson in Animiotics
Open the sandwich ELISA starter and adapt the explanation to your learners, or describe a custom scene with the brief above. The educator workflow is useful when the lesson needs a particular viewpoint or a slower transition between assay states.
The current editor documentation describes creating a copy from the animation library, reviewing it in Your video and inspecting it in Look around. Review the source notes, identities, contacts and timing before rendering. These are documented steps; no new custom ELISA scene was generated for this article.
Signing up and the manual editor are free. The current introductory Starter offer is $2.99 for seven days, followed by $19 per month; rendering requires a paid plan. Check the current terms when choosing a plan. Start with one clear learning task: explain why a wash changes what remains in the well.