Show the pressure difference first
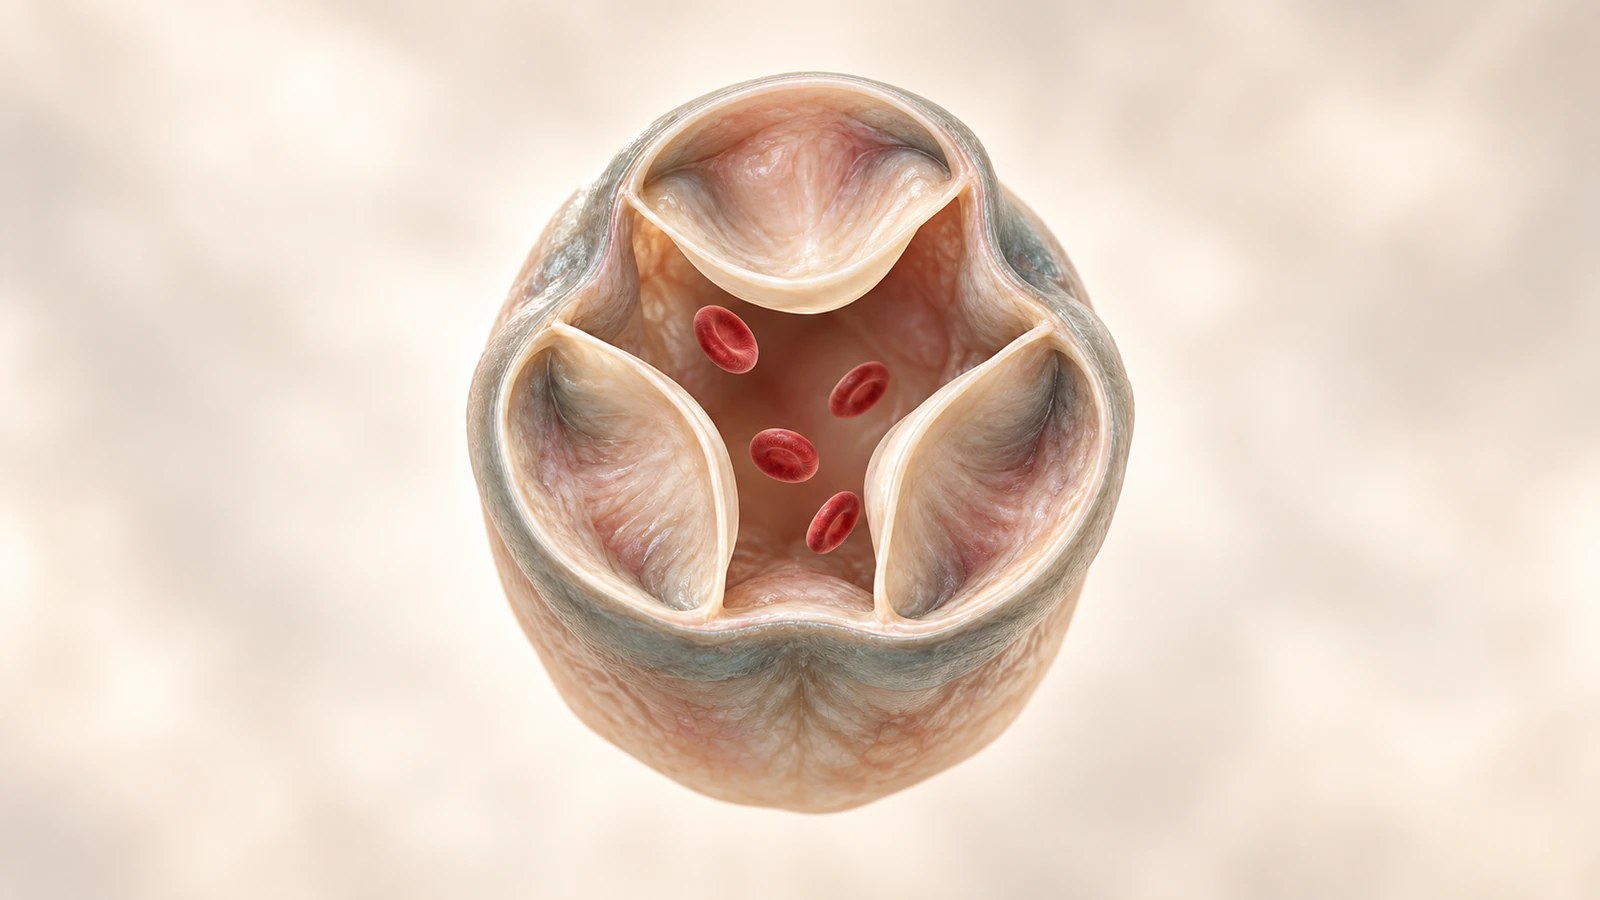
An aortic valve animation should show blood leaving the left ventricle through an open valve, then show the leaflets meeting as ejection ends. The valve responds to the surrounding pressure and flow. It does not pull blood forward or actively decide when to open.
For clinicians explaining valve function, the useful question is what changes on each side of the valve. Establish the ventricular side and the aortic side, keep that orientation visible and separate leaflet motion from the motion of the blood. A beautiful loop can still teach the wrong mechanism if those relationships are unclear.
This guide provides a six-shot teaching plan you can develop in Animiotics. It focuses on a typical native aortic valve, with a short comparison of restricted opening and incomplete closure. The CGI frames are conceptual illustrations; their anatomy, cell size and timing are not patient measurements.
Choose the correct valve anatomy
The aortic valve sits between the left ventricle and the aorta, the large artery carrying blood into the systemic circulation. The NHLBI blood-flow guide identifies this route and distinguishes it from the other three valves. Name the structure before showing a close-up that removes the surrounding heart.
A typical native aortic valve has three flexible cusps, also called leaflets. They have attached margins and free edges that can approach one another. Coaptation means the contact that allows the leaflets to form a seal. The aortic root is the surrounding region, including the sinus pockets behind the cusps.
Keep this model distinct from the mitral valve. As described in OpenStax heart anatomy, the aortic valve lacks the chordae tendineae and papillary-muscle arrangement associated with atrioventricular valves. Adding strings to an aortic-valve model creates a different anatomical story.
Choose whether you need typical anatomy, a congenital variant or a replacement device before producing the first scene. A two-leaflet valve should be identified as such. Avoid borrowing the movement of rigid mechanical leaflets for a flexible native-tissue explanation.
Keep a pressure and flow record
Use a production record with two separate entries at each pause: the pressure relationship and the visible flow state. Pressure is a force per unit area; flow describes blood moving through the passage. A pressure label is not itself a measurement of how fast a red cell travels.
In the basic teaching sequence, ventricular pressure initially rises while the aortic valve remains closed. Ejection follows when the ventricle can drive blood into the aorta. During relaxation, the changing pressure relationship supports closure and prevents sustained backward passage. OpenStax cardiac-cycle physiology provides the phase sequence.
The record below is a qualitative storyboard, not a pressure tracing. Put the words in narration or a separate teaching slide, then check that the corresponding animation frame agrees. Avoid adding invented millimetres of mercury or assigning a clinical meaning to a color change.
| Teaching pause | Pressure/phase note | Visible action to review |
|---|---|---|
| Before ejection | Ventricular pressure rising; opening condition not yet reached | Leaflets closed; no cells cross |
| Ejection | Ventricle drives blood into aorta | Open central passage; forward cell paths |
| Late ejection | Forward flow decelerating; local forces changing | Closing transition develops; avoid an abrupt switch |
| Closed endpoint | Aortic-side pressure supports the seal during relaxation | Leaflets meet; no sustained backward through-flow |
Give the closing transition room
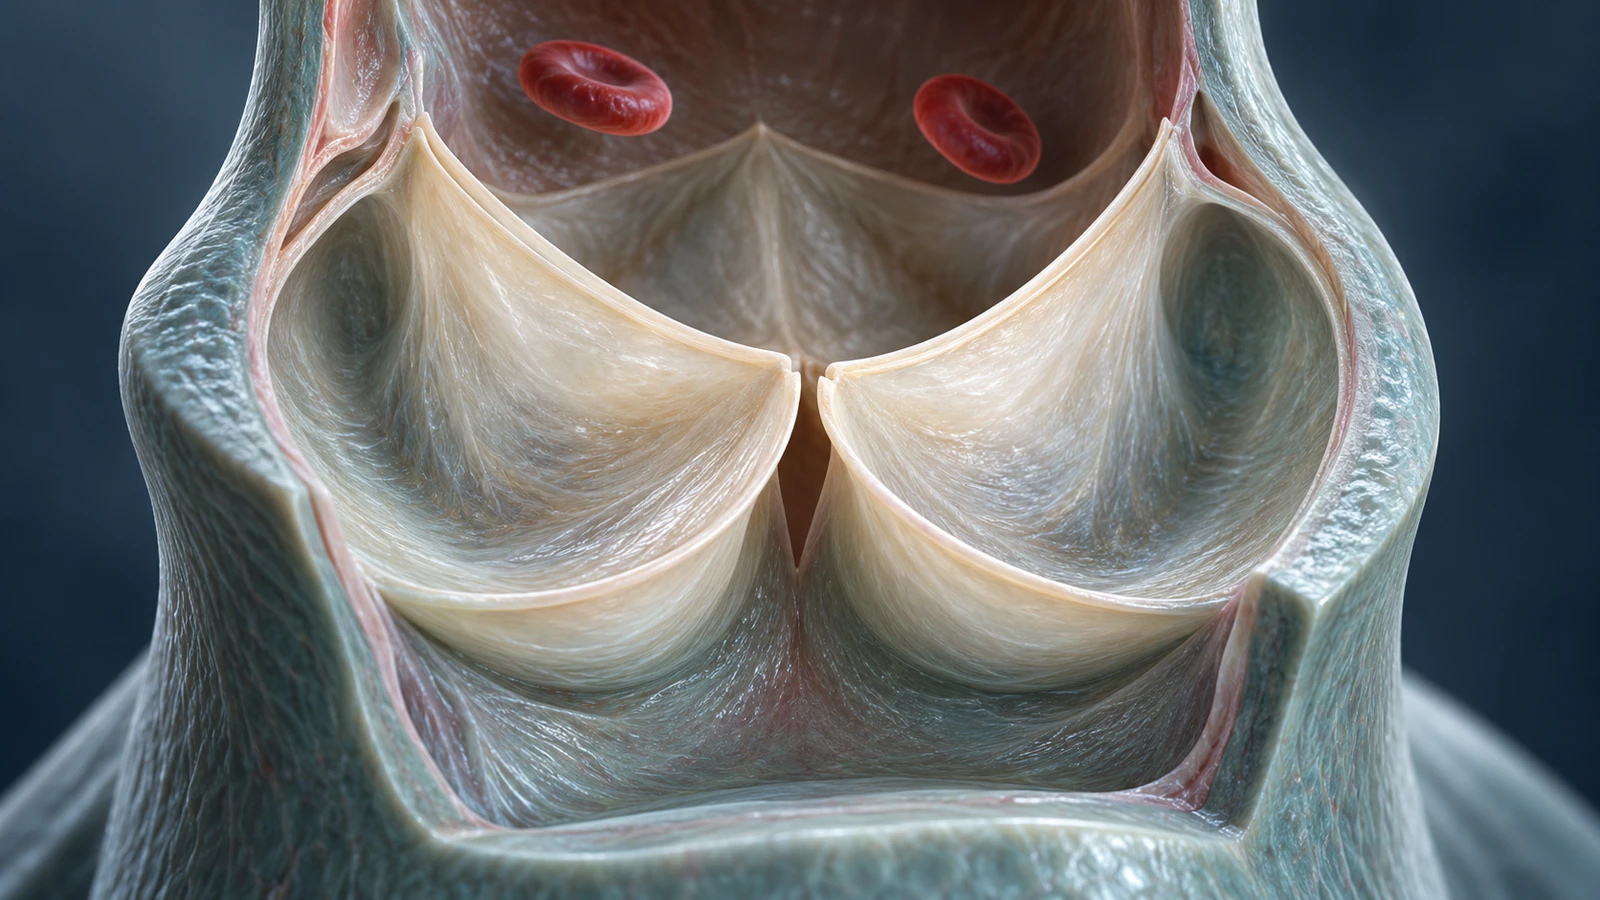
Do not compress closure into a single frame after a large reverse jet. Native-valve motion involves deformable tissue, the root and local fluid forces. A basic pressure explanation is useful, but an instant on/off gate can imply a precision that the animation does not contain.
A 2025 fluid–structure study by Abbas and colleagues compared artificial-valve designs in simulations. Its trileaflet mechanical and bioprosthetic models began closing during systolic flow deceleration, whereas the bileaflet mechanical model began on reversal. These are simulated device results, not universal timing measurements for native human valves.
For a conceptual lesson, use that distinction as a reason to review the transition carefully. Let the cusps approach as the forward passage diminishes, then hold the sealed endpoint. Describe the action as illustrative rather than presenting a generated trajectory as a computational fluid-dynamics result.
If a lesson needs the detailed sequence of sinus flow, leaflet strain or device-specific closure, obtain suitable source data and expert review. Do not fill that gap with decorative vortices. A swirl placed behind each cusp is a strong causal claim when the narration says it makes the valve close.
Keep the camera on one side
Choose a side view that shows the ventricular outflow below the valve and the aorta above it. Keep that arrangement through the first explanation. A stable camera lets the viewer compare an open passage with a closed one without also solving a new orientation.
Use an axial view, looking along the passage, only after establishing the two sides. This angle is useful for counting cusps and inspecting their contact, but forward flow may now travel toward or away from the viewer. Say which direction the camera faces before resuming the cells.
A cutaway should reveal the lumen while preserving the remaining tissue boundary. Keep its removed wall consistent between shots so an artistic opening cannot be mistaken for an anatomical hole. The membrane cutaway guide describes a related way to preserve spatial boundaries.
Avoid a camera fly-through at the exact moment of closure. It can hide intersecting cusps or make a disappearing opening look like a change in angle. Hold the view at that point, then move the camera after the viewer has seen the seal.
Plan six shots with one question each
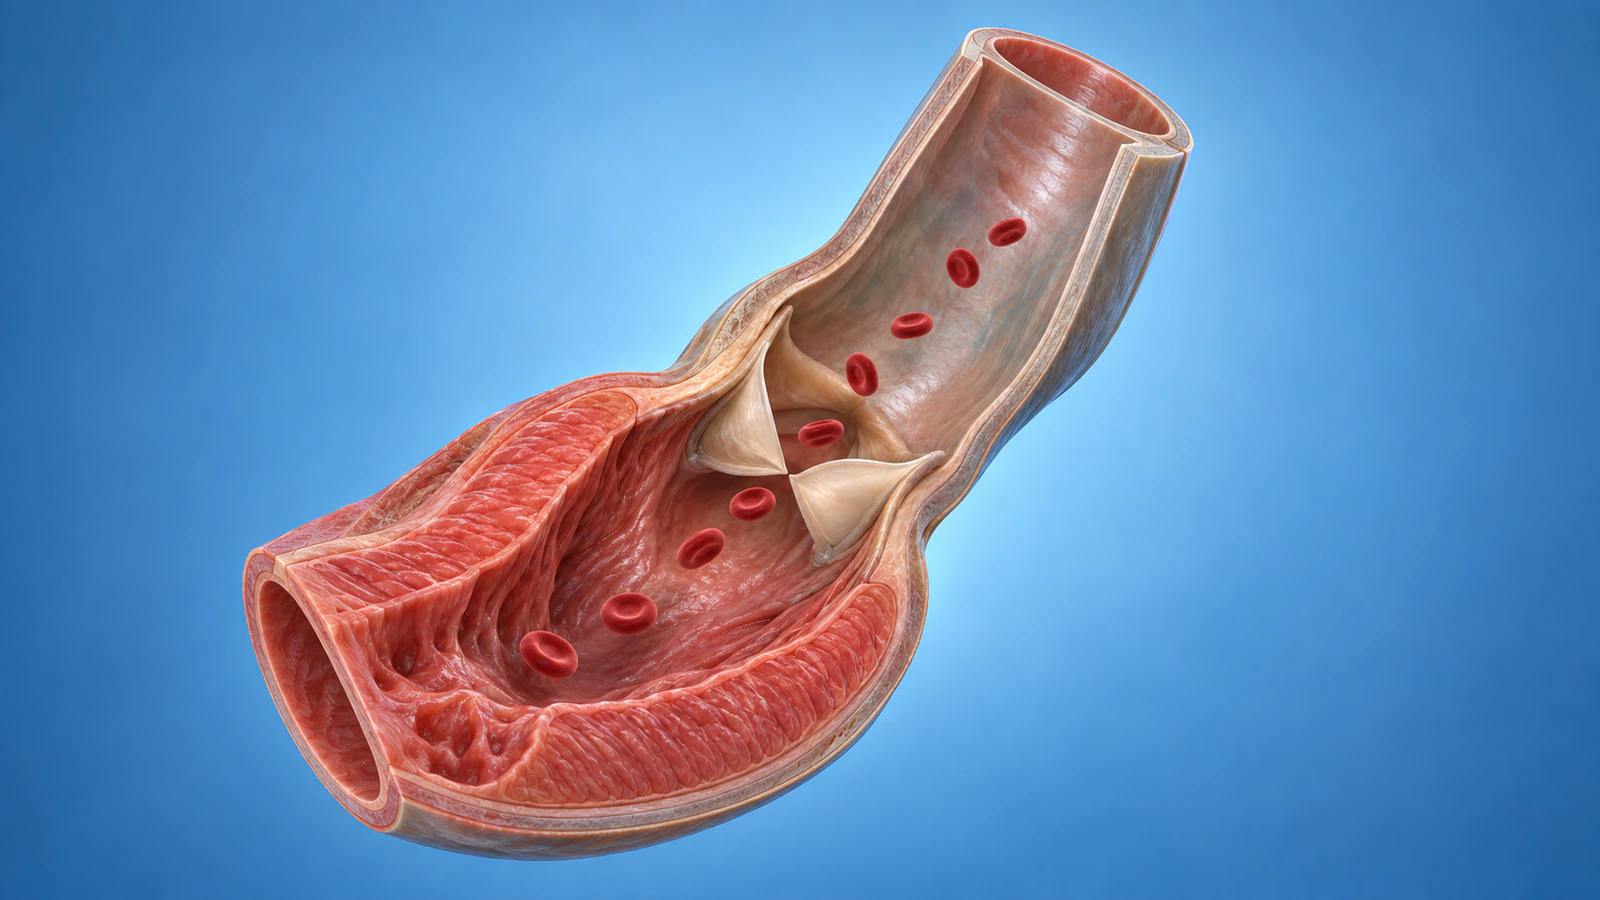
Build the lesson around six reviewable shots. The times below deliberately remain unspecified: choose a teaching pace and identify it as slowed or illustrative. First make the state changes readable; polish the transitions after the scientific reviewer can inspect them.
For each shot, write one narration sentence and one question the viewer should be able to answer. If the same frame must teach heart location, leaflet anatomy and a disease comparison, divide that work. The biology animation storyboard guide provides a broader evidence-to-scene method.
| Shot | Scene and action | Review question |
|---|---|---|
| 1. Locate | Show outflow tract, valve and aortic root | Which side supplies the forward pulse? |
| 2. Wait | Hold the closed valve before ejection | Does contraction immediately mean an open valve? |
| 3. Eject | Open passage with a few forward-moving cells | Do paths pass through the lumen? |
| 4. Decelerate | Slow forward motion and begin the closing transition | Can I still follow the same cusps? |
| 5. Seal | Hold the meeting free edges | Is there an unintended central hole? |
| 6. Compare | Reset before one clearly identified disease variant | Is the problem opening, closure or both? |
Use red cells as direction cues
A few red blood cells can make the flow direction legible. Give each visible cell a continuous path and keep it inside the lumen. At the closed endpoint, no cell should slip through the contact seam or pass across a leaflet because a path was copied from the open phase.
Make cells large enough to see, then state that their scale is exaggerated. They should still look small beside the valve passage. A handful of oversized cells is a teaching device; it does not establish blood concentration, volumetric flow or residence time.
Use a restrained crimson color and recognizable biconcave shapes. Avoid a dense cloud that hides the cusp edges. Keeping the background quiet makes it easier to distinguish a genuinely narrowing passage from an opening merely covered by particles.
Separate the cell-path review from the camera review. Watch one cell from entry to exit with the camera fixed, then repeat with the intended camera movement. The molecular scale guide discusses how to disclose changes in scale and time in another scientific setting.
Compare opening with sealing
Stenosis means a narrowed valve opening; regurgitation means backward leakage through a valve that does not seal adequately. The NHLBI valve-disease guide describes these distinct problems. Keep them as separate teaching branches rather than changing an open valve into a leaking one without explanation.
For the stenosis branch, reset to the same camera and show a restricted opening during the forward phase. For the regurgitation branch, reset again and show incomplete coaptation with backward passage during the relevant phase. Identify the geometry as a simplified example, not a reconstruction of a particular lesion.
Hold lighting, particle size and playback pace constant when comparing branches. Otherwise, a faster cell or brighter red material can look like evidence of severity. A visual contrast should help explain the defect being discussed, not silently introduce a second variable.
Do not assign a diagnosis, leakage fraction or treatment response from these scenes. Those require clinical evidence. If the intended audience is a patient, use the animation to clarify the terms used in their consultation, with the relevant clinician checking the final wording.
Develop the scene in Animiotics
Animiotics lets you create scientific animations with AI and work with the resulting scene. The current documentation lists Heart valve & blood flow, an 18-second starter with two illustrative pulses. Preview it and create your own editable copy if its anatomy fits your explanation.
For a new scene, begin with a specific description: “Show a typical three-cusp native aortic valve in a fixed side cutaway. Establish the ventricular and aortic sides. Show forward ejection, a gradual closing transition and a held coapted endpoint. Use sparse enlarged red cells and illustrative timing. Include no chordae or prosthetic hardware.”
This is a proposed starting prompt, not a tested result or an accuracy guarantee. Compare the output with the pressure/flow record before requesting edits. Correct one visible defect at a time, such as a cell crossing tissue or a cusp disappearing behind the removed wall.
Review the timeline, camera and individual objects in your workspace. The homepage states that joining is free, while AI generation and exports require a paid plan. Check your account allowance before creating or exporting the lesson.
Review the frames that can mislead
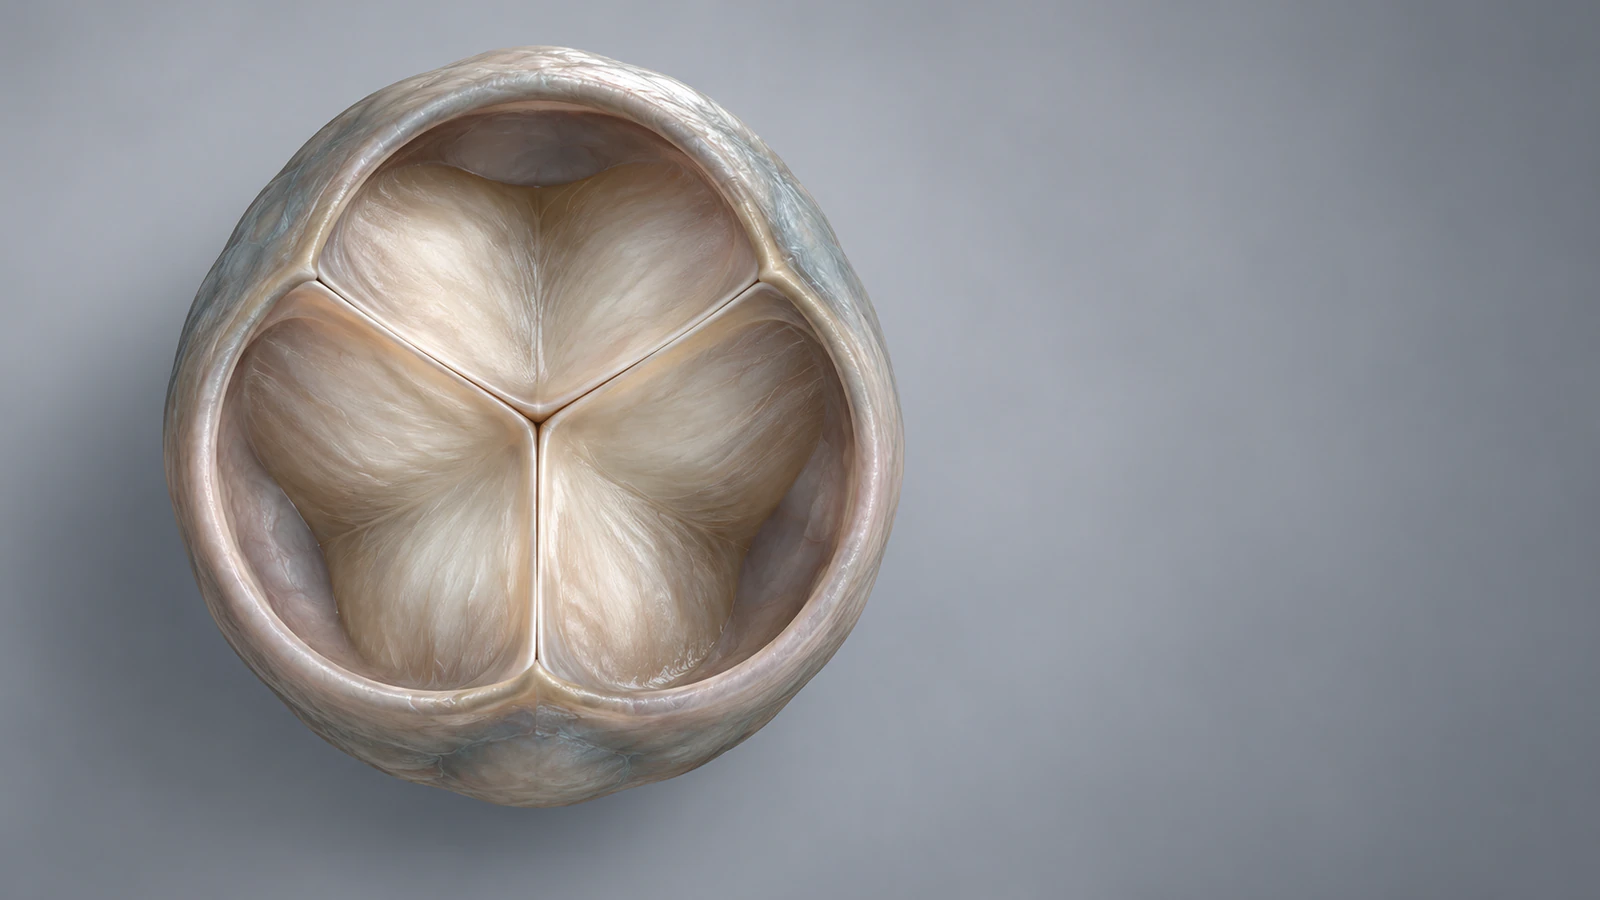
Review the first fully open frame, the first visibly closing frame and the closed hold at the intended viewing size. Those three moments expose many errors that a smooth loop conceals. Ask the scientific reviewer to describe the direction and valve state without hearing your narration.
Then read the narration against the scene. If the voice says “closed” while an open central gap remains, either the geometry or the wording needs correction. If cells move backward before the explanation introduces that phase, check whether the camera has reversed or the cell paths are wrong.
- Confirm the selected valve type and the expected cusp count.
- Keep attached margins continuous and free edges identifiable through motion.
- Inspect cell paths for wall crossings, clipping and passage through the seal.
- Disclose cutaways, exaggerated cell scale and illustrative timing.
- Review disease branches separately and keep clinical claims tied to evidence.
- Watch the final export once at presentation size before sharing it.
Frequently asked questions
What makes an aortic valve animation scientifically useful?
It should preserve the ventricular-to-aortic pathway, the chosen valve anatomy and the relationship between ejection and leaflet state. Clear pauses and a documented review matter more than adding particles or a dramatic camera move.
Does the aortic valve open as soon as contraction starts?
No. The early contraction phase includes pressure rising with the valve still closed. Keep a separate pre-ejection pause so the animation does not imply that all ventricular contraction is forward flow.
Should every aortic valve have three leaflets?
A typical native aortic valve has three cusps, but anatomical variants and replacement devices differ. Identify the case you are illustrating and check the model against it before using a cusp count as a teaching point.
Can the animation show stenosis and regurgitation together?
Yes, when the case requires both, but first explain each defect separately. Label the combined example clearly and avoid suggesting that one simplified animated shape establishes an individual diagnosis or disease severity.
Can an AI-created scene prove the flow is accurate?
No. Generated motion and a polished render are not measured hemodynamics. Animiotics can help produce an explanatory scene, but its anatomy, phase sequence and interpretation need review against appropriate scientific evidence.
Try one reviewed valve explanation
Start with one short aortic-valve lesson: locate the two sides, show a forward pulse and hold the closed endpoint. Use the six-shot plan to request or edit the scene, then review the three decisive frames before adding a disease comparison.