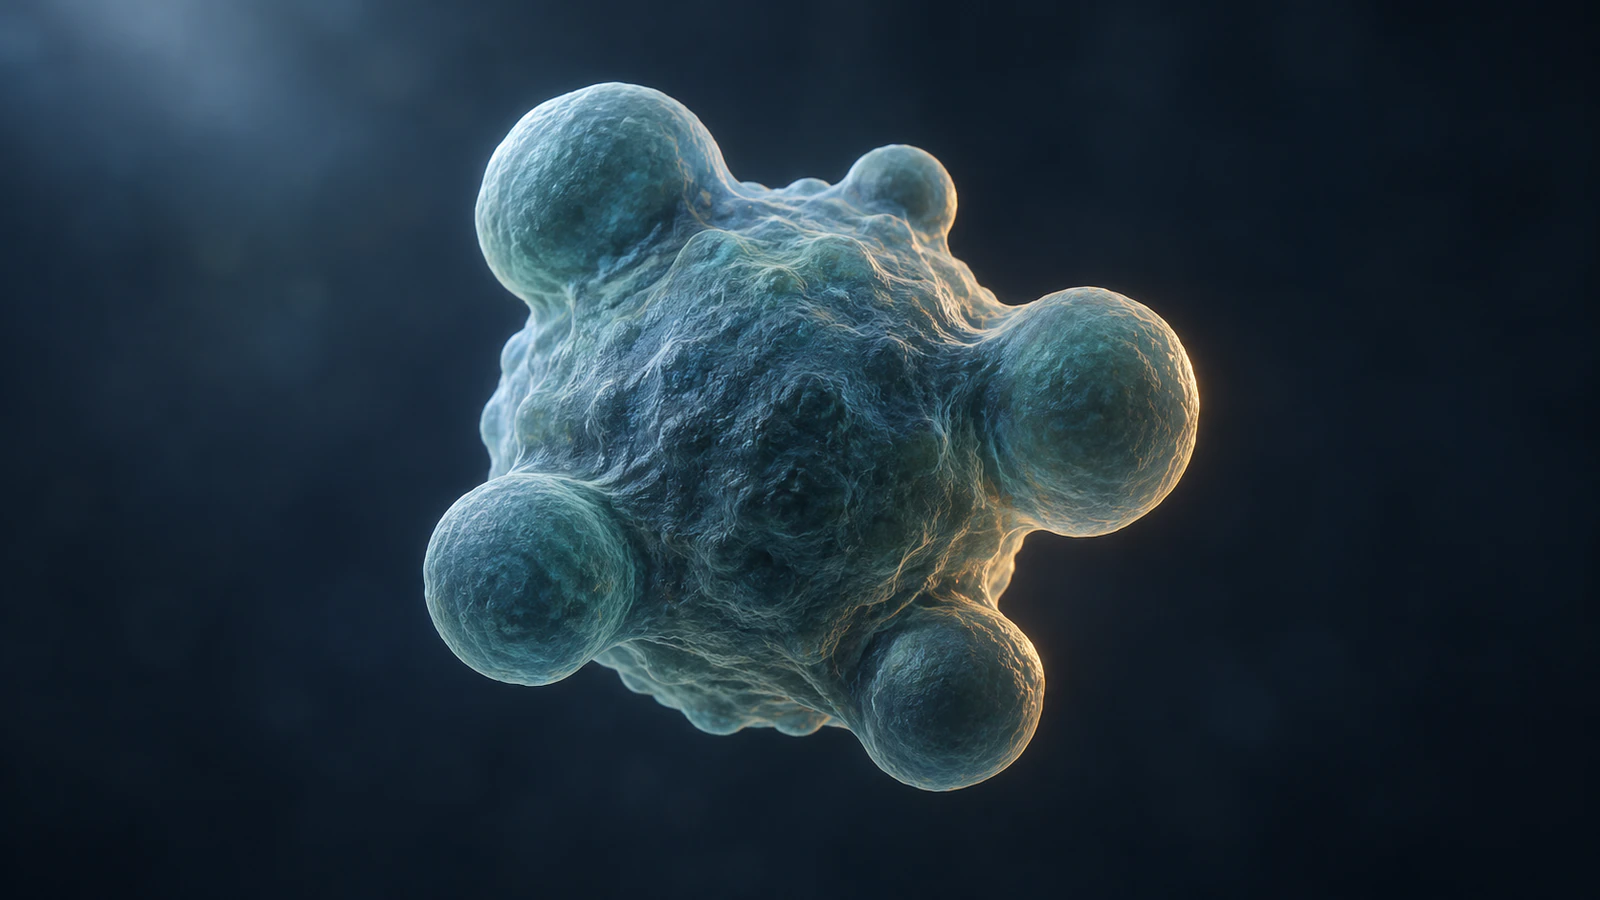
Start with the cell boundary
An apoptosis vs necrosis animation becomes clearer when the cell boundary carries the comparison. Show how the membrane changes, where the contents remain and what happens to the dying cell afterward. A dramatic burst used for both sequences erases the distinction you set out to teach.
For a scene in Animiotics, begin with one readable cell and two planned outcomes. Keep the starting view comparable, then make each change deliberate. This guide develops a conceptual comparison for a science lesson or mechanism explainer; it is not a way to diagnose a death pathway from an image.
The useful question is narrower than “what does a dead cell look like?” It is “what should the audience understand about containment and removal at this moment?” That question gives the animator a visible action to stage and gives the scientific reviewer a claim they can check.
Compare appearances without naming every pathway
Classical apoptotic morphology includes cell shrinkage, condensed or fragmented nuclear material and membrane blebbing. Necrotic morphology can include swelling and loss of plasma-membrane integrity. These are useful visual contrasts, described in the cell-death chapter of Molecular Biology of the Cell. They are not a complete classification of how cells die.
The Nomenclature Committee on Cell Death recommendations distinguish pathways through their mechanisms, rather than shape alone. Regulated forms of necrosis exist. Avoid a title card that equates apoptosis with all programmed death and necrosis with every uncontrolled accident.
For the animation, name the scope in the narration: a comparison of typical appearances and membrane fate. If the project concerns a particular treatment or experiment, keep that general comparison separate from the evidence establishing its mechanism. A polished rendering cannot supply evidence that the experiment did not collect.
Make a bleb a protrusion, not a hole
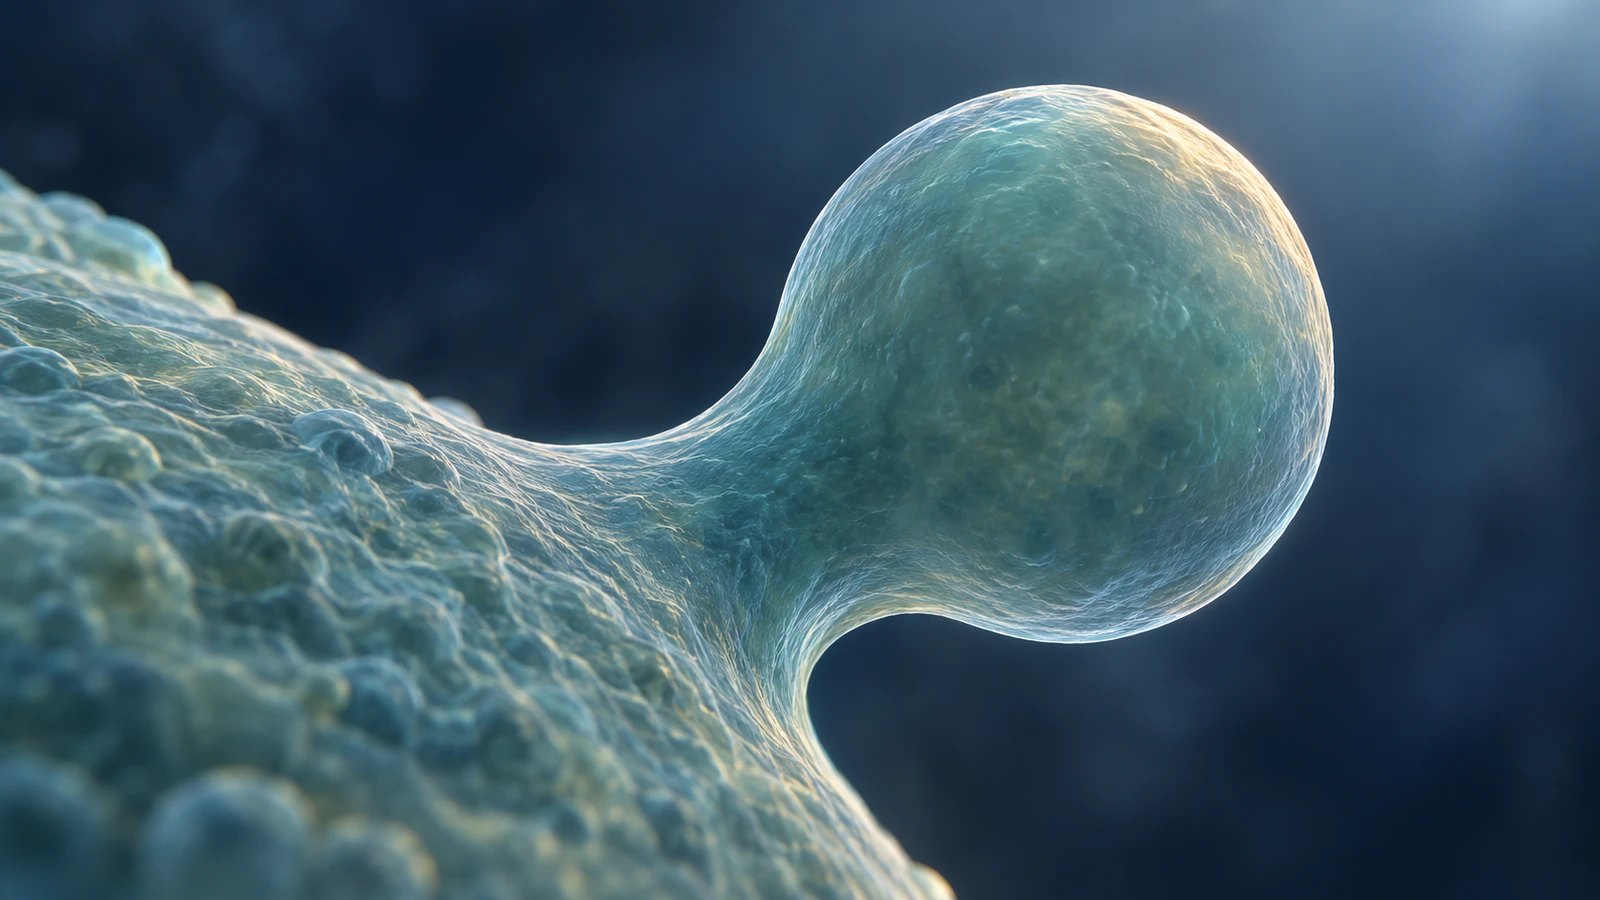
A bleb is a bulge of the cell boundary. In a conceptual apoptotic scene, give it an obvious connection to the parent cell and preserve an uninterrupted outer contour. An empty black ring at its base can look like a pore, especially once the frame is reduced for a phone.
Use an exterior close-up before introducing a cutaway. Let the viewer see the membrane curve from the cell body into the bulge, then return to the wider view. Avoid adding a shower of particles for emphasis: particles crossing the boundary would tell a different story from the attached bulge.
Review the neck of the bleb at the smallest intended display size. Strong reflections can resemble tears, while a perfectly spherical bulge with a hard seam can look pasted onto the cell. Aim for a continuous soft surface whose connection remains readable without a caption explaining away the geometry.
A useful early check is to pause on the silhouette with internal details hidden. If a reviewer sees a detached object where the shot intends an attached protrusion, fix the shape or camera before adjusting the color.
Track what remains enclosed
Apoptotic bodies are membrane-bounded fragments associated with apoptotic dismantling. Their appearance should communicate enclosure. If you include them, distinguish a fragment that has separated from the cell from a bleb still attached to it; do not alternate between those states merely to make the composition more varied.
Choose a small set of recognizable contents for the conceptual scene. Carry their visual identity through the sequence so viewers can follow where the material goes. This is an editorial continuity choice, not a claim that every fragment contains the same organelles or nuclear material.
A cutaway can reveal the contents, but it also removes part of the boundary the comparison depends on. Introduce that viewing convention explicitly and keep its edge visually distinct from biological damage. The membrane cutaway guide explains how to preserve inside and outside through such changes of view.
Do not make every body an identical glossy sphere. Modest variation and a restrained soft material can preserve biological character without suggesting that the scene reproduces a measured distribution of sizes.
Give clearance a destination
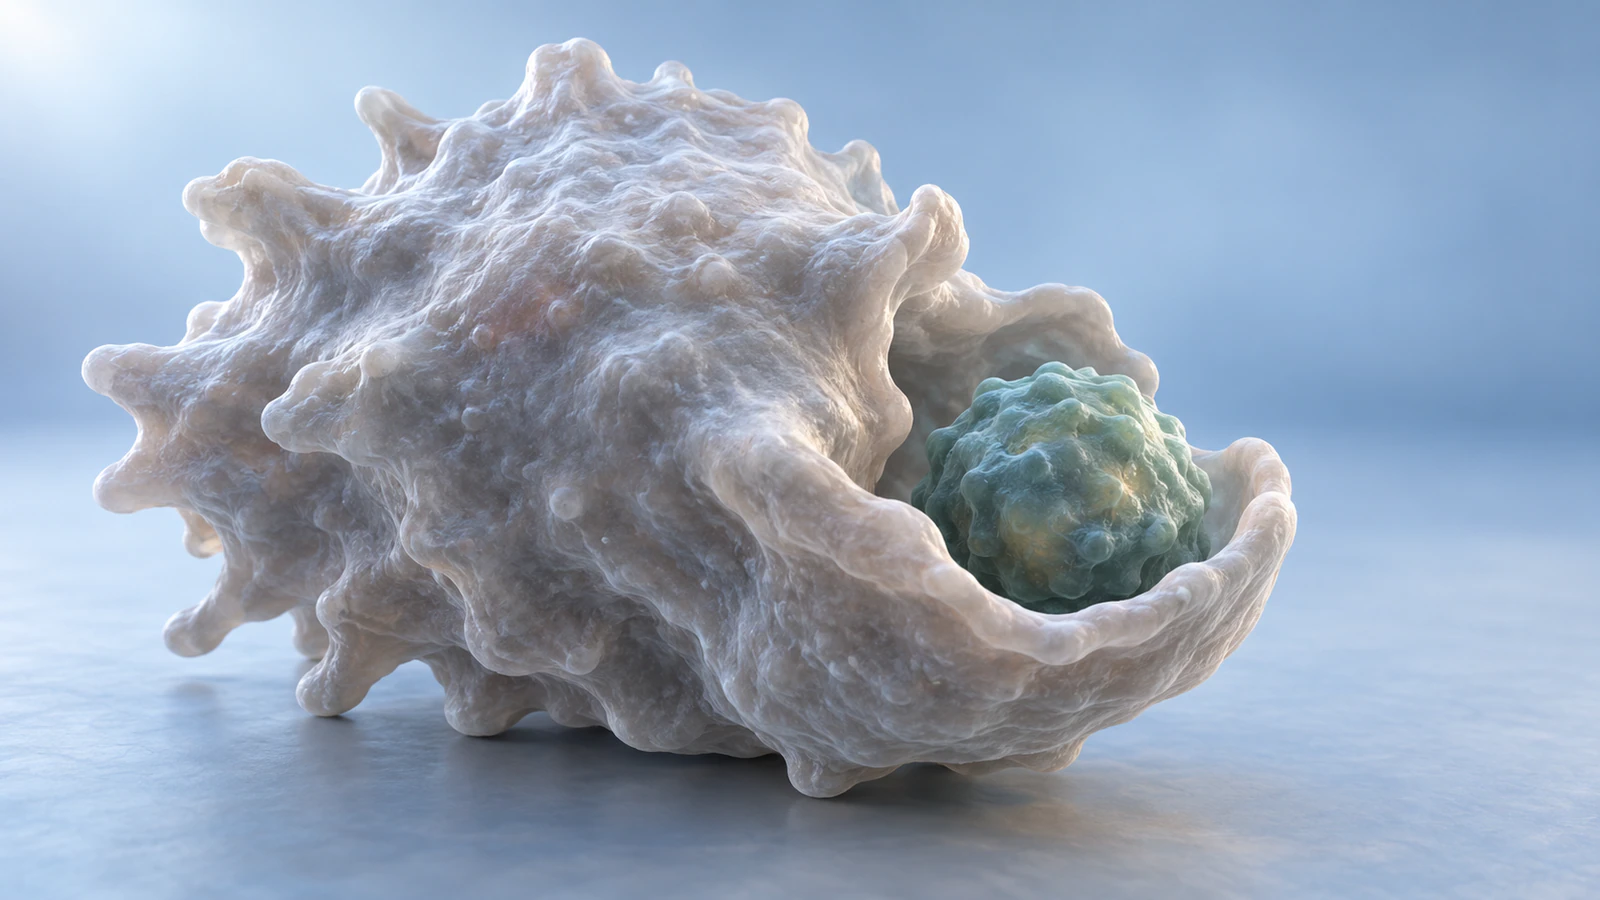
Removal deserves its own shot. Phagocytosis is the enclosure of material by a cell; clearance of dying cells and their fragments is often called efferocytosis. Ingested material is enclosed in a phagosome, a membrane-bounded compartment that can subsequently fuse with lysosomes for degradation. The NCBI chapter on phagocytosis describes this spatial sequence.
Stage the receiving cell as a separate object. Show its membrane reaching around the target, then make closure legible before using an internal view. Keep the target boundary distinct from the receiving membrane. Simply fading the target through an intact surface suggests passage through a wall rather than engulfment.
The clearance shot needs enough room for both subjects. Use a wider camera and reduce background activity so the curved receiving membrane remains visible. Hold the open-cup stage briefly in the edit, then show the enclosed destination; these are proposed storytelling beats, not measured biological durations.
Surface signals, including exposed phosphatidylserine, can contribute to recognition. At a whole-cell scale, naming one signal in narration may be clearer than decorating the membrane with oversized molecular icons. Add a separate molecular shot only when that recognition interaction is the actual question.
Show rupture without an explosion
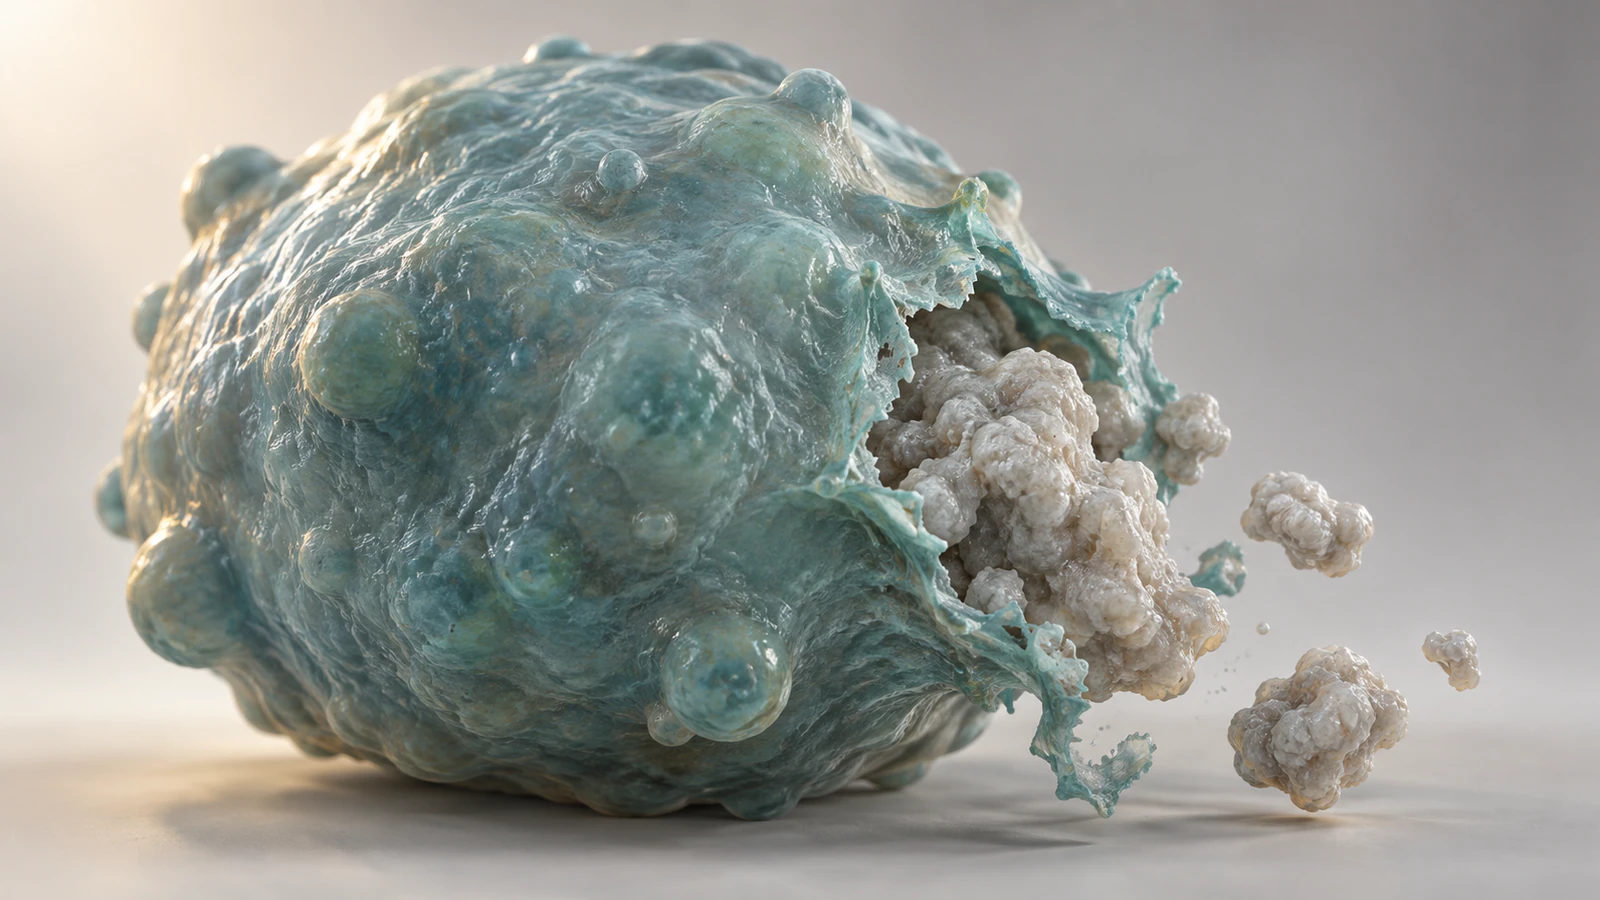
For the necrotic comparison, make loss of containment the visible event. Establish the intact cell first, then show a boundary discontinuity and material outside it. A breach that is hidden behind the cell leaves the audience dependent on narration; an exaggerated cinematic blast introduces force and motion that the example has not established.
Keep the framing and visual scale close to the apoptotic sequence. If one cell is shot from far away and the other fills the screen, apparent size differences may come from the camera. The molecular scale and time guide offers ways to separate viewing choices from biological claims.
Use a few interpretable forms outside the damaged boundary rather than a glitter cloud. Keep the escape localized so viewers can identify the source. Do not turn the contents into smoke or show a neatly sliced opening that could be mistaken for an editorial cutaway.
Treat this endpoint as a conceptual depiction of membrane failure. It does not specify a particular necrotic pathway, predict an inflammatory response or demonstrate what a drug does to a patient’s cells.
Include the uncleared-cell branch
The neat contrast needs one qualification. Apoptotic cells that are not cleared can later lose membrane integrity, a progression called secondary necrosis. The NCCD recommendations describe this particularly in culture without effective phagocytic clearance. Apoptosis and its clearance are also not invariably immunologically silent.
Represent that qualification as a clearly introduced alternative ending. After the apoptotic sequence, return to the uncleared cell and state that the context has changed. Do not append rupture immediately after every engulfment shot: that edit would imply it is the normal consequence of successful clearance.
Choose the ending from the communication brief. A tissue-clearance lesson can stop at enclosure. A culture-experiment explainer may need the uncleared branch. A comparison intended for both audiences can show the branch with a spoken qualifier and a distinct transition, without inventing an exact waiting time.
Keep the immune consequence out of the color scheme. A calm blue background does not mean “no inflammation,” and a red background does not establish an inflammatory mechanism. Use words for the qualification and geometry for the boundary state.
Write a three-part shot contract
Before building the full sequence, write three short entries for each shot: boundary, contents and destination. This compact contract makes disagreements concrete. “More dramatic” is difficult to review; “the contents should remain inside this boundary until enclosure” is actionable.
The table below is an illustrative production plan, not a new biological model. Adapt the observations and endpoint to the selected source material. Leave a destination unresolved when the experiment does not establish it, rather than inventing a convenient final disappearance.
| Shot state | Boundary | Contents and destination |
|---|---|---|
| Attached bleb | Continuous with parent cell | Enclosed; no separate destination yet |
| Separated body | Closed fragment boundary | Material remains inside the fragment |
| Engulfment | Receiving cup still open | Target enters the cup; keep both surfaces distinct |
| After enclosure | Receiving compartment closed | Target lies inside a phagosome |
| Illustrative rupture | Visible loss of continuity | Some material is outside the original cell |
| Uncleared alternative | Changes only in the stated branch | Show later loss of containment with context |
Build a six-shot comparison
Use the following storyboard as a first pass in Animiotics. Each shot has one job, so scientific review can happen before a complex scene obscures the decisions. Reuse the same conceptual cell identity through the comparison, while making clear that these are alternative illustrations rather than footage of one cell experiencing both outcomes.
Choose shot lengths for comprehension and identify time compression in the narration if needed. Do not place a stopwatch over the sequence without a corresponding experiment. Once the sequence reads clearly, add only the interior detail that helps explain the selected event.
- 1. Establish: show a closed cell in a stable medium view. Introduce the comparison as illustrative morphology.
- 2. Reshape: show the apoptotic example becoming compact with attached blebs. Keep the outer boundary readable.
- 3. Enclose: follow a separated membrane-bounded fragment toward the receiving cell. Hold its identity through the edit.
- 4. Clear: show an open receiving cup followed by enclosure. Let the destination resolve before changing scenes.
- 5. Compare: return to the matched starting view for the necrotic example, then show boundary failure and localized release.
- 6. Qualify: introduce the uncleared apoptotic alternative when relevant, or finish with the limits of morphology alone.
Review the silent version first
Play the comparison without narration and ask a colleague to describe where the contents are. They should be able to distinguish an attached bulge, an enclosed fragment, an open receiving cup and a breached cell. If two states look the same, the sequence needs a clearer contour, camera or transition.
Then restore the narration and check every causal verb. “Shows,” “illustrates” and “is consistent with” carry different claims from “proves” or “causes.” Tie experimental statements to the relevant assay and biological context. Keep the rendered comparison distinct from microscopy or other evidence shown beside it.
Finally inspect the cover crop, small-screen version and paused transitions. Confirm that captions identify conceptual illustrations and that no membrane intersection creates an unintended opening. A simple scene that preserves the intended state is more useful than an elaborate scene whose boundary cannot be followed.
FAQ
Does membrane blebbing prove apoptosis?
No. Treat the depicted shape as a visual feature, not a diagnosis. A pathway claim requires evidence appropriate to the biological context.
Should an apoptotic cell burst at the end?
Choose the ending from the context. Successful clearance and an uncleared cell progressing to secondary necrosis are different stories and should be introduced separately.
Can I use a transparent cell membrane?
Yes, as an illustrative viewing choice. Preserve a readable boundary and explain the convention so transparency is not mistaken for leakage or an experimentally observed optical property.
Do both sequences need identical timing?
No. Matched views aid comparison, but animation timing does not establish biological rates. Use measured timing only when the selected experiment supports it.
Are these images experimental reconstructions?
No. They are conceptual CGI illustrations of boundary states and clearance. Their geometry, colors and arrangement are artistic choices, not microscopy measurements.
Try a cell-death comparison in Animiotics
Start with a short comparison in Animiotics: an intact cell forming a bleb, a membrane-bounded fragment being enclosed and a separate example losing containment. Use the three-part shot contract to review the boundary, contents and destination before developing a longer sequence.
Bring the sources for your biological context and make each visual claim explicit. Try the scene with a stable camera first; add closer views only where they help a viewer follow the membrane.