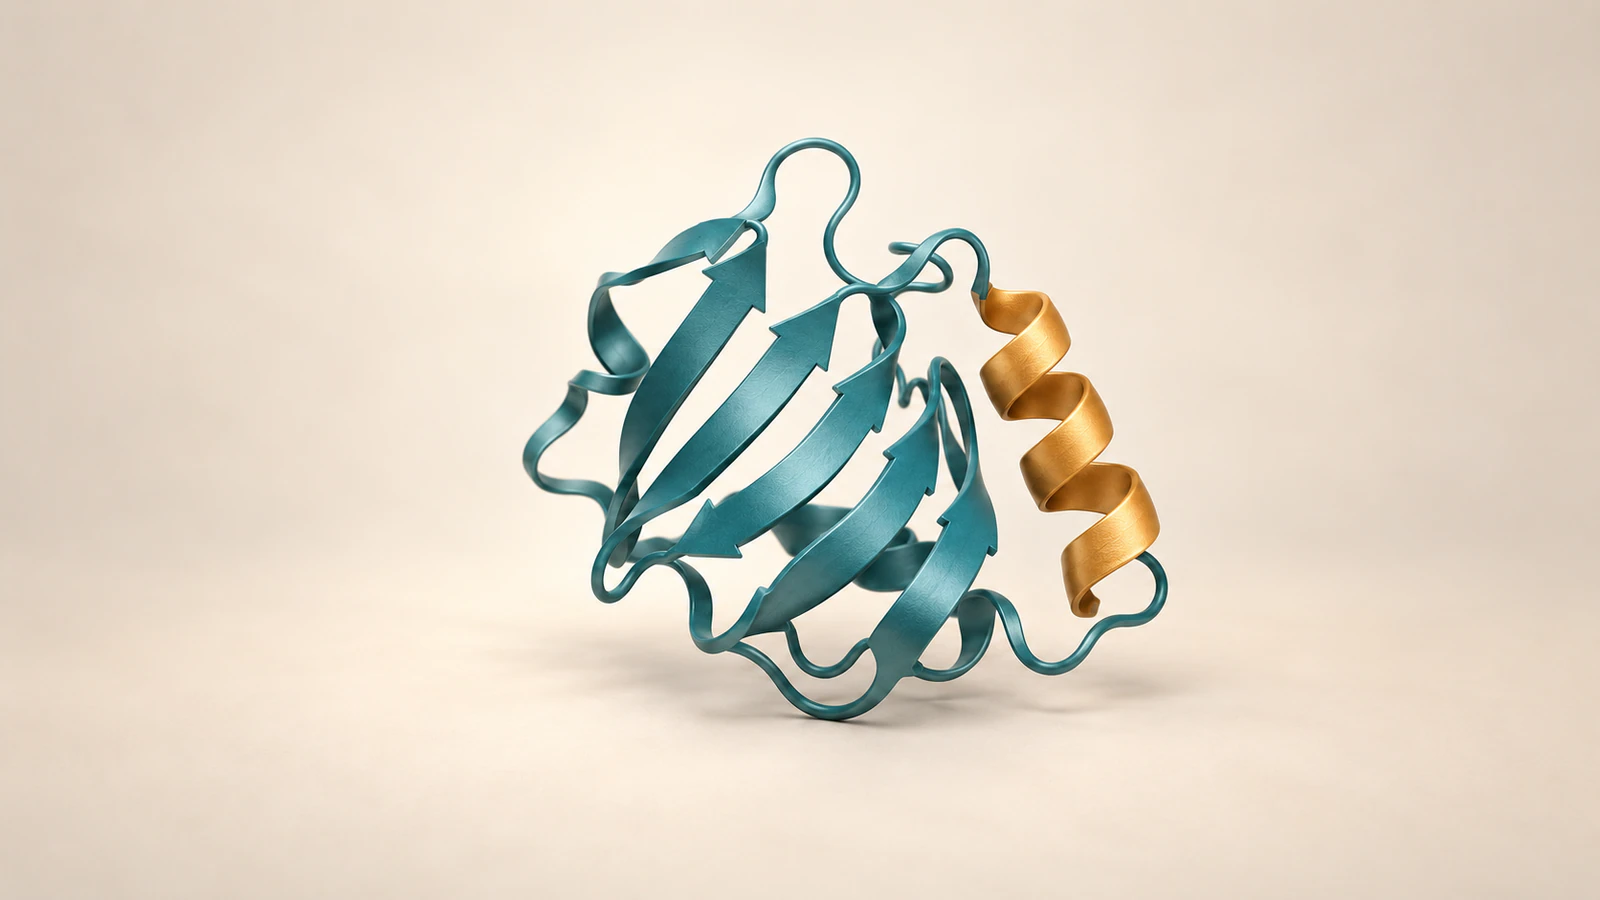
Start with a compatible release and one structure
For Molecular Nodes installation, open Blender Preferences, choose Get Extensions and search for Molecular Nodes. Check the extension’s Blender requirement before installing it. In the 520.2.0 release covered here, use Blender 5.2 or newer, then import a small structure through Add > Molecular Nodes > Fetch from PDB. Enter 1UBQ, choose Cartoon and confirm the import. That gives you a specific protein to inspect before adding lights or animation.
This guide follows the official documentation and the 520.2.0 release source, checked on October 4, 2026. These are documented steps, not a claim that this exact release was run locally. The illustrations explain representation choices; they are not screenshots or coordinate-derived renders of 1UBQ.
Our earlier Molecular Nodes scene-planning tutorial covers the broader visual workflow. Here the goal is narrower and concrete: finish with an identifiable imported protein, a saved Blender project and a still image you can review.
Match the extension to your Blender version
The 520.2.0 extension manifest specifies Blender 5.2.0 as its minimum. It lists Windows x64, Linux x64 and macOS arm64 packages. Check your actual Blender version and platform first; a tutorial’s publication date is not a compatibility check.
The installation documentation still introduces the extension system through Blender 4.2. That describes how the installation route began, not permission to load every later extension into Blender 4.2. Use the release-specific requirement when the general tutorial and current package differ.
Keep a working older project separate while evaluating the newer release. Write down the Blender version and Molecular Nodes version in a small project note. If you need an older Blender installation, choose an explicitly compatible extension release and follow its matching instructions instead of mixing menu names and settings from several versions.
The 520-series release notes also describe a tenfold change in default world scale. Recheck framing, clipping and scale-dependent settings when moving an old scene into this series. Avoid correcting an apparent size mismatch by moving individual atoms.
Install through Preferences
Follow the official installation guide: open Preferences, select Get Extensions, search for Molecular Nodes and choose Install. Allow the package download to finish. The extension bundles its additional Python dependencies, so a normal installation should not begin with unrelated system-wide pip commands.
Check that the extension is enabled before closing Preferences. Start a separate General file for the example. Keep your existing molecular projects closed until the basic import works; this makes an installation failure easier to distinguish from a problem in an older scene.
The optional Molecular Nodes startup template changes useful defaults and provides another starting point for new files. It is convenient, but it is not a substitute for installing the extension. You can establish the import first and explore the template afterward.
If the search returns nothing, check the repository’s availability, online-access setting and version compatibility. An empty result alone does not identify the cause. Record the exact message before changing anything, especially on a managed workstation where network access may be restricted.
Use 1UBQ as a traceable first example
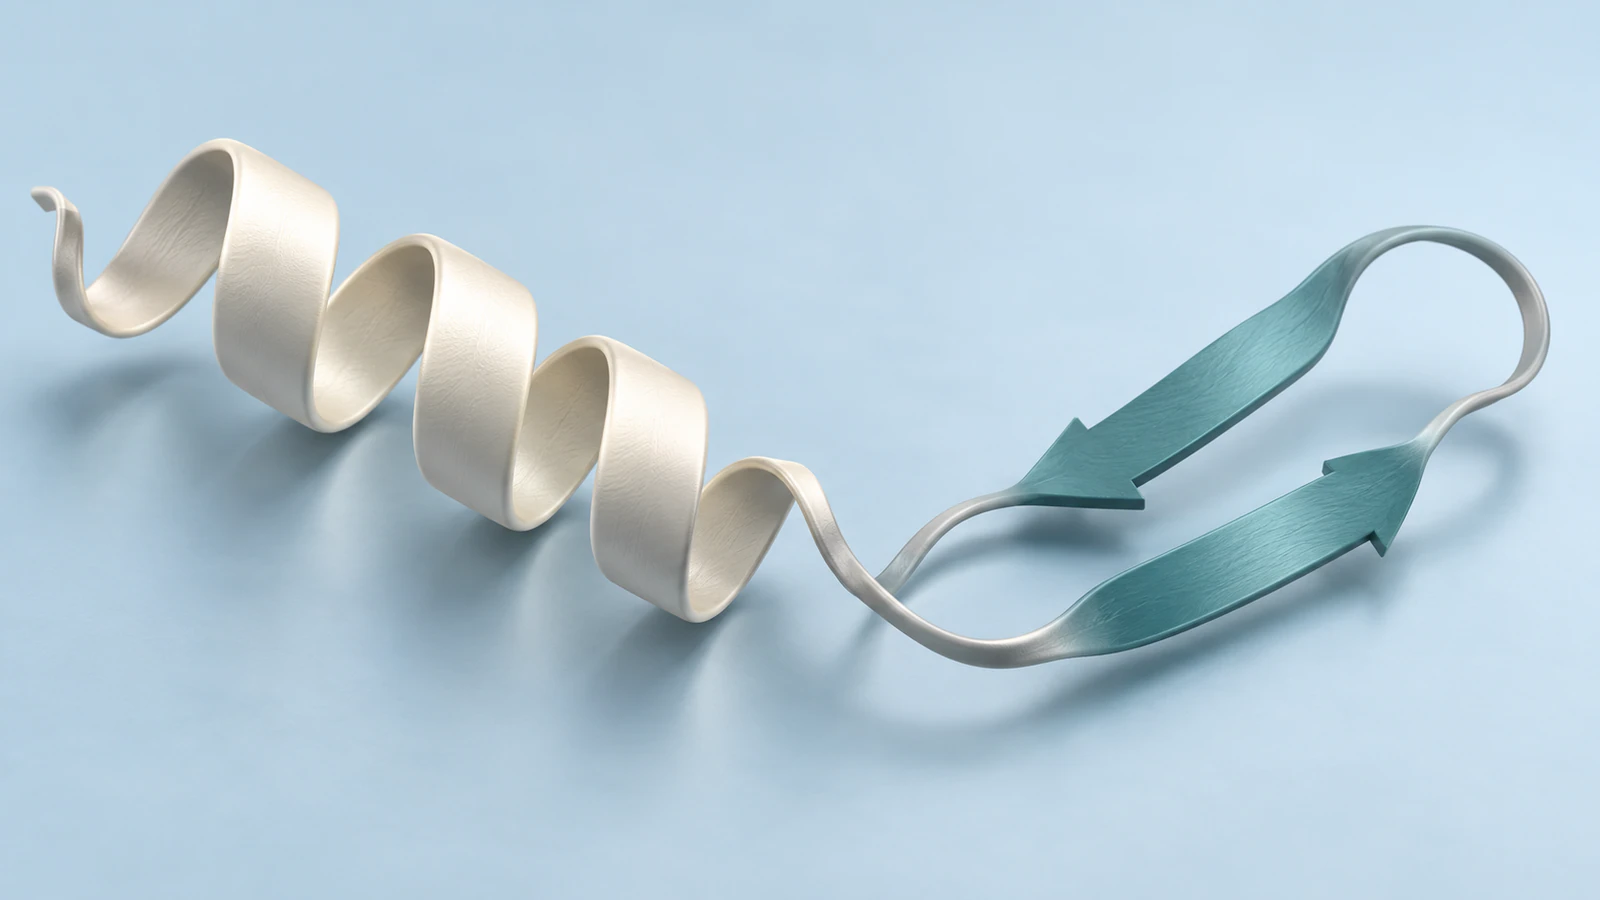
Open the RCSB entry before importing. 1UBQ is human ubiquitin determined by X-ray diffraction at 1.80 Å resolution. Its protein chain A has 76 residues, and biological assembly 1 is a monomer. These details make it a compact first example with a source you can check.
Record the accession, chain, experimental method and intended representation beside your project. Keep the original downloaded structure if you use a local-file route. The project should be understandable to a colleague who has only the Blender file and your note.
A ribbon drawing emphasizes a protein backbone’s fold. It does not display every atom, and the colors you choose do not establish chemical properties. Likewise, a rotating view of one crystal structure does not become a folding simulation simply because it moves.
For this exercise, the question is whether the imported fold remains legible. Do not add a binding partner, an active-site claim or a biological transformation that the selected structure does not establish.
Import with the current Fetch from PDB control
The 520.2.0 interface source exposes Fetch from PDB through the Molecular Nodes submenu in the 3D Viewport’s Add menu. The Scene Properties Molecular Nodes panel also provides an Import menu. Older documentation shows a PDB tab, so use the release-specific route below if your interface differs.
Delete or hide the default cube in this new practice file. Open Add > Molecular Nodes > Fetch from PDB. In the dialog, keep the wwPDB database selected, enter 1UBQ in the PDB field and choose Cartoon as the starting Style. Leave Node Setup enabled so the import creates a representation.
Confirm the dialog and find the resulting structure object in the Outliner. Select it and inspect it in the viewport. If it is hidden by another object, resolve that visibility problem before importing again; repeated downloads can leave several copies and make diagnosis harder.
The import operator includes a Build Biological Assembly option. For this monomeric example, first confirm the single protein and its provenance. For a future multimer, check the intended biological assembly on the source entry before enabling assembly construction. An asymmetric unit and a biological assembly are not interchangeable labels.
Choose a representation that answers your question
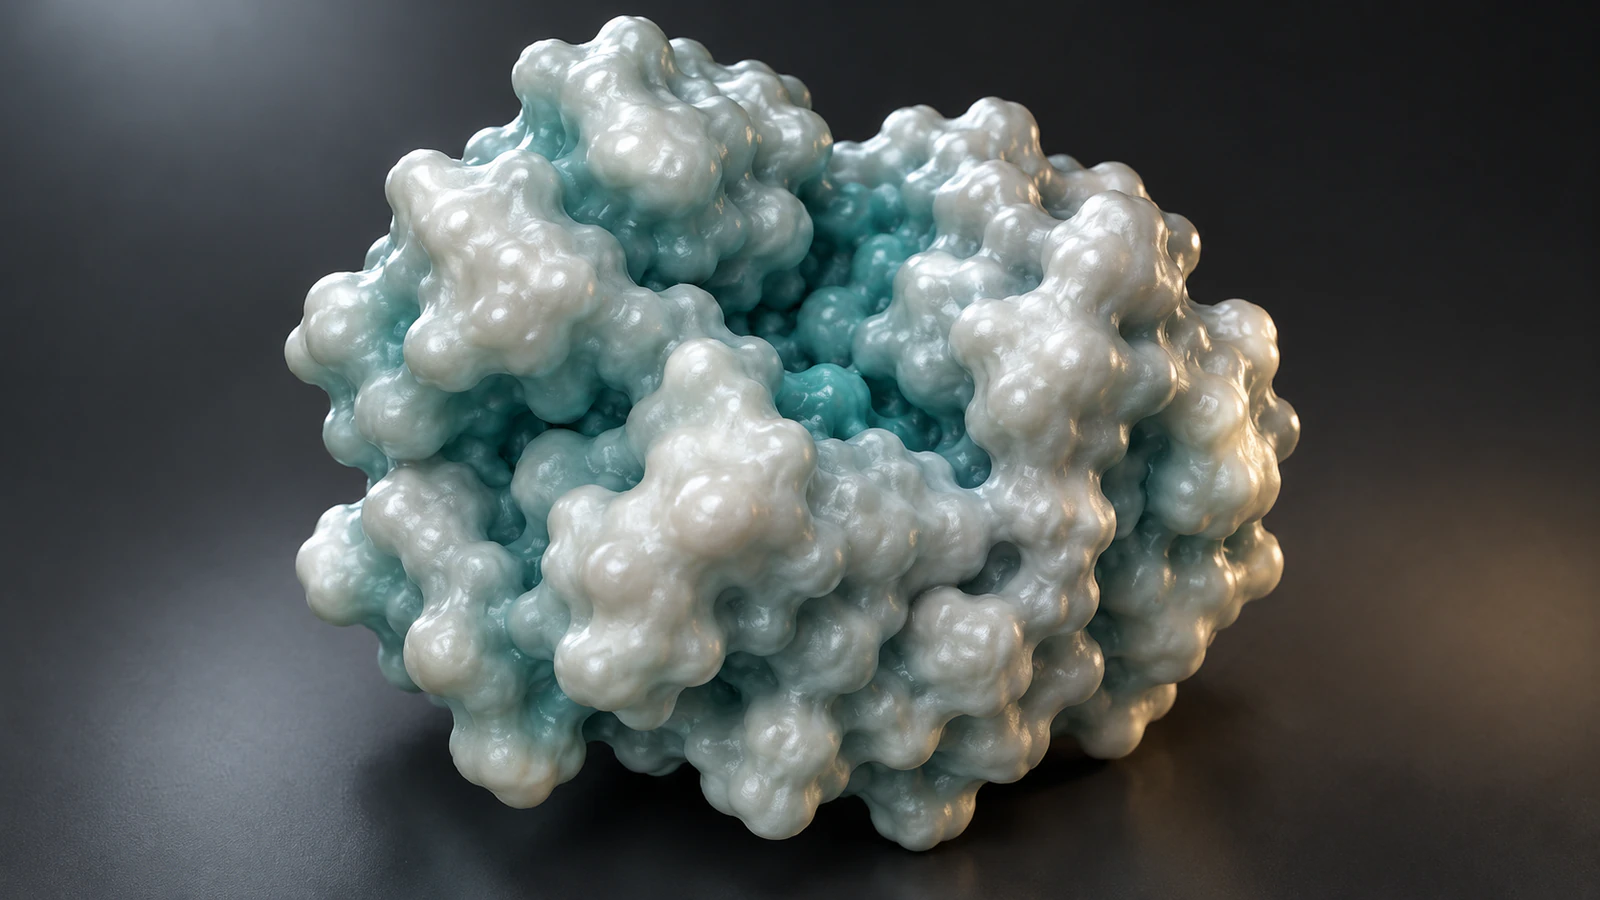
Start with Cartoon because the immediate task is to see the fold. Rotate the view until the sheet and helix remain distinguishable. A dramatic angle that hides the feature you need to explain is a poor result, even when its lighting looks attractive.
In the current release, select the molecular object and use the Molecular Nodes sidebar’s Styles panel. Its controls let you select, swap, add or remove a style. The style documentation describes cartoon, ribbon, spheres, sticks, ball-and-stick and surface representations. Each serves a different reading task.
Adding a style can create another representation of the same data rather than replacing the first one. If a surface hides the ribbon, inspect the active style branches before assuming the structure disappeared. For your first comparison, keep one clear representation visible at a time.
Use the same framing while comparing representations. Otherwise, it is easy to mistake a camera change for a difference in the underlying model. Save a separate project version before making more complex selections.
| Reader needs to see | Useful starting representation | Check before sharing |
|---|---|---|
| Overall fold | Cartoon or ribbon | Secondary-structure features remain visible. |
| Overall shape and occlusion | Surface | The surface does not hide the region being discussed. |
| A small local structural detail | Sticks or ball-and-stick | The selected atoms and bonds support the claim. |
| Several chains in an assembly | A restrained chain-based scheme | The chain identities and assembly choice are recorded. |
Check coordinates before improving the appearance
The import tutorial distinguishes the underlying atomic data from the geometry used to display it. Moving vertices in Edit Mode changes that underlying data. Adjust the camera, object presentation or representation settings when your goal is a clearer picture; do not hand-sculpt experimental coordinates to improve a silhouette.
Make a short inspection pass with the decorative choices removed. Can you identify the intended structure? Is the object duplicated? Are the features you plan to mention visible? Is your chosen color scheme explained? Check these questions before polishing the background or adding depth of field.
Keep a review note with three parts: what came from the source structure, what you changed for presentation and what the viewer should conclude. For this example, the accession supplies the structure, the cartoon and colors supply the presentation, and the image illustrates a fold. It does not measure motion or prove a binding mechanism.
If the scene will support a research claim, have someone familiar with the structure review the selected view and caption. A technically successful import can still produce a misleading explanation.
Render a still before planning a movie
The Blender interface tutorial makes a useful distinction: the viewport view and active camera view are different. Inspect the camera composition, then use Render > Render Image or F12. In the render window, use Image > Save As to keep the result; viewing a render is not the same as saving it.
Begin with a modest preview size. Keep the complete protein inside the image, use a background that separates it clearly and avoid shadows that conceal the fold. Review the still at its actual presentation size, not only while zoomed in on a large monitor.
Save the Blender project and the rendered image with names that identify the structure and representation. Keep an unambiguous caption draft beside them. A useful caption names the accession, explains the visual encoding and states what the view is intended to show.
Only add a movie after the still answers its question. If your task is mainly a scripted structural spin, the ChimeraX movie guide provides another workflow. Choose the tool according to the output and editing control you need.
Troubleshoot the stage that actually failed
Work from installation to import, representation and render in that order. Change one relevant setting at a time and retain the exact error message. Reinstalling everything after a camera problem makes the original cause harder to find.
The 520.2.0 release notes specifically mention keeping GUI-imported spheres as a point cloud. If an imported object behaves differently across display or render settings, compare its style and engine before concluding that the download failed. Cartoon is a useful separate check for this protein example.
| Symptom | Check first | Next useful action |
|---|---|---|
| No Molecular Nodes menu | Extension enabled and Blender version compatible | Recheck the package requirement and the installation result. |
| Fetch control unavailable | Blender online access | Restore permitted access, or import a previously downloaded structure locally. |
| Download fails | Accession, network and chosen format | Verify the RCSB entry, then use Import Local File with a valid downloaded file. |
| Object exists but no recognizable protein | Visibility, selected object and Node Setup | Hide the default cube and inspect the molecular object with a simple style. |
| The surface hides the cartoon | More than one style branch | Remove or disable the unwanted representation before adjusting the camera. |
| Viewport looks right but render does not | Active camera and render settings | Inspect the actual camera composition and render a small still again. |
| An older scene appears much larger | 520-series world-scale change | Review the migration notes and scale-dependent settings without editing atom positions. |
Keep a small handoff record
Before sending the image to a collaborator, package the evidence that makes it interpretable. A visually simple protein figure can be difficult to reproduce when its software versions, selected chain or source file are missing.
Use the following checklist for this example. It is an editorial handoff aid, not a claim that a completed checklist validates the underlying experiment.
- Input: PDB 1UBQ, source link, download date and the retained structure file if imported locally.
- Environment: exact Blender and Molecular Nodes versions, plus the platform used.
- Content: chain and assembly choice, representation and any atom selections.
- Presentation: camera view, color meaning and any changes made only for readability.
- Output: saved Blender project, exported still and a caption that limits the interpretation to what is shown.
Frequently asked questions
Which Blender version does Molecular Nodes 520.2.0 require?
Its extension manifest specifies Blender 5.2.0 or newer. Check that release’s supported platform and package rather than assuming an older tutorial’s minimum still applies.
Where is the PDB import control?
In the 520.2.0 interface, use the 3D Viewport Add menu, Molecular Nodes, then Fetch from PDB. The Scene Properties panel also exposes an Import menu.
Can I import a file without downloading it through Molecular Nodes?
Yes. Use Import Local File with a supported structure file already on disk. Preserve the source accession and file provenance in your project notes.
Why can I see an object in the Outliner but not a protein?
Check visibility, framing, Node Setup and the chosen style. The presence of an object does not establish that its representation is visible in your current view.
Does rotating 1UBQ show how ubiquitin moves in a cell?
No. A changing view of one structure shows its shape from different angles. Claims about molecular motion require appropriate evidence beyond that camera or object rotation.
Try a separate mechanism scene in Animiotics
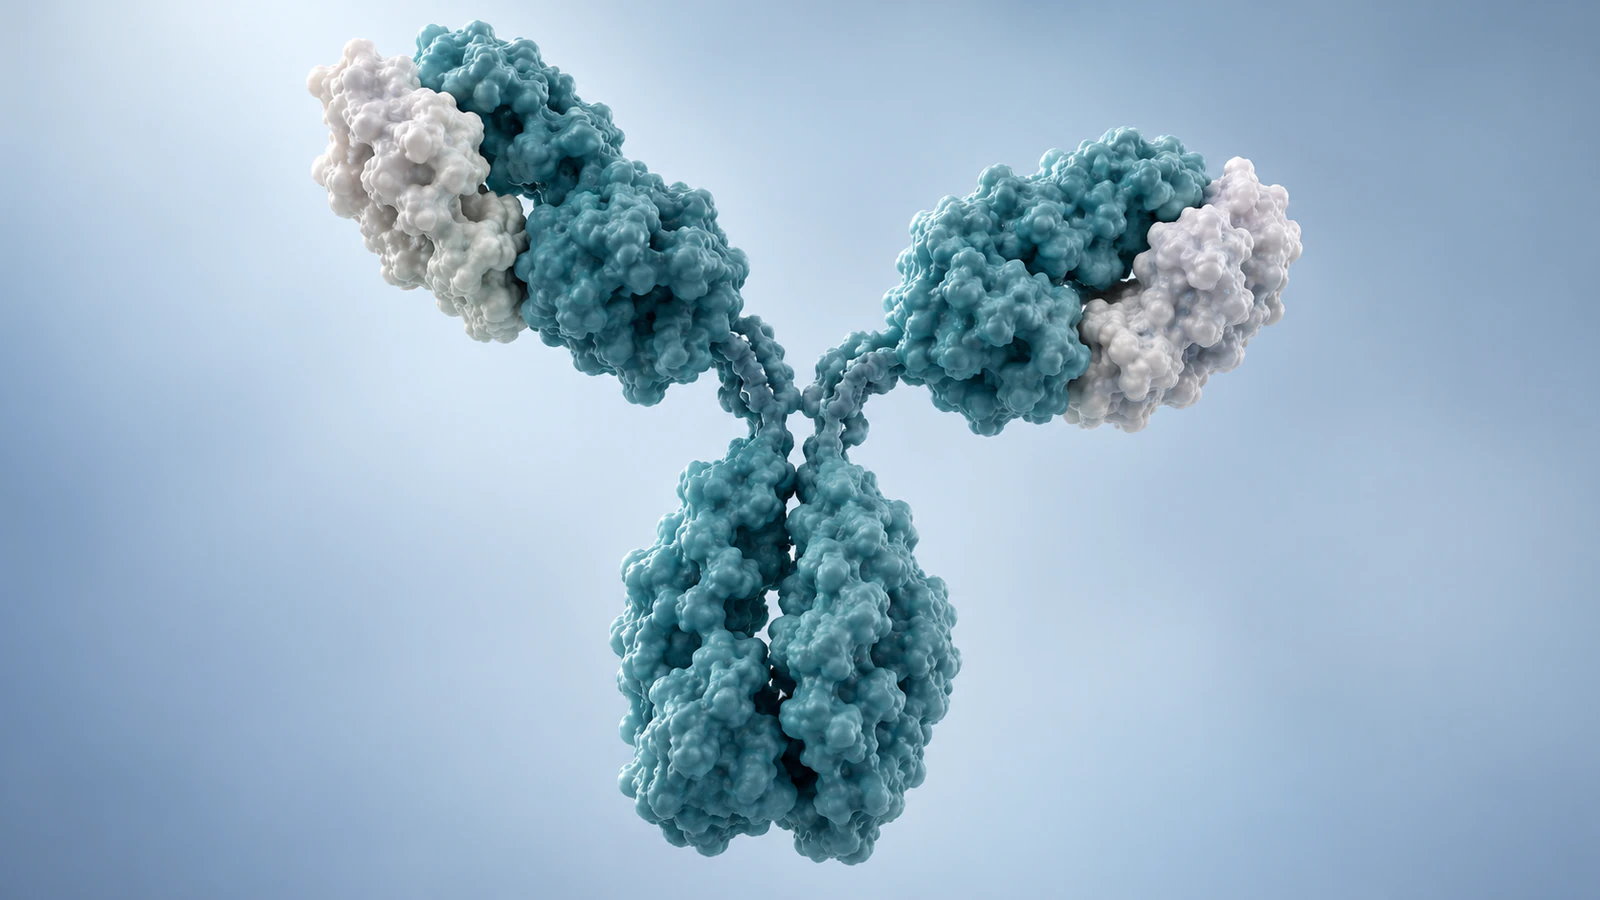
The exercise above starts with a named experimental structure. You may also need a conceptual scene to explain a larger biological event. In Animiotics, try the homepage’s antibody receptor-blockade example, then inspect the attachment point, camera and timing before using the result.
Keep the question specific: can the viewer tell which antibody region contacts the receptor and what is being blocked? Treat the proposed scene as an illustration unless its geometry and mechanism have been checked against suitable evidence. Joining is free; AI generation and exports require a paid plan.