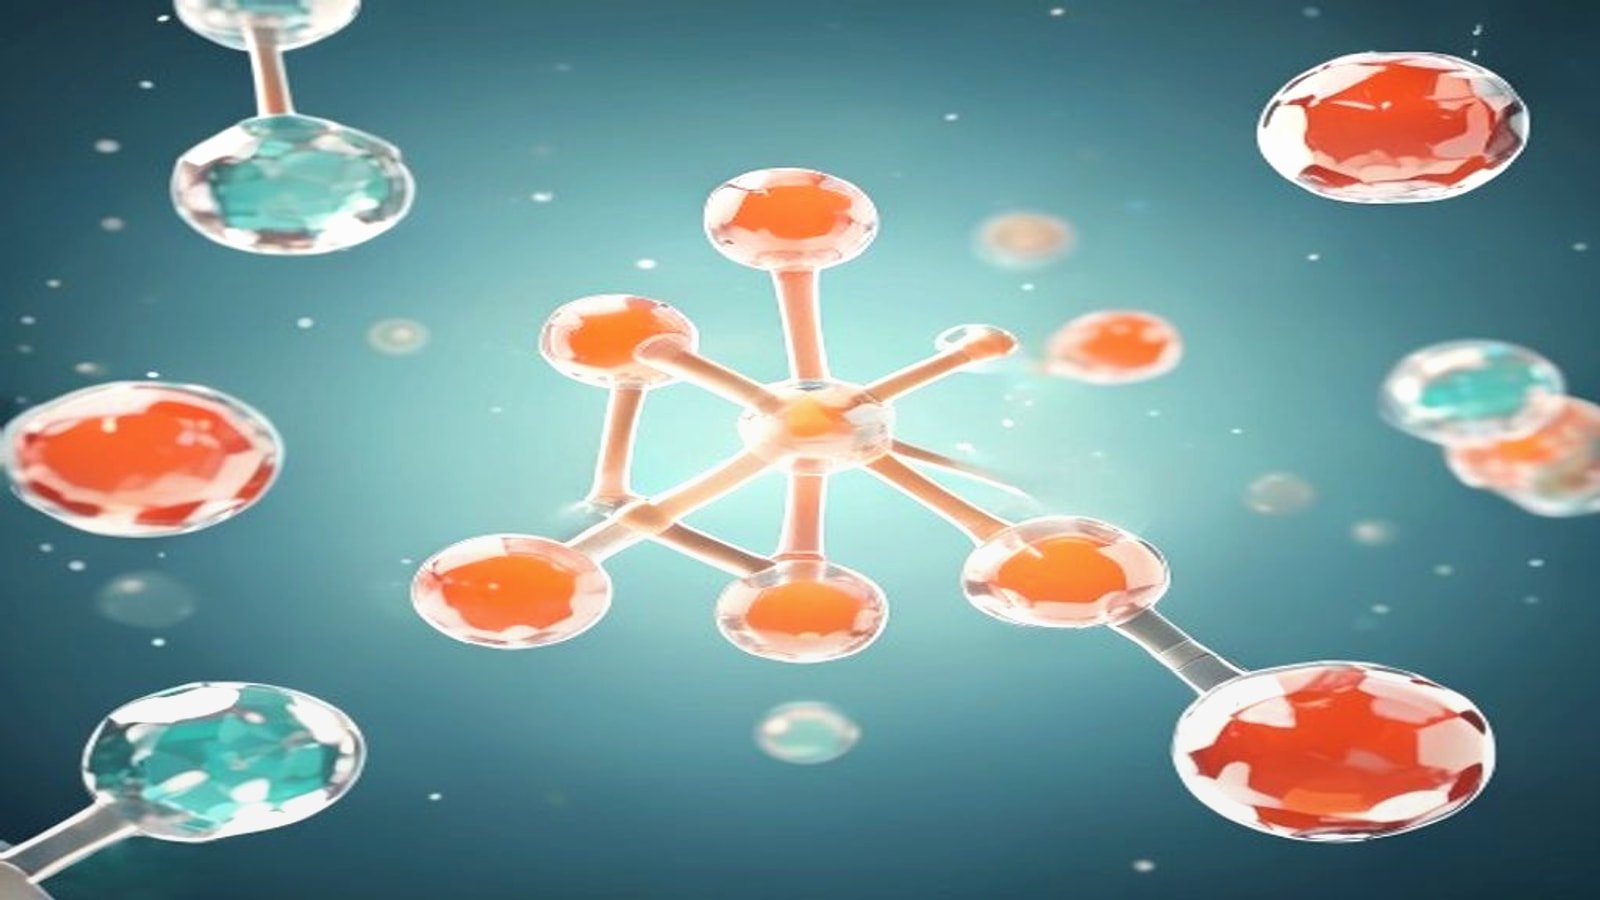
Why Molecular Nodes matters for structural biology
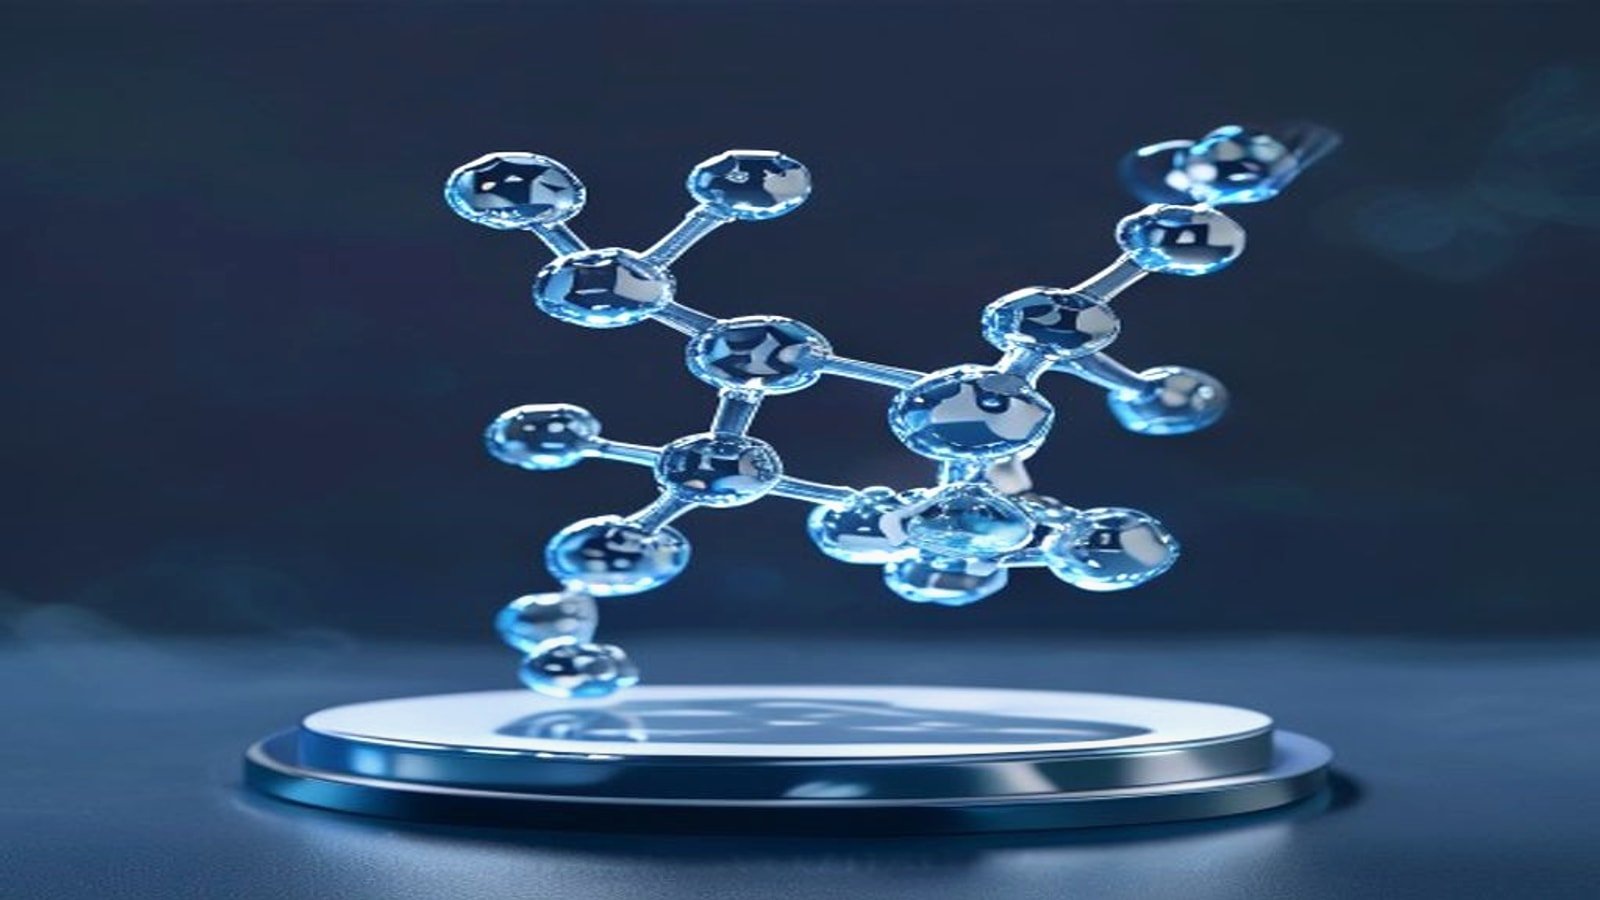
This molecular nodes tutorial is built for scientists, medical animators and visualization teams who want better control over biomolecular scenes inside Blender. Molecular Nodes connects structural biology data to a modern 3D workflow so you can move from static coordinates to polished figures and animation-ready scenes. Instead of treating proteins like generic meshes, you can work with biologically meaningful selections, attributes and styles that remain flexible as your story evolves.
That flexibility matters when your goal is not just to make a structure look attractive but to explain mechanism. Good protein visualization Blender workflows help viewers understand domain organization, binding context, conformational change and interaction logic. If your audience includes grant reviewers, clinicians, investors or students, clarity usually matters more than raw detail. The same principle appears in our guides to NIH grant figures and AlphaFold 3 complex visualization.
For that reason, the best blender molecular nodes workflow is not about using every possible node. It is about selecting the right representation, reducing noise, controlling color meaning and staging motion with a scientific point of view. Once you approach it that way, Molecular Nodes becomes one of the most effective tools available for blender for structural biology.
- Use Molecular Nodes when you need editable biomolecular scenes inside Blender
- Prioritize biological meaning before surface detail
- Build scenes so the same file can support stills, turntables and full animation
What you need before you start
Before beginning this molecular nodes blender tutorial, prepare three things: a clear biological question, a clean input structure and a rough output plan. Your question might be as simple as showing where a ligand binds or as complex as explaining a multicomponent therapeutic mechanism. Your source structure might come from a PDB entry, an AlphaFold prediction or a modeled complex. Your output plan should identify whether you need a still image, a short loop or a longer molecular animation Blender sequence.
It also helps to decide what should remain literal and what can be simplified. Not every residue needs equal visual weight. If your audience needs to see an interface, color and framing should support that interface. If your audience needs to compare confidence regions, use the scene language consistently. Our article on Boltz-1 vs AlphaFold 3 visualization is a useful reminder that visual encoding choices shape interpretation.
At a practical level, make sure Blender and Molecular Nodes are installed and working and keep your file structure organized. Save your Blender project near your structure files, texture assets and exports so revisions stay manageable. That sounds basic but it prevents a lot of friction once you start iterating.
- Define the message before importing the structure
- Check chain naming, ligand presence and model completeness
- Choose an output target early so camera and render choices stay consistent
Step 1: Import the structure and inspect the biology
The first active step in any strong protein visualization Blender workflow is import with inspection. Bring the molecular structure into Blender through Molecular Nodes and do not rush straight into materials or lighting. First confirm that the chains, assemblies, ligands, nucleic acids and annotations match the story you need to tell. A beautiful render of the wrong biological state is still wrong.
As you inspect the imported object, separate what is essential from what is optional. A receptor extracellular domain might matter while distal glycans do not. A ternary complex may need all partners visible but not at equal emphasis. In many projects, early pruning improves both performance and readability. This is especially true in therapeutic storytelling where one interaction needs to anchor the scene. Our posts on PROTAC mechanism of action animation and bispecific antibody mechanism visuals show how quickly a scene becomes confusing when every component competes for attention.
A good rule is to inspect at three scales. First look at the whole assembly. Next inspect the chains and domains. Then inspect local features such as binding pockets, interfaces or flexible regions. This three-level pass makes later styling choices more deliberate because you already know which structural facts need to survive simplification.
- Verify chain identity and assembly logic
- Remove or de-emphasize elements that do not support the message
- Mark the key interface or active site before styling
Step 2: Choose representations that communicate fast
Representation choice is where many Molecular Nodes scenes either become clear or collapse into clutter. Cartoons are useful for domain architecture and fold recognition. Surfaces help when shape complementarity, accessibility or pocket enclosure matters. Spheres and sticks can work for ligands, cofactors or catalytic residues. The right answer depends on what the viewer must understand within a few seconds.
In a practical molecular nodes tutorial, the main goal is not to show every representational option but to combine them intentionally. A common pattern is cartoon for the main protein, surface for the receptor pocket and sticks for the ligand. Another is surface for one chain and ribbon for the binding partner. Contrast creates hierarchy. If everything uses the same visual weight, nothing is prioritized.
Color is part of representation. Use color to encode identity, function, confidence or state but not all four at once. If chain identity is the most important variable, keep it stable across every shot. If confidence is the point, keep form neutral and let the confidence scale do the work. This discipline is useful whether you are building a static panel or a full molecular animation Blender sequence for presentations or publication support.
- Use cartoons for fold-level readability
- Use surfaces when contact geometry matters
- Reserve bright accent colors for the true focal element
Step 3: Build a scene that guides the eye
Once the molecular object is styled, scene design determines whether your message lands. Start with composition before lighting. Frame the structure so the viewer can immediately see the relationship that matters. If the story is binding, make the approach path legible. If the story is activation, show the before and after states from a comparable angle. A strong blender for structural biology scene often feels simple because its composition has already solved half the communication problem.
Depth, scale and negative space are especially important in protein scenes. Biomolecular forms are intricate, so crowding them against busy backgrounds usually hurts readability. Leave breathing room around the focal region. Use camera focal length and object placement to reduce distortion. Then introduce depth cues through rim light, soft volumetric separation or controlled haze only if they improve interpretation. Effects should support form, not decorate it.
If you are coming from ChimeraX or another scientific viewer, think of Blender as the place where you refine narrative staging. Our ChimeraX animation tutorial is useful for upstream scene logic, while Molecular Nodes gives you deeper control over rendering and cinematic presentation downstream.
- Lock a hero camera early
- Use empty space to separate overlapping forms
- Test the scene in grayscale to check whether hierarchy still reads
Step 4: Animate only the motion that explains something
The most effective molecular animation Blender work is selective. Motion should answer a question such as what binds where, what changes state or what sequence of events matters. If the motion does not clarify mechanism, it is probably unnecessary. Rotating everything all the time may look dynamic but it often weakens explanation.
For Molecular Nodes projects, useful motion often includes camera push-ins, ligand approach, conformational interpolation, label reveals or controlled cutaways. Keep timings readable. A viewer needs enough time to identify the starting state before the transition happens. In mechanism-driven communication, sequence matters. This is why therapeutic storytelling benefits from storyboard thinking long before final rendering. The same communication logic appears in our post on CAR-T mechanism of action animation.
When you animate, protect orientation. If the camera swings wildly while the protein changes state, the audience has to solve two problems at once. A better approach is to stabilize one variable while changing another. For example, keep the camera mostly fixed during binding then use a subtle orbit after the event is established. That preserves comprehension and gives the sequence a more intentional rhythm.
- Animate mechanism rather than decoration
- Limit simultaneous camera and object motion
- Hold key moments long enough for non-experts to parse them
Common mistakes in a molecular nodes blender tutorial workflow
The first common mistake is over-detailing the first shot. Many users are excited by how much Blender can render so they push atom-level density, glossy materials, dense depth of field and dramatic lighting all at once. The result often looks expensive but communicates poorly. Scientific visualization succeeds when viewers know what to look at within moments.
The second mistake is inconsistent visual language across frames. If one chain is blue in the opening and green later without a strong reason, viewers lose continuity. The same issue appears with labels, confidence encoding and representation changes. Keep the mapping stable unless the change itself is part of the story.
The third mistake is forgetting accessibility and output context. Tiny labels, low contrast annotations or over-compressed exports can undermine strong scene work. If the image may appear in slides, social clips, manuscripts or grant documents, design for those constraints early. Our guide to scientific figure accessibility and alt text is a helpful companion when you turn a Blender scene into a publication-facing figure.
- Do not confuse technical complexity with clarity
- Keep color and representation mapping stable
- Design for the final viewing environment from the start
FAQ
These are the questions we hear most often from teams starting with Molecular Nodes for biomolecular storytelling.
Is Molecular Nodes only useful for experts in Blender?
ANo. It helps beginners too because it gives structure-aware controls that are more relevant than generic 3D modeling tools.
What is the best representation for protein visualization Blender projects?
AThere is no single best choice. Use cartoons for architecture, surfaces for contact geometry and sticks or spheres for local chemistry when needed.
Can I use this workflow for predicted complexes?
AYes, but be explicit about confidence, uncertainty and modeled versus experimental elements.
Is Blender suitable for structural biology communication?
AYes, especially when you need polished scenes, custom lighting and narrative animation beyond what standard molecular viewers handle well.
How do I make a molecular animation Blender sequence feel scientific instead of cinematic for its own sake?
ATie each motion cue to a biological event, keep orientation stable and simplify anything that distracts from mechanism.
Should I build everything in Blender from the start?
ANot always. It is often faster to define structure choices and rough camera logic upstream then use Blender and Molecular Nodes for final scene design and rendering.
CTA
If you want your next molecular scene to do more than look good, build it around a biological question and a viewer task. That is the real value of a disciplined molecular nodes tutorial workflow. Blender gives you control, Molecular Nodes gives you structural context and a clear communication plan turns both into visuals that explain rather than merely impress.
Animiotics helps research and biotech teams turn complex molecular systems into figures, grant visuals and mechanism-driven animation with a strong scientific narrative. If you need support with protein visualization, structural biology storytelling or production-ready molecular animation, visit our homepage to start the conversation.