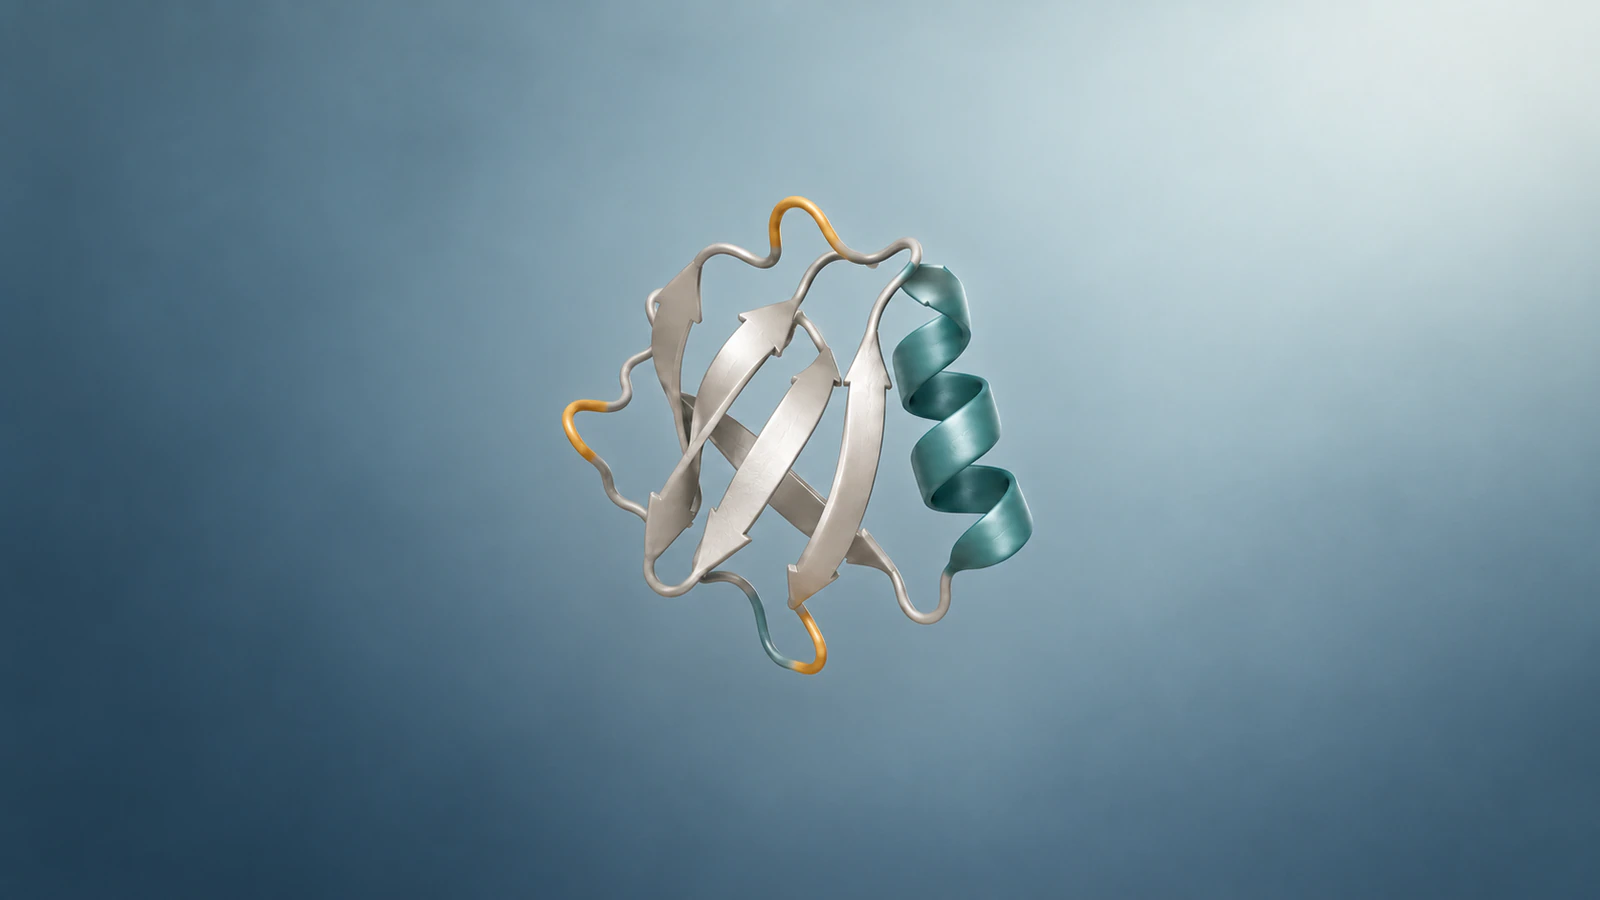
Export alpha, then inspect the result
To export a protein figure with a ChimeraX transparent background, save a PNG using the option transparentBackground true. Keep the protein opaque, choose the output dimensions deliberately and place the saved file over both a light and a dark background to inspect its edges. Changing the graphics-window background to white does not create transparency. A transparent still also does not establish a transparent movie-export workflow.
The procedure below uses a real ubiquitin structure and gives a repeatable route from coordinates to a figure asset. It covers the exported image, its framing and the files another researcher needs to reproduce it. The commands were checked against current official documentation; this is a documented workflow, not a completed local ChimeraX render.
Prepare the input and output folder
Use UCSF ChimeraX with a writable folder for the figure, a PNG-capable figure editor and the structure you intend to show. The official release news lists ChimeraX 1.12 as the latest production release on October 6, 2026. Check your installed version in the application and consult its bundled help if an option is unrecognized.
Save your current work before starting a fresh session. This example assumes that the newly opened protein receives model number #1; confirm the number in the Model Panel rather than applying commands to an unrelated model. Create a dedicated folder, for example C:/Users/user/Desktop/protein-figure, before saving. Replace that example path with your own existing directory.
The input is PDB 1UBQ, an experimental human ubiquitin structure determined by X-ray diffraction at 1.80 angstrom resolution. RCSB lists chain A with 76 modeled residues and a monomer for biological assembly 1. These identifiers make a compact worked example; they do not make every protein an appropriate monomer. The illustrations on this page are conceptual and are not renders of 1UBQ.
Build one clean protein view
Enter the following commands in order. The open reference documents structure fetching and model identifiers. Here, opening 1UBQ retrieves structural coordinates; the remaining commands control their display.
open 1ubq
hide #1 atoms
cartoon #1
color #1 teal
set bgColor white
The expected display is an opaque teal backbone cartoon on a white viewing background. A cartoon is a simplified representation of the protein backbone, including helices and strands. It emphasizes the fold rather than every atom. The cartoon reference describes this representation and how secondary structure is assigned.
The show and hide commands change visibility, so hiding atoms is different from removing their coordinates. Preserve the original input. For a functional figure, decide separately whether a ligand, ion or water needs to be visible. The choice between backbone and molecular envelope should follow the question, as explained in our protein surface versus ribbon guide.
Keep the molecule opaque
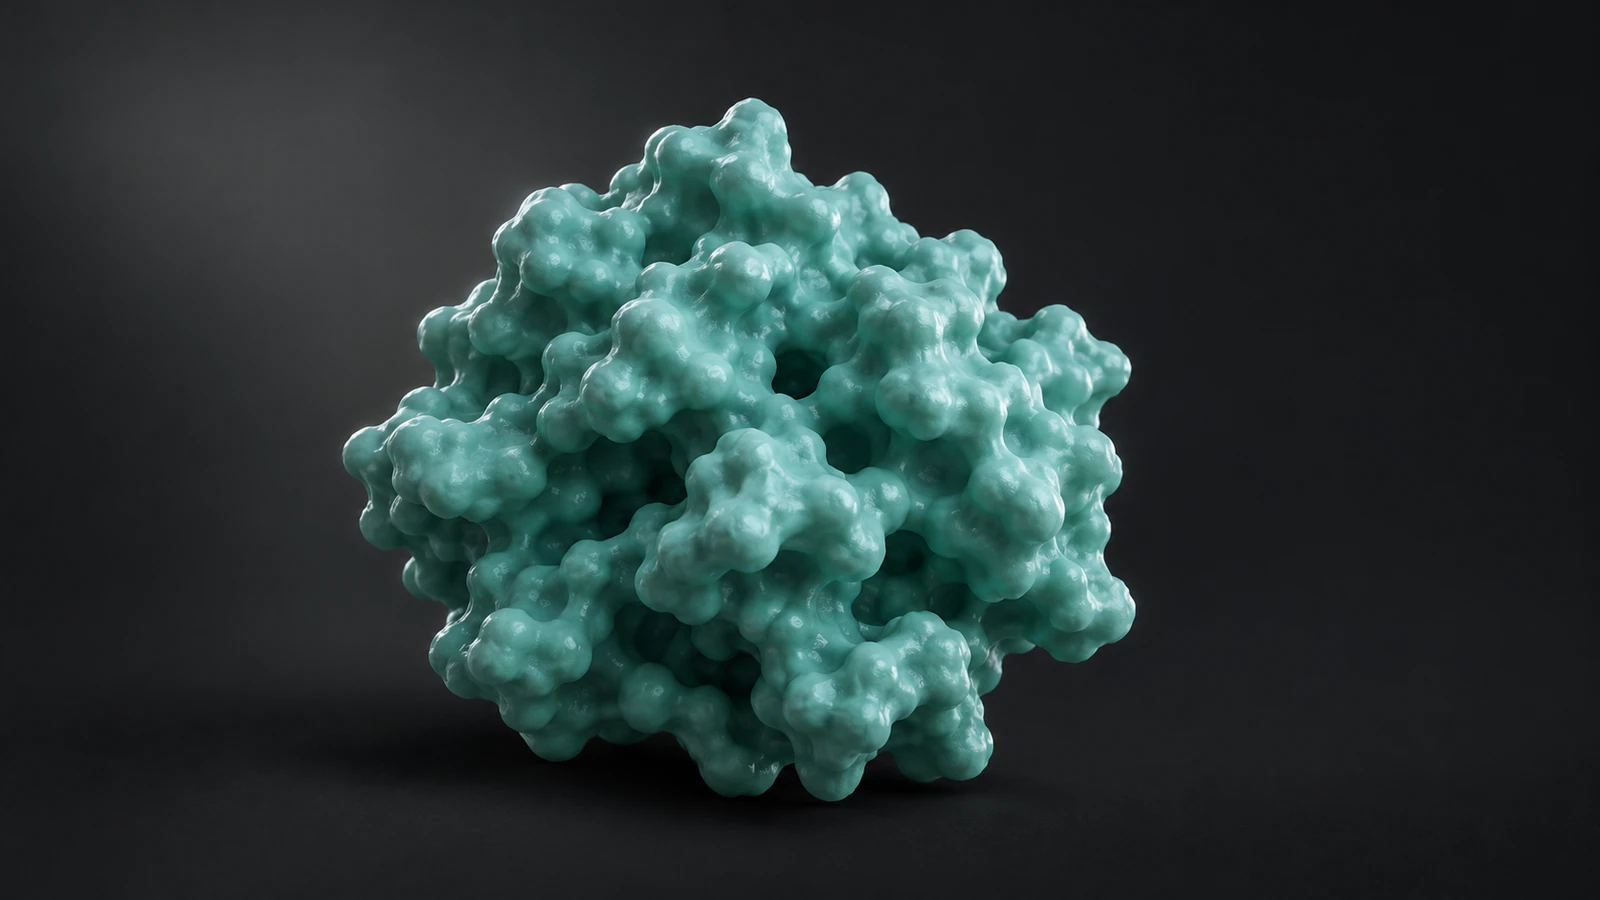
An image can have an invisible background and a fully visible protein. The alpha channel stores opacity information for pixels; molecular transparency changes how the subject itself is drawn. Mixing these settings can make a protein faint or reveal geometry that the figure was meant to hide.
If atoms or ribbons in this example became transparent, reset their opacity with transparency #1 0 target ac. The transparency reference defines zero as opaque and the target letters a and c as atoms and cartoons. This explicit target matters because the default target is surfaces. Reset a surface separately if your figure uses one.
The background-color reference states that transparency in the background color is ignored. Use white or another useful viewing color to judge the molecule while composing. Set output alpha with the save option. Before exporting, look for hidden residue segments, faint cartoons or an unintended surface that obscures the protein. Alpha does not correct a mistaken display selection.
Match the preview to the intended crop
Choose the aspect ratio before refining the view. For a 4:3 figure, enter windowsize 1200 900, then view #1 pad 0.12. The windowsize command sets the graphics-window dimensions. The view command frames the displayed parts of the selected model; the illustrative padding value leaves space around the subject.
Rotate the protein until the feature your caption discusses is visible. Check the entire outline, including narrow loops at the edges, before saving this position with view name figure_overview. That named view gives you a return point after inspecting details. It does not freeze all styling choices, so save a session as well.
Keep the preview and export aspect ratios consistent. A wide screenshot followed by a square export can show different contents even when the pixel count is larger. A small safe margin is useful for a figure that will sit beside a caption or panel letter, but avoid shrinking the protein until its relevant features disappear at the intended reading size.
Save the PNG and a recovery session
Use a filename that identifies the structure and view, then export: save "C:/Users/user/Desktop/protein-figure/1ubq-overview-alpha.png" width 2400 height 1800 supersample 3 transparentBackground true.
The save-image documentation supports explicit dimensions, supersampling and background alpha for PNG. Supersampling renders at a larger size before reducing the image, improving boundaries. Start with this documented setting; reduce it if a large export strains your graphics hardware. The path must refer to an existing writable folder.
Preserve an editable recovery file with save "C:/Users/user/Desktop/protein-figure/1ubq-overview.cxs". Keep the command sequence in a separate text file too. The PNG is the figure asset, while the session retains the molecular display context. Use a new versioned filename when changing orientation or content so a previously approved panel is not silently replaced.
Check alpha and edges on two backgrounds
Open the saved PNG in the application that will assemble the figure. Place it over an untextured white rectangle, then over dark gray. A checkerboard in an image editor can help, but two contrasting backgrounds make a pale rim, missing loop or partially transparent protein easier to detect. Inspect the same file rather than a screenshot of its preview.
Keep a short acceptance record: which file you inspected, its dimensions, the two backgrounds and whether the relevant feature remains readable at final size. If the figure will be delivered as a PDF or slide deck, inspect that exported document too. A working PNG can be altered later by rasterization, flattening or replacement with a lower-resolution preview.
Do not paint out a confusing contour to make the structure look cleaner. Return to the source view and decide whether the occlusion reflects the chosen representation, viewpoint or clipping. A coordinate-derived figure should retain a defensible connection to its input.
| Check | Passing result | If it fails |
|---|---|---|
| Background | Underlying light and dark rectangles show through | Re-export PNG with the alpha option; inspect whether a later step flattened it |
| Protein opacity | The subject stays visible over both backgrounds | Review model transparency targets and pale colors |
| Outline | Loops and termini are inside the crop | Match aspect ratios and reframe before saving |
| Feature | The described site or fold is visible at final size | Choose a clearer view or representation |
| Handoff | Source, session and caption identify the same structure | Resolve the identity mismatch before distributing |
Troubleshoot the specific failure
A white rectangle usually means that the delivered asset lacks usable background alpha or that it was flattened after export. Confirm that you inserted the original PNG and that the save command included the option. A white viewing background alone is insufficient. Avoid converting the asset to JPEG when you still need transparency.
A crop mismatch calls for a framing check, not repeated increases in resolution. Report the current window size with windowsize, restore view figure_overview and compare its aspect ratio with the requested output dimensions. If only one output dimension is supplied, the other follows the window aspect ratio. Explicitly specifying both dimensions makes the intended canvas clear.
For a clipped loop or missing segment, verify visibility and clipping before blaming alpha. For jagged edges, inspect the original export at its native scale and check whether it was enlarged in the figure editor. Supersampling can improve rendered boundaries but cannot recover structural detail that was never present. A save error should first trigger checks of the folder, filename and permissions; inspect the application Log for the actual error.
Deliver a figure someone can reproduce
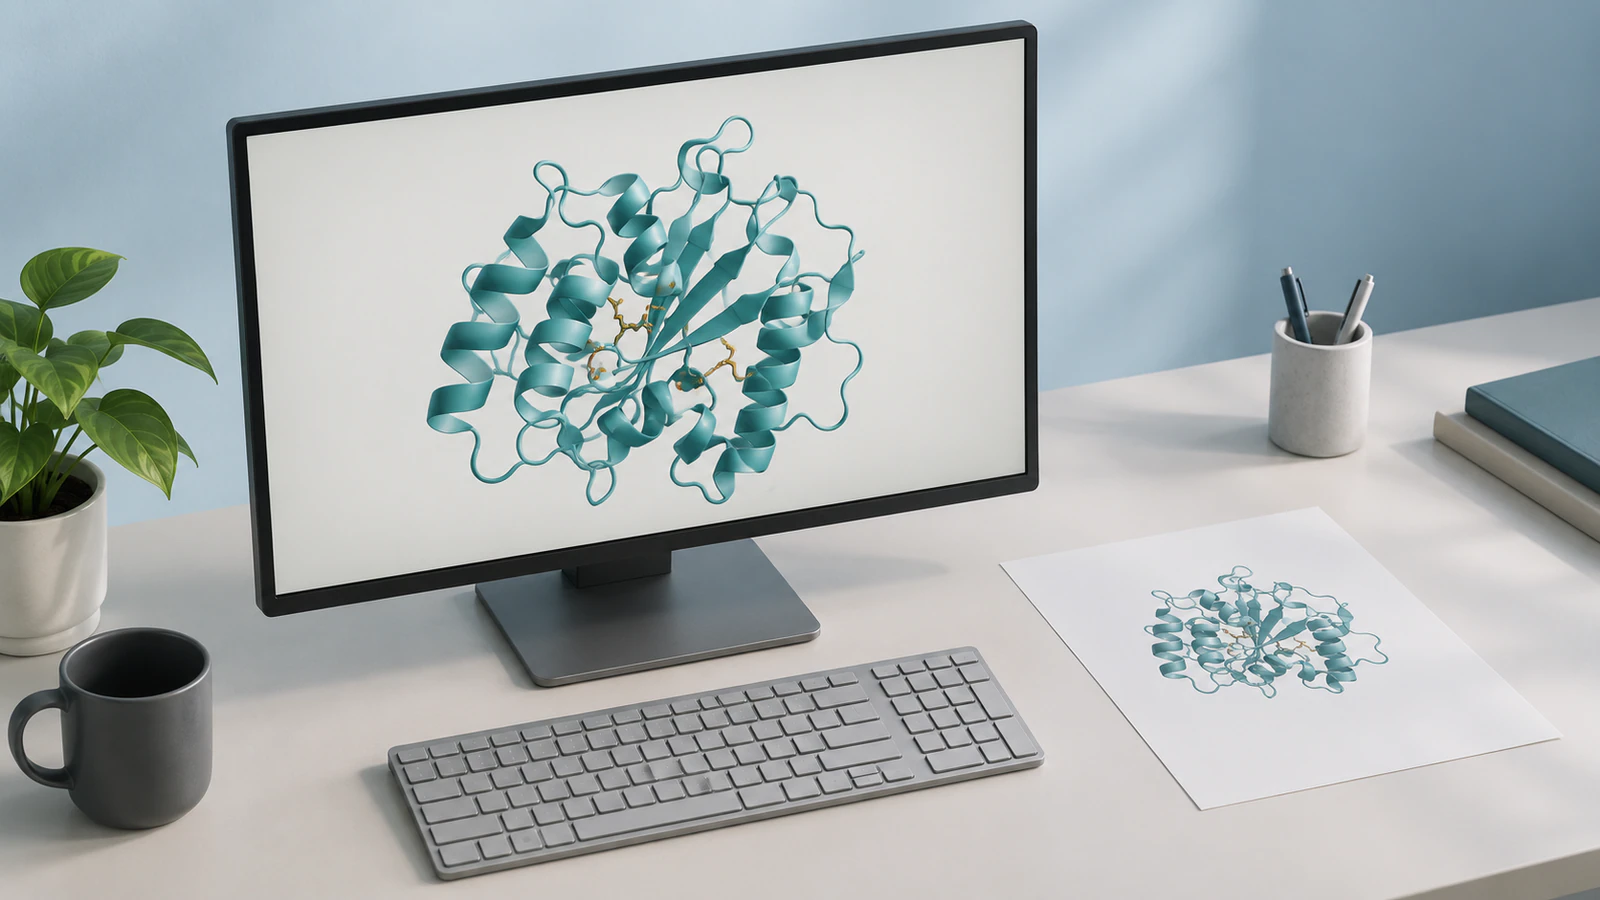
Write a caption that identifies the structural entry, assembly or chains shown, representation and meaning of any colors. In this example, teal is an illustrative uniform color, not a measurement of charge, confidence or activity. If you later color by a computed quantity, retain the method and legend instead of leaving readers to infer what the palette means.
Record the intended physical width with the pixel dimensions. For example, a 2400-pixel image placed at six inches spans 400 pixels per inch. That arithmetic is an example, not a universal journal requirement. Consult the destination journal or conference before deciding that a specific output size is sufficient.
Send the original PNG, the session, the source identifier and the caption draft together. Add the ChimeraX version and the command record when reproducibility matters. A panel letter or explanatory annotation can be added during figure assembly; keep a clean unannotated molecular asset so corrections do not require editing baked-in text.
Plan the movie handoff separately
If the next deliverable is a molecular movie, retain the named view, colors and source record. A short rotation can reveal shape, but a moving camera does not demonstrate a biological transition. Start with the question the motion should answer, then use our ChimeraX movie workflow for recording, frame waits and encoding.
The movie reference documents an important limit: transparentBackground can apply to recorded PNG frames, but the encoded movie formats do not retain that transparency. Do not assume the still-export setting produces a transparent MP4. If another application needs alpha frames, verify the complete frame and compositing route before committing to that delivery.
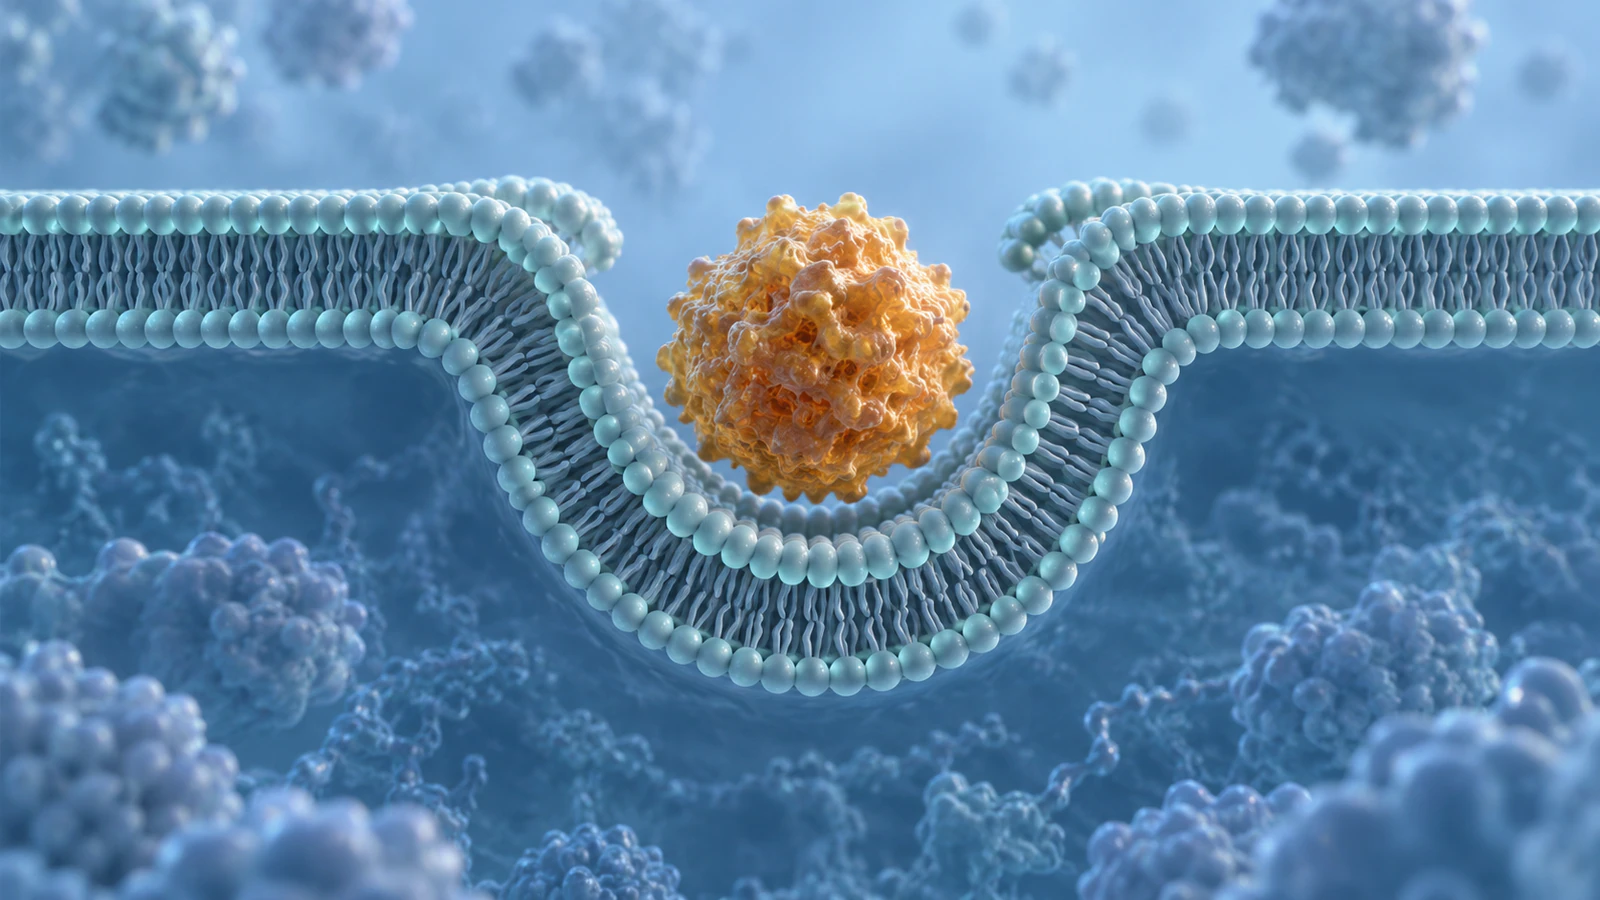
A separate conceptual animation may explain a process that the protein still cannot show. For example, endocytosis involves the plasma membrane folding around cargo before a vesicle separates. Such a scene needs membrane continuity and clear inside-outside relationships. It should not be presented as a motion derived from the ubiquitin coordinates used in this tutorial.
FAQ
How do I make the ChimeraX background transparent?
Save a PNG with transparentBackground true. This sets background alpha in the output; changing the graphics background color alone does not do it.
Should I make the protein transparent too?
Only when the scientific purpose requires it. An isolated protein figure can keep the molecule opaque while the background is transparent. Reset the relevant model targets if the subject becomes faint.
Why does the saved image show a different crop?
Check whether the output aspect ratio matches the graphics window. Reframe at the intended ratio and save a named view before exporting again.
Does transparent PNG export create a transparent MP4?
No. ChimeraX documents transparency for recorded PNG frames, while its encoded movie formats do not preserve that alpha. Verify a separate compositing workflow when alpha is required.
Are the illustrations here exact ubiquitin structures?
No. They are conceptual illustrations of representation, figure handoff and a separate membrane process. The documented command example fetches experimental 1UBQ coordinates in ChimeraX.
Try a membrane scene in Animiotics
Keep your ChimeraX figure and its source record as the structural deliverable. To explore a separate explanation, try a membrane-invagination scene in Animiotics. The current homepage shows a membrane wrapping around a particle and offers an editable 3D workflow with videos and stills from a scene.
An illustrative starting prompt is: Show a cell membrane folding around one extracellular cargo particle. Keep the camera steady, preserve both membrane leaflets and pause before the neck closes. Review the geometry, timing and biological interpretation before using the result; this prompt has not been tested for this article. Joining is free with no card required. AI generation and exports require a paid plan.