Choose the view that answers the shot’s question
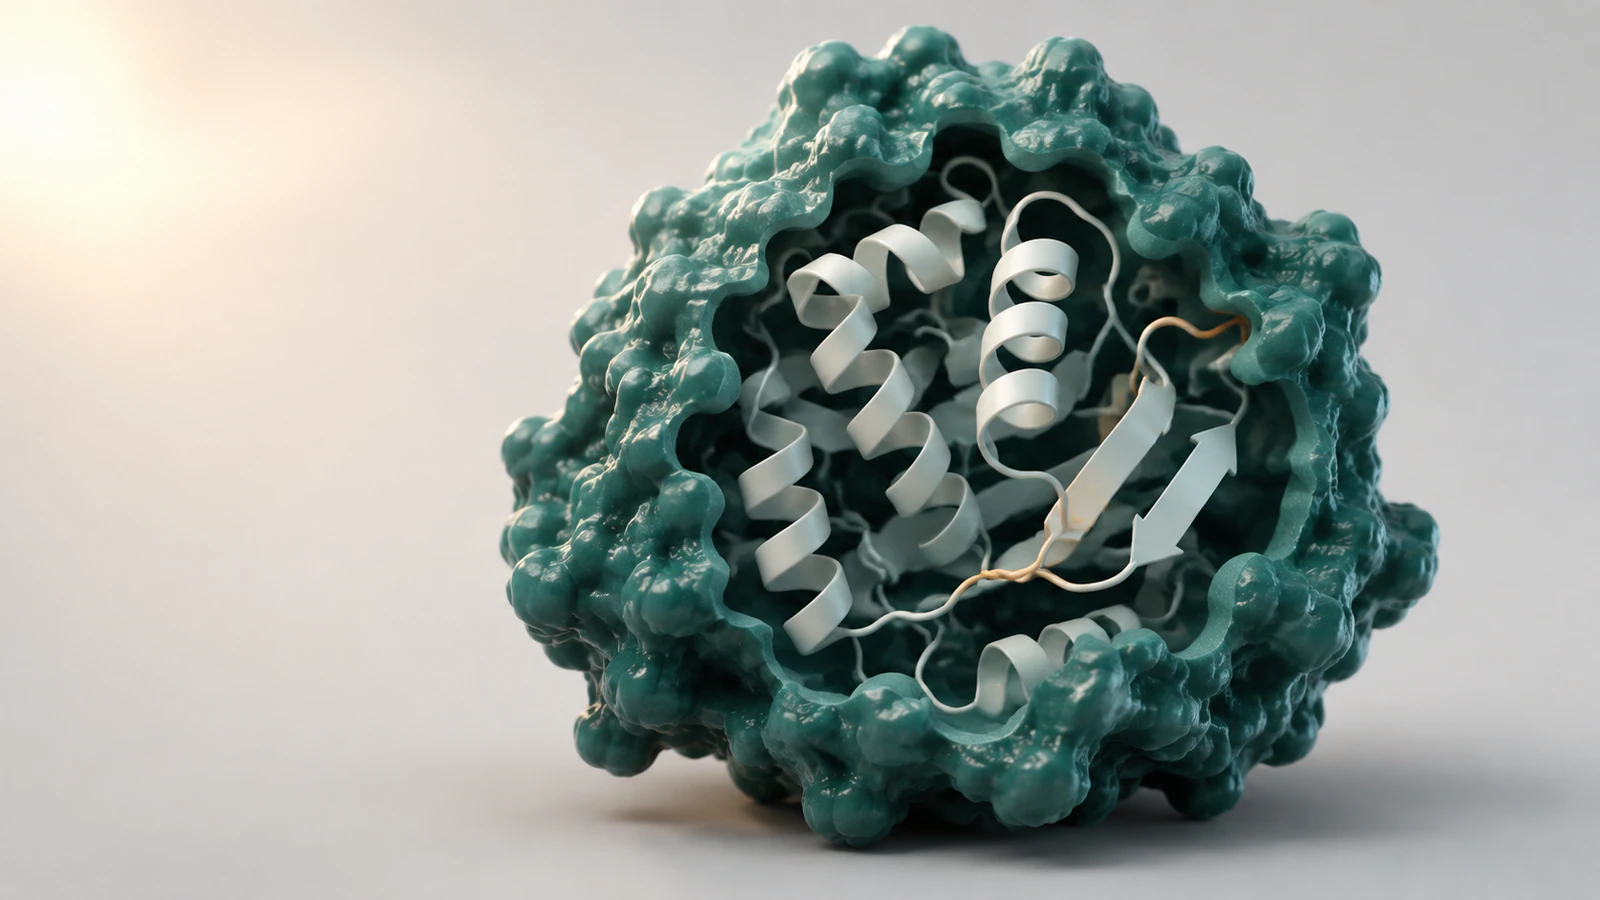
Use a protein surface when the viewer needs to understand the exterior shape, a pocket entrance, or how two objects occupy space. Use a ribbon when the question concerns the fold: the arrangement of helices, strands, and connecting loops. Combine them selectively when the viewer needs both local enclosure and the surrounding structural context.
The protein surface vs ribbon decision belongs in the storyboard, before materials and lighting. A beautiful view can still conceal the feature that the narration asks someone to find. Start each shot with a sentence such as “The pocket sits between these two regions.” Then choose the least crowded representation that makes that sentence visible.
This guide uses a hypothetical pocket explainer to show how that choice changes across a short sequence. The accompanying CGI frames are conceptual illustrations, not coordinate-derived structures or experimental binding poses. They demonstrate visual decisions; they cannot establish the geometry of a particular protein. For the earlier stages of selecting and preparing a structure, use the PDB-to-animation workflow.
What a ribbon diagram reveals and leaves out
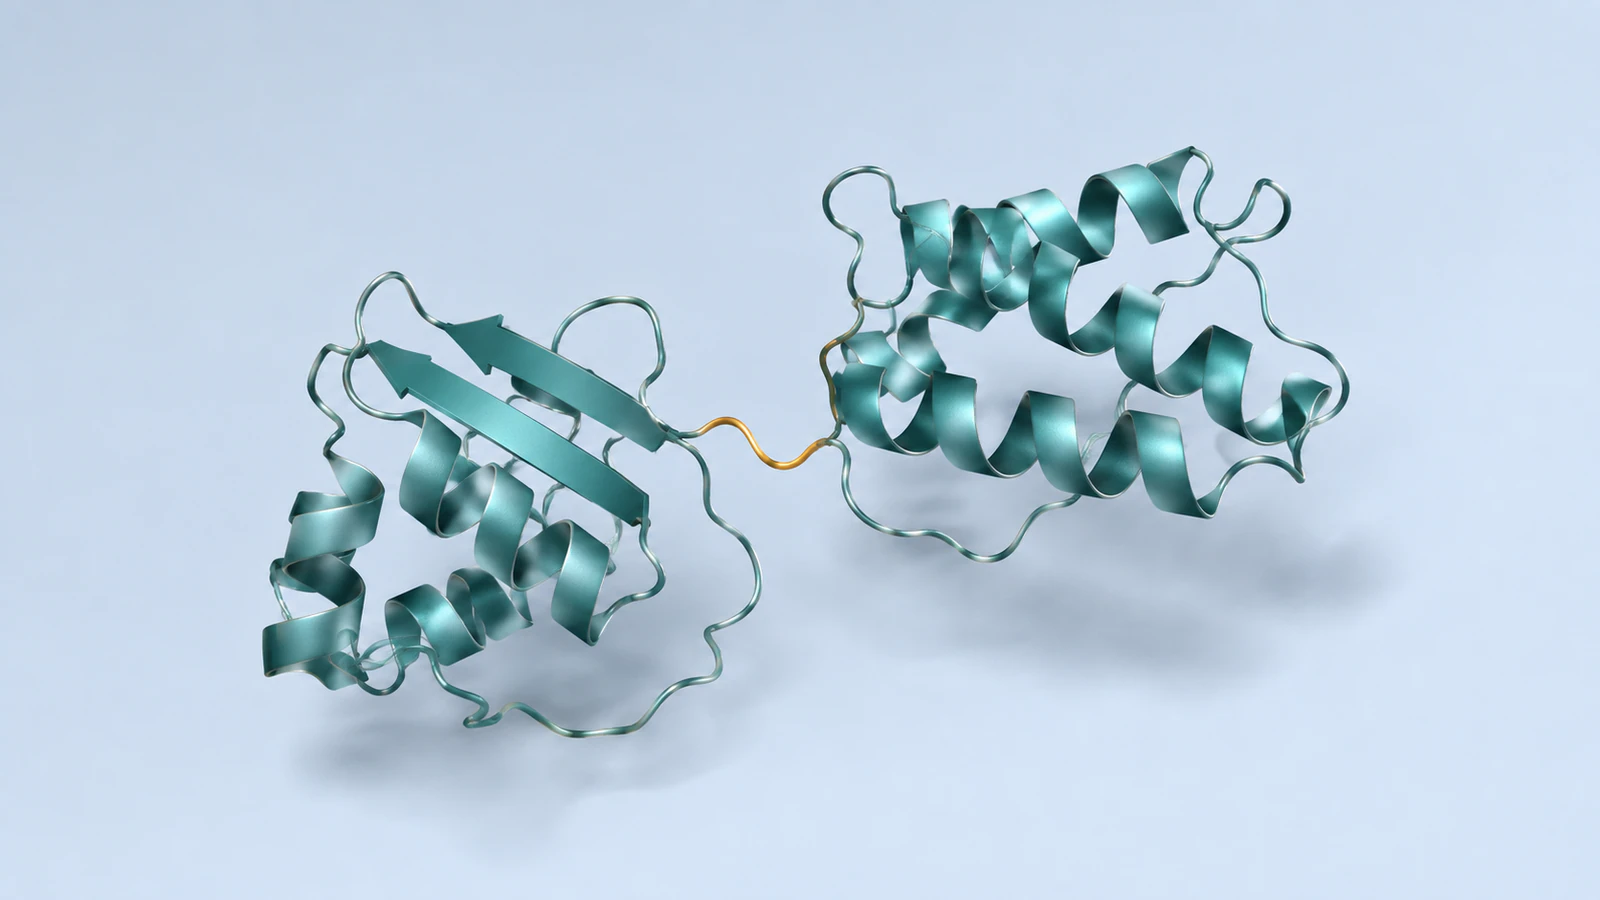
A ribbon diagram, also called a protein cartoon, simplifies the backbone into recognizable structural elements. Helical ribbons indicate alpha helices; broad arrows commonly indicate beta strands; thin connectors trace intervening regions. These are graphical conventions that make the fold legible. A ribbon is not a strip of material inside the protein, and its displayed width is not the physical thickness of the chain.
The UCSF ChimeraX cartoon documentation describes cartoons as simplified backbone representations and explains that secondary-structure assignments come from the input file or a calculation. It also documents adjustable widths and shapes. That matters when comparing figures: a thicker ribbon may reflect a display setting rather than a different molecular structure.
For a fold overview, remove competing representations until the viewer can follow the intended region. If the explanation depends on a particular side chain, a ribbon alone is insufficient. Add only the relevant atomic detail in a separate close view, with the actual selection recorded. Avoid asking viewers to infer residue contacts from two broad ribbons that appear to touch on screen.
What a molecular surface can actually tell you
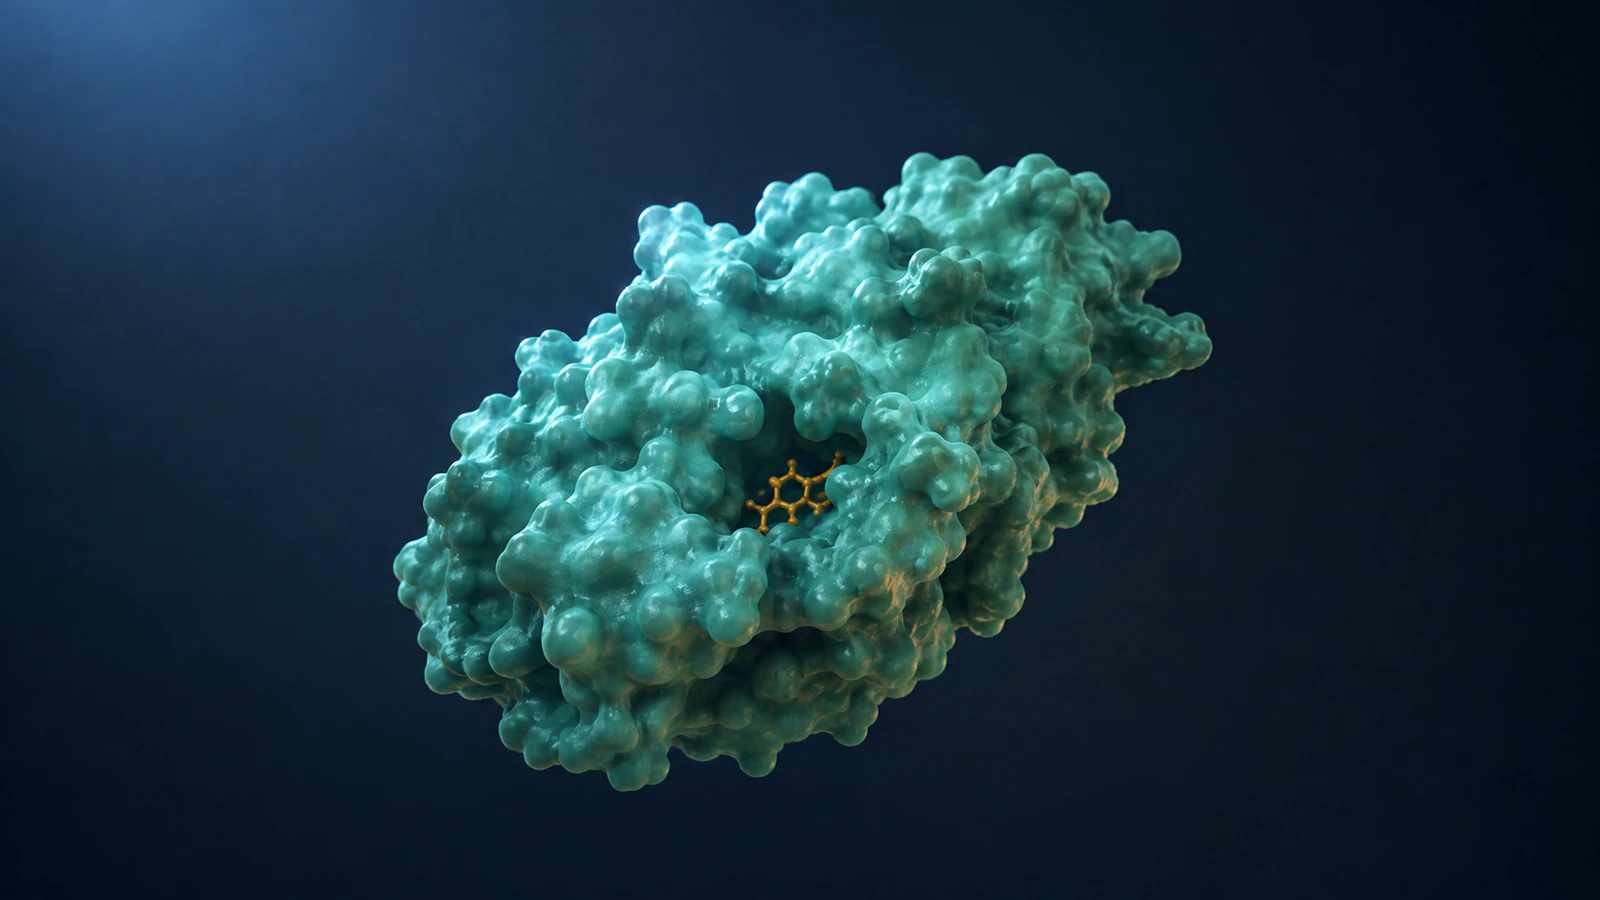
A molecular surface representation gives the viewer an envelope computed from a chosen set of atoms and display parameters. It is especially useful for planning an exterior silhouette or a view into a cleft. However, “surface” does not name one universal construction. The settings matter whenever the story depends on a small opening or a local contour.
The ChimeraX surface reference distinguishes a solvent-excluded surface from a solvent-accessible surface: the latter follows the center of a rolling probe, while the former includes the probe-contact and reentrant boundary. It also describes Gaussian surfaces constructed from smoothed atomic distributions. A Gaussian envelope should not be presented as experimentally measured density.
Record the surface method and included atoms in your production notes. When comparing two views, hold those choices constant unless the difference itself is the lesson. Do not sculpt a pocket wider simply to fit a camera. Instead, choose another angle or explicitly introduce a graphical cutaway. The surface is a display of a model, not an independent measurement of what can enter the protein.
Use a decision matrix before adding detail
Choose one primary representation for each shot. The table below is an editorial starting point, not a universal ranking of molecular graphics. Its final column is the most useful during review: every representation withholds information, and that omission should be compatible with the claim.
For example, a full opaque surface may be perfect for locating a cleft but poor for identifying a helix behind it. A ribbon can reveal that helix while making the surrounding volume seem empty. Switching views can solve the problem, provided the audience understands that the display has changed. Adding every representation at once usually creates a new visibility problem.
| Reader’s question | Start with | What remains hidden or uncertain |
|---|---|---|
| Where is the feature on the whole protein? | Opaque surface and one restrained highlight | Backbone arrangement beneath the envelope |
| How are the structural elements arranged? | Ribbon with a stable region color | Most atomic detail and occupied volume |
| Where does a ligand sit relative to a cleft? | Local surface plus the verified ligand model | A binding pathway or affinity cannot be inferred |
| Which residues participate in a proposed interaction? | Selected atoms with limited ribbon context | Contact interpretation still needs source evidence |
| How does the same structure look in another display? | Locked camera and a controlled representation change | No molecular motion is demonstrated |
Check structure identity before comparing views
A surface-to-ribbon comparison only works if both views refer to the same intended model. Record the accession, model or frame, chain selection, ligand selection, and assembly. Keep the original coordinates recoverable. If a collaborator sends only a polished image, request the structure and scene settings before using it as the reference for a matched comparison.
The RCSB guide to biological assemblies explains why the asymmetric unit in a crystal structure can differ from the biologically relevant assembly. An asymmetric unit may contain part of an assembly or several assemblies. Assembly annotations also differ in their supporting evidence. Read the entry information rather than assuming that everything in the first downloaded coordinate file belongs in the final scene.
As a practical review, compare the selected chain count and retained ligand set before styling. A missing partner can make an interface appear to be an exposed surface. An omitted ligand can turn a bound-state illustration into something that looks unoccupied. A change in representation must not quietly change either of those scientific choices.
Control occlusion without inventing a new opening
Occlusion means that one visible object blocks another from the camera. Before introducing transparency, try a modest camera adjustment. Look for a view in which the pocket mouth, the ligand, and one recognizable protein landmark remain distinguishable. Avoid a dramatic angle that improves the silhouette while hiding the feature the shot is supposed to explain.
If no exterior view communicates the relationship, use a local surface patch or a deliberate cutaway. State in the caption or narration that material has been hidden for clarity. The viewer should not mistake a clipped boundary for a natural opening. A cutaway reveals the displayed interior; it does not establish that a molecule could travel through that opening.
Treat transparency as a choice to test, not a default solution. Overlapping front and rear surfaces can obscure depth and make the ligand harder to locate. Compare the transparent version with an opaque local patch at the final viewing size. Keep whichever lets a reviewer explain the spatial relationship with fewer qualifications. For atom-level evidence and contact selection, continue with the protein-ligand visualization guide.
Storyboard a twenty-second pocket explainer
Suppose a research team wants to explain where a known bound ligand sits within a selected protein model. The communication goal is location and structural context. It is not to show association kinetics or prove the binding mechanism. The following twenty-second sequence is a proposed editorial timing, not an experimentally measured event or a claim about software speed.
Prepare all views from the same coordinate state. Use the same ligand color throughout, and choose one nearby structural landmark that stays recognizable. In the representation transition, keep that landmark fixed on screen. The viewer should be able to track the pocket even while its surroundings become easier to see.
| Time | Visual action | Narration or review instruction |
|---|---|---|
| 0–4 seconds | Hold the whole protein in an opaque surface view | Introduce the selected model and locate the cleft |
| 4–7 seconds | Move the camera toward the cleft without moving the ligand | Describe where the ligand is shown |
| 7–10 seconds | Stop the camera; reveal the ribbon in the same orientation | Say that the representation is changing |
| 10–14 seconds | Retain a local surface patch around the pocket | Explain the pocket relative to the surrounding fold |
| 14–17 seconds | Hold the hybrid view with the landmark still visible | Allow time to inspect; make no affinity claim |
| 17–20 seconds | Return to a simple overview or finish on the useful detail | Identify the source structure and any graphical omissions |
Separate display changes from molecular motion
A graphical reveal changes visibility. A molecular motion changes coordinates. Keep those two operations separate in the production plan. If a surface fades while a ribbon appears in the same place, explain that the structure is being viewed differently. Do not animate the surface peeling away in pieces unless the narration explicitly identifies that action as an illustrative device.
For the pocket example, avoid sliding the ligand through an apparently open gap in the ribbon. The spaces between cartoon elements are not a demonstrated entry route. A ribbon omits much of the atomic detail, so an unobstructed screen path is not evidence for an unobstructed molecular path. Keeping the ligand stationary makes the limited purpose of this sequence easier to understand.
Save a checkpoint before the transition and another afterward. Compare coordinate state, object transforms, camera position, and scale. Only the planned visibility and styling changes should differ. If you later add a real trajectory or compare distinct conformations, introduce that evidence as a separate sequence with its own source and limitations.
Review the image at the size people will see
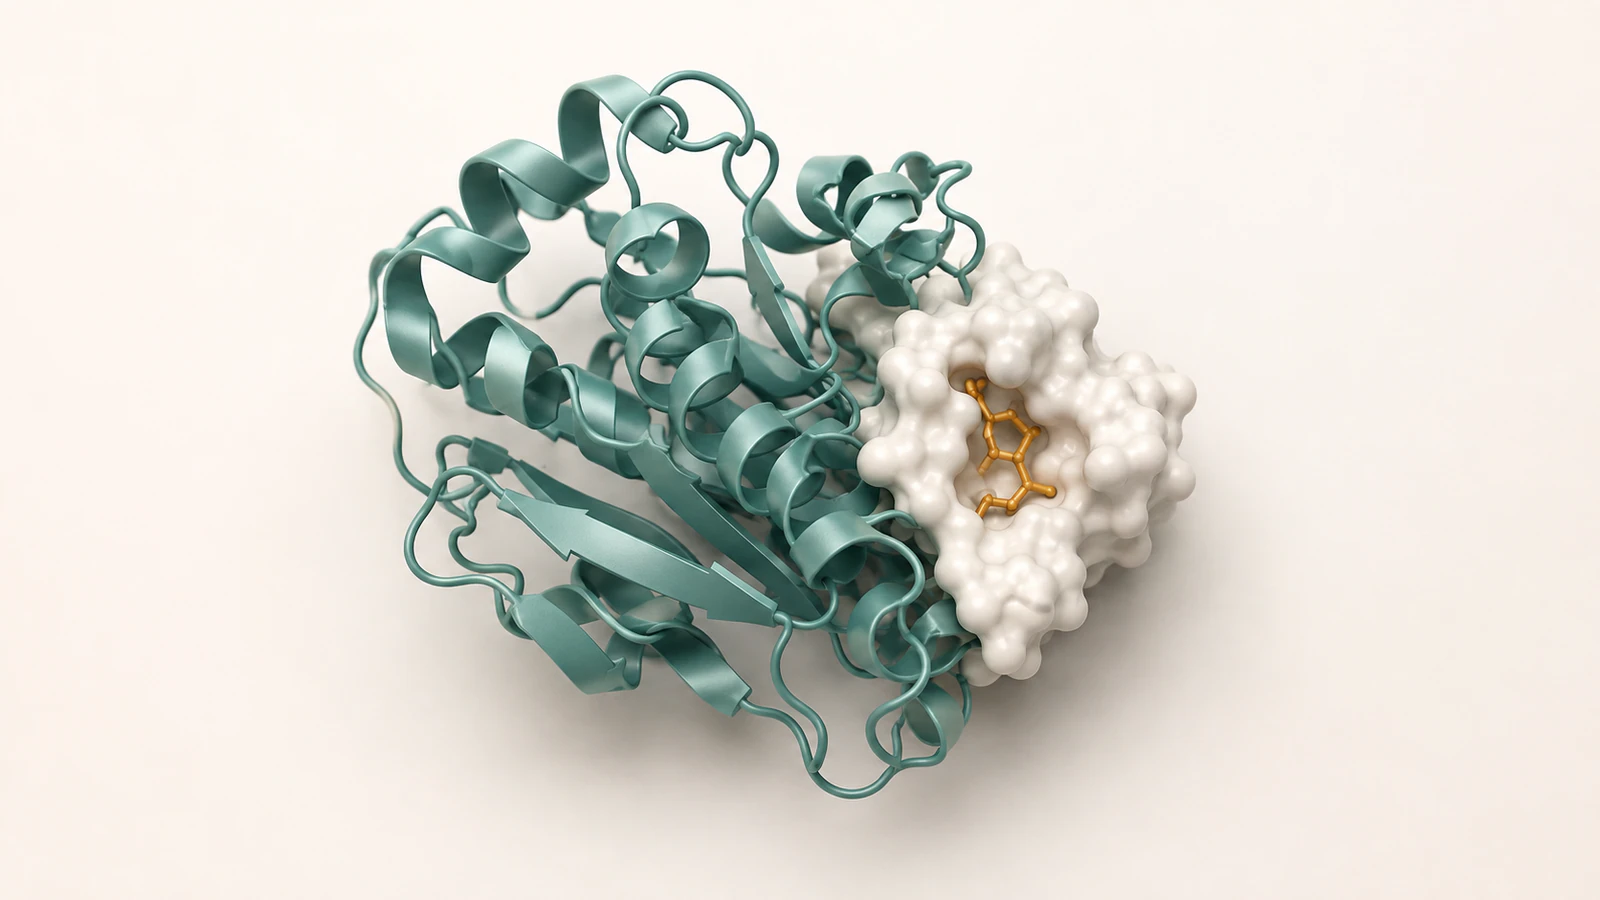
A full-resolution render can conceal a communication failure that becomes obvious in a slide or a blog card. Review the frame as a small thumbnail, at its intended delivery size, and in motion if it belongs to an animation. The pocket needs to remain locatable without relying on a tiny highlight that disappears when reduced.
Ask a colleague to describe the image before hearing your explanation. If they describe a hollow protein shell, an opening made by the cutaway, or a moving ligand that never moved, revise the visual or its caption. These are interpretation problems, even when the render is technically clean.
Use the checklist below for a focused sign-off. It does not certify the underlying science. It makes the most consequential display choices explicit enough for the scientist and animator to review together.
- Identity: the model, assembly, chains, ligands, and coordinate state match the production record.
- Visibility: the feature named in the narration is visible at the final output size.
- Continuity: the landmark remains recognizable across camera and representation changes.
- Meaning: color, opacity, cutaways, and ribbon width have documented graphical roles.
- Evidence: no invented path, residue contact, density, measurement, or binding result is implied.
- Delivery: captions disclose conceptual illustrations and intentional omissions.
FAQ about protein surfaces and ribbons
Is a surface representation more accurate than a ribbon?
Neither is automatically more accurate for every purpose. A surface emphasizes an envelope; a ribbon emphasizes the backbone organization. Both depend on a source model and display choices. Choose the view that supports the specific question, and retain the evidence needed to interpret it.
Does empty space between ribbons represent a real channel?
No. A cartoon leaves out much atomic detail, so a visible gap does not establish a physical passage. Evaluate a claimed channel using appropriate structural analysis rather than the appearance of a ribbon rendering.
Can I show a surface and ribbon together?
Yes, when their roles are clear. A local pocket surface with limited ribbon context can answer a spatial question. Check whether either layer hides the feature of interest, and explain any deliberate removal of the surface.
Does switching from surface to ribbon show a conformational change?
No. If the coordinates stay fixed, it is a representation change. A conformational comparison requires distinct coordinate states and a clear explanation of their source; a visual transition alone supplies neither.
Are the illustrations in this article actual protein structures?
No. They are conceptual CGI examples of representation choices. They do not establish a named protein fold, chemical identity, binding pose, or atom-level relationship. Use a verified coordinate model for a structure-specific scientific figure.
Try a focused protein overview in Animiotics
Start with one protein and one question: where should the audience look first? Use the decision matrix to plan a short overview animation, then check that the chosen landmark stays readable as the camera moves. Keep the scientific source and the visual choices together in your scene notes.
Animiotics lets you import proteins and build molecular scenes in your browser. Try creating that focused protein overview before expanding the story to a larger mechanism. Review the current trial terms on the homepage when you begin.