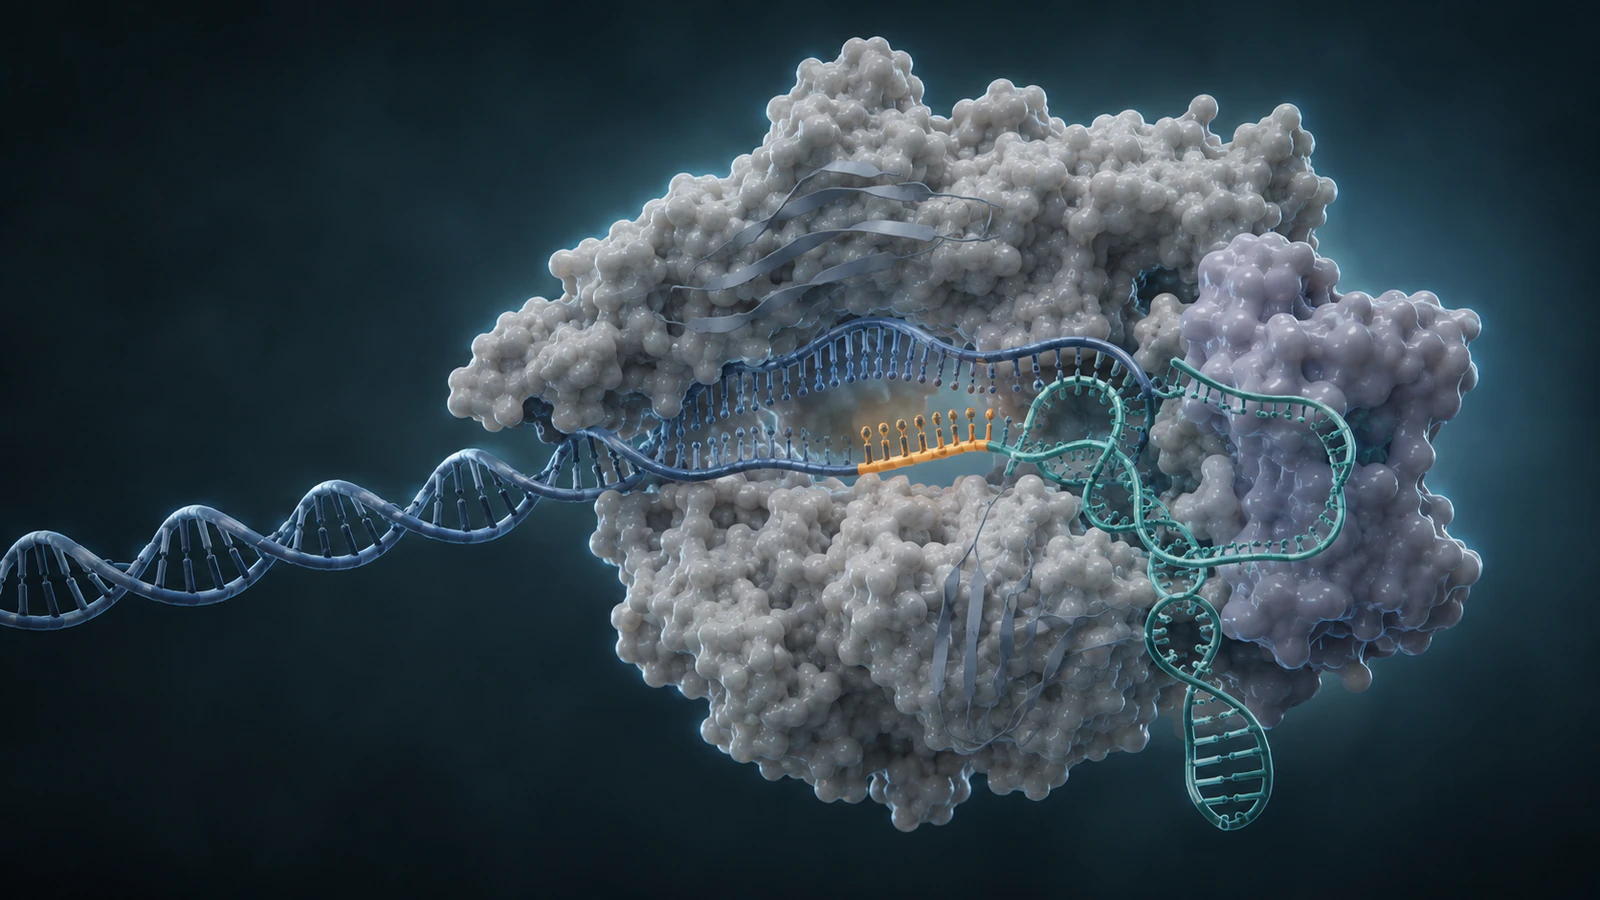
Prime Editing Is A Writing Sequence, Not A Generic CRISPR Cut
A prime editing animation has to explain a coordinated writing process. The original prime-editing system combines a Cas9 H840A nickase with an engineered reverse transcriptase and programs that fusion with a prime editing guide RNA, or pegRNA. The pegRNA does two jobs: its guide region selects the genomic target, while its 3-prime extension provides a primer-binding site and a reverse-transcription template that encodes the intended change.
That architecture is why a familiar CRISPR visual can become misleading. A dramatic double-strand break followed by a glowing replacement fragment depicts a different mechanism. In the core PE2 sequence, Cas9 nicks one DNA strand. The exposed DNA end pairs with the pegRNA primer-binding site, the reverse transcriptase copies the template, and cellular processing determines whether the edited intermediate becomes a stable duplex.
The viewer must track which strand is nicked, which segment carries the template, where new DNA is synthesized, and where structural evidence gives way to proposed repair steps. Settle those roles before animation begins.
Lock The Molecular Cast Before Moving The Camera
Start with four persistent visual identities: Cas9 nickase, reverse transcriptase, pegRNA, and target DNA. The original Nature study establishes this core system and its capacity to install substitutions, small insertions, and small deletions without requiring a donor DNA template or a double-strand break. Those findings define the mechanism to explain, but they do not justify claims about universal efficiency, safety, or clinical performance.
Give each component one restrained material and color. A pearl surface can hold the Cas9 silhouette, while silver distinguishes the fused RT domain. Use muted teal for pegRNA, clinical blue for native DNA, and amber only for DNA synthesized from the template.
The pegRNA needs more care than a generic ribbon. Its targeting spacer and scaffold occupy Cas9, while its 3-prime extension contains the RTT and PBS. The current Addgene prime-editing resource also distinguishes PE2 from PE3, which adds a second nicking guide. Do not add that guide to a PE2 story.
- Use one color per molecular role and keep it stable across every shot.
- Show the reverse transcriptase as part of the editor architecture, not as a free enzyme that arrives later.
- Keep native DNA and newly synthesized DNA visibly related but unambiguous.
- Define the editor version in the brief so PE2, PE3, PEmax, and epegRNA features are not blended together.
Build The Mechanism Around Five Distinct Beats
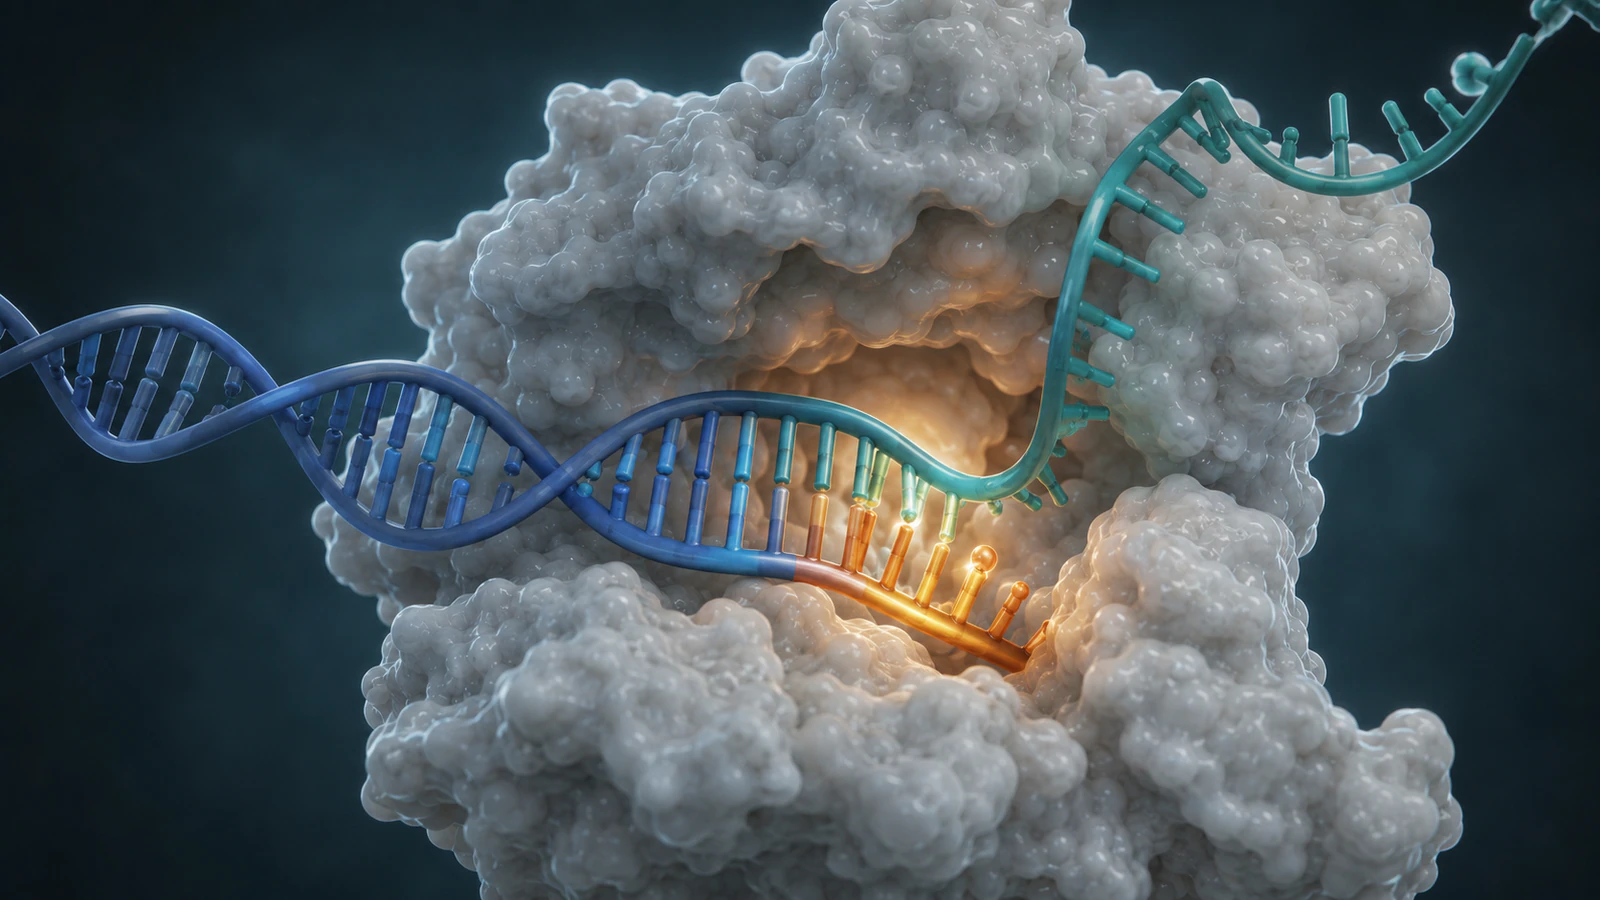
The clearest mechanism spine has five beats. First, the pegRNA-loaded editor recognizes a complementary DNA target next to a compatible protospacer-adjacent motif. Second, the nickase cuts the non-target strand, leaving the duplex locally opened rather than severed. Third, the exposed 3-prime DNA end anneals to the pegRNA primer-binding site. Fourth, the reverse transcriptase extends that DNA end while copying the reverse-transcription template, creating an edited 3-prime flap. Fifth, flap processing, ligation, and repair determine whether the edit is retained in a stable duplex.
Give each beat a visible state change. Target recognition is spatial fit. Nicking changes one backbone. Primer binding creates a short RNA-DNA hybrid. Reverse transcription grows the amber tract. Repair opens more than one possible outcome. Repeated protein orbits teach none of this.
The order also prevents a common strand error. The nicked DNA end is the primer, the pegRNA extension is the template, and the product is DNA. Write those roles into the storyboard before approving motion.
| Beat | Visible event | Failure to avoid |
|---|---|---|
| Target | Editor closes around one matched DNA locus | Cas9 drifting toward DNA without a defined binding state |
| Nick | One backbone opens on the non-target strand | A complete double-strand break |
| Prime | The exposed DNA end pairs with the pegRNA PBS | An unconnected RNA template near the protein |
| Write | RT extends an amber DNA tract from the primed end | Free letters or magical glowing replacement DNA |
| Resolve | Flaps and heteroduplex processing lead to bounded outcomes | Repair shown as automatic or guaranteed |
Use Structural States As Anchors, Not As A Complete Movie
The 2024 cryo-EM study on the structural basis of pegRNA-guided reverse transcription provides unusually useful anchors for visual production. It reports pre-initiation, initiation, elongation, and termination states of an SpCas9-MMLV reverse-transcriptase-pegRNA-target-DNA complex. In those structures, the reverse transcriptase remains in a broadly consistent position relative to SpCas9 while the pegRNA-synthesized DNA heteroduplex builds along the Cas9 surface.
That relationship matters more than copying every atom. The RT should not orbit Cas9 between shots, and the growing heteroduplex needs space along the protein surface. PDB 8WUV, the deposited 16-nucleotide elongation state, can anchor chain identity, scale, and camera blocking.
A structure is a captured state, not a recording of every transition. Use experimental coordinates to constrain silhouettes and contacts, then mark interpolated motion as reconstruction in the production notes so reviewers know where interpretation begins.
Treat DNA Repair As A Branch, Not A Promise
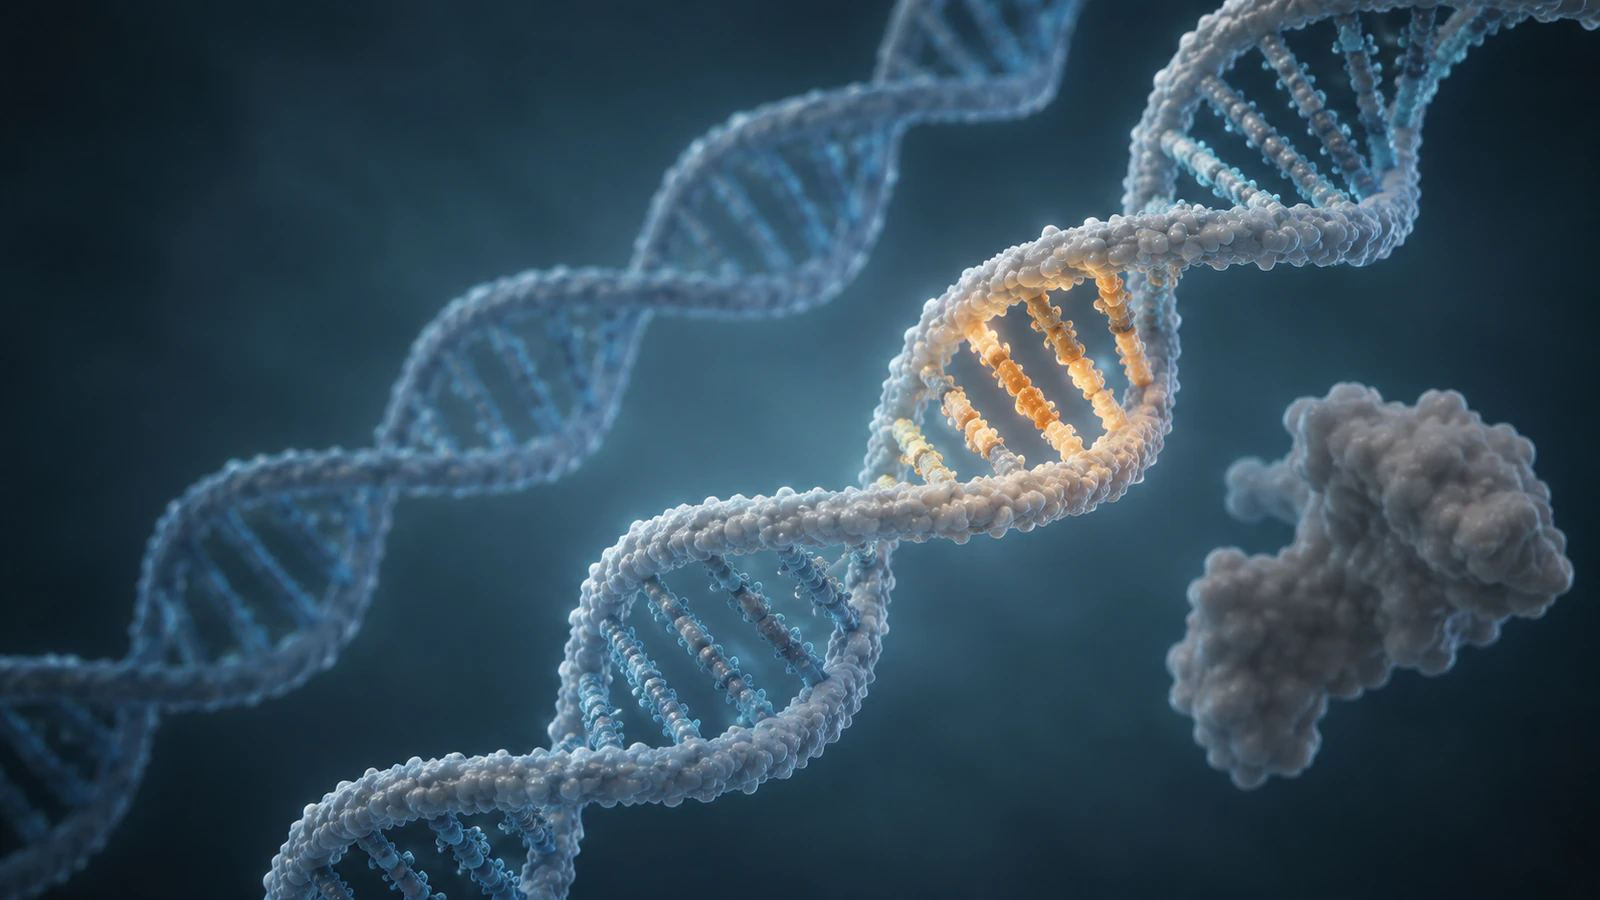
After reverse transcription produces an edited 3-prime flap, the story becomes less deterministic. It can compete with the original 5-prime flap and form a heteroduplex. Processing, ligation, repair, edit design, locus, and cellular background can influence the outcome distribution.
Experimental work in Nature Communications showed that mismatch-repair factors are recruited to prime-editing sites and that removing mismatch-repair activity changed efficiency and fidelity across the tested contexts. That is evidence that repair participates in the outcome. It is not permission to animate one repair complex marching through a fixed sequence that always preserves the edit.
Show uncertainty through structure. Hold on competing flaps, then branch to retained-edit and unchanged duplexes, adding byproducts only when the evidence requires them. Finish with measured sequencing results outside the CGI. The animation explains the readout; it does not replace it.
- Separate the observed reverse-transcription complex from downstream cellular repair.
- Use conditional narration such as can, may, or is proposed when the evidence is conditional.
- Do not turn absence of a double-strand break into a claim of zero genomic risk.
- Keep efficiency and byproduct numbers tied to the exact edit, cell system, assay, and source.
Make Every Scale Transition Explicit
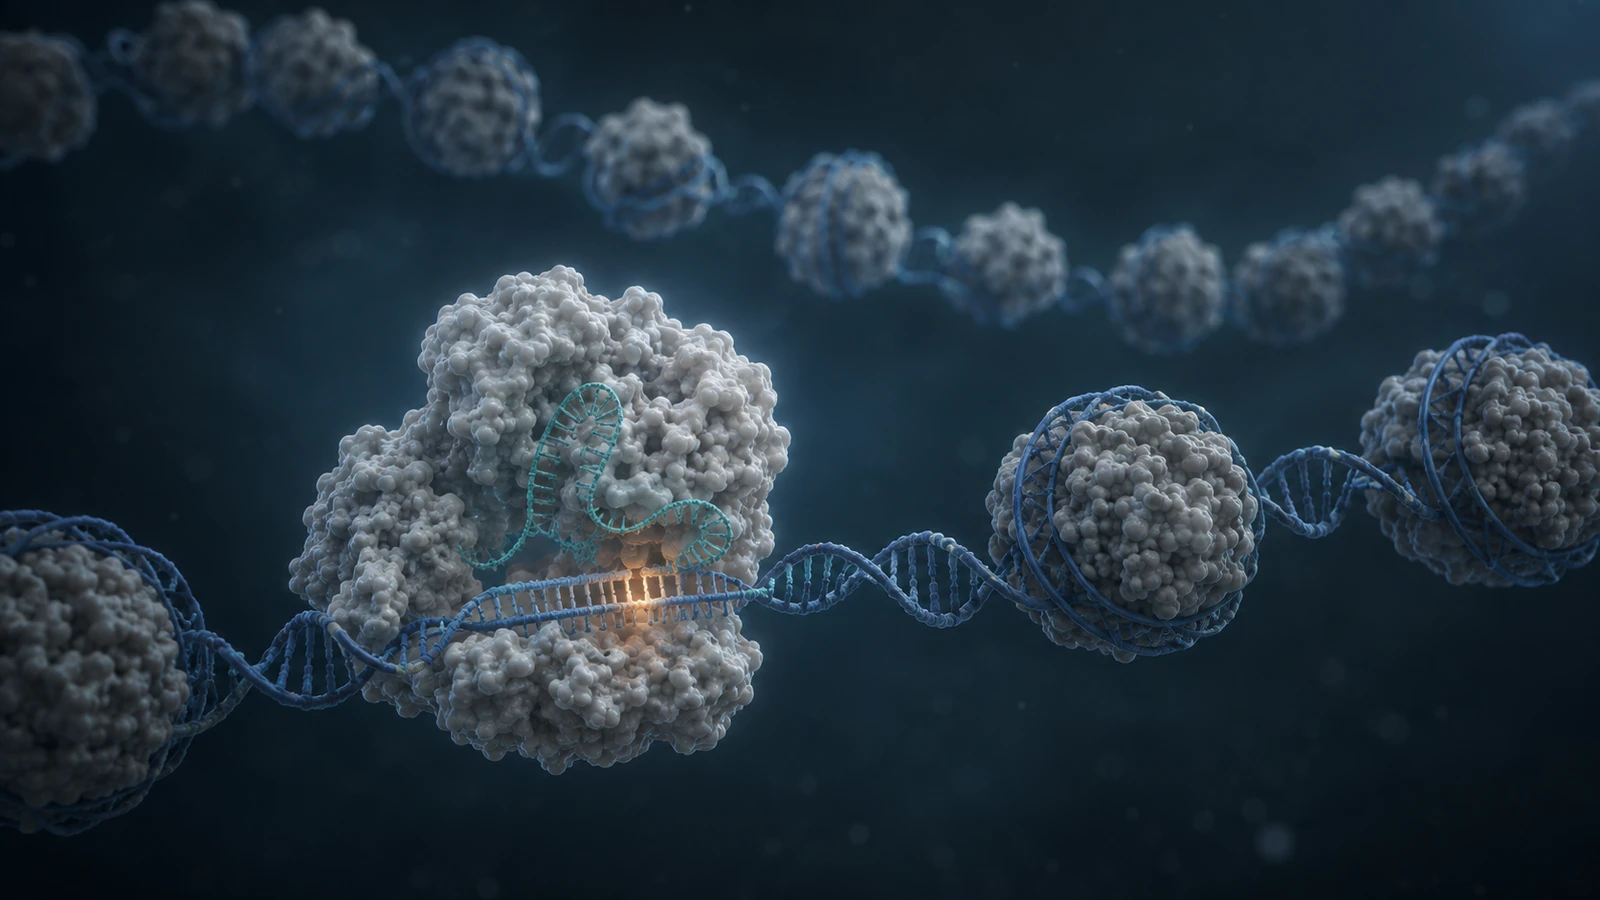
Prime editing crosses several scales: nucleus, chromatin, one locus, the editor complex, and the RT active-site junction. Preserve one landmark at each transition, such as a chromatin fiber, an exposed linker, and then the same bound DNA duplex.
At the chromatin scale, show only enough nucleosome fiber to establish one locus in a crowded genome. At the molecular scale, remove the environment and let Cas9, RNA, and DNA carry the frame. Match-cut the exposed linker DNA to the bound duplex.
This article complements the broader CRISPR gene-editing animation guide and the more specific base-editing mechanism article. Use those comparisons to define what is unique here: a pegRNA-templated DNA synthesis step and repair of a newly written flap, not a nuclease break or a deaminase editing window.
An Eight-Shot Prime Editing Storyboard
The eight-shot plan below assumes PE2 and reserves variant-specific additions for another module. Each shot has one teaching job and one review gate, making feedback concrete before animation begins.
Transitions should preserve chain identity. If the pegRNA template is teal in the wide shot, it must remain teal in the active-site close-up. If the edited tract is amber during synthesis, the same tract must appear in the flap and retained duplex. Continuity is part of scientific accuracy.
| Shot | Teaching purpose | Scientific review gate |
|---|---|---|
| 1. Locus context | Locate one accessible DNA segment in chromatin | Scale and DNA path are coherent |
| 2. Editor assembly | Establish Cas9n, RT, pegRNA, and target DNA | Components match the chosen editor system |
| 3. Target recognition | Seat the complex at the selected sequence and PAM | Guide and strand identities remain consistent |
| 4. Single-strand nick | Open the non-target DNA backbone | The opposite strand stays intact |
| 5. PBS annealing | Pair the exposed 3-prime end with the primer-binding site | The RNA-DNA hybrid has correct polarity |
| 6. RTT copying | Extend the DNA flap through the RT active site | New product is DNA and follows the pegRNA template |
| 7. Flap and repair branch | Reveal competing processing outcomes | No outcome is presented as inevitable |
| 8. Evidence | Connect the resolved state to sequencing results | Claims match the program's actual assay and dataset |
Use A Certainty Ladder For Every Visual Claim
Before rendering, assign each scene to a certainty level. Level one is directly observed structure or measured data. Level two is a supported mechanistic interpretation consistent with several sources. Level three is a plausible transition used to connect captured states. Level four is a hypothetical model or product-specific proposal. The lower the certainty, the more cautiously the scene and narration should behave.
This ladder prevents false certainty without hiding useful relationships. Show 8WUV confidently as an elongation-state model, while treating motion into and out of that state as reconstruction.
Keep the ladder in the shot list with source owner and approved wording. If one scene combines levels, split it: show the observed complex first, then the proposed transition with conditional narration.
- Observed: deposited structure, microscopy state, or measured program result.
- Supported: mechanistic interpretation backed by multiple experiments.
- Reconstructed: motion between observed states for explanatory continuity.
- Hypothetical: a model that must be visibly and verbally bounded.
Review Strand Logic Before Surface Polish
The scientific pass should freeze the animation at every handoff. Confirm the non-target strand nick, the free 3-prime end, PBS pairing, template polarity, direction of synthesis, identity of the edited flap, and final duplex. Ask a genome-editing scientist to trace one strand from the opening shot to the last. If they cannot, the storyboard is not ready for lighting.
The skeptical editor removes floating bases, glowing symbols, nuclear fog, repeated orbits, and decorative repair swarms. The copy pass tightens every verb: Cas9 recognizes and nicks; the exposed end anneals; RT extends; flaps compete; repair processes; sequencing measures.
Finally, test the frames at thumbnail size and without narration. The hero action should remain legible, colors should preserve molecular identity, and no single frame should be mistaken for a double-strand break. A specialist may notice topology errors first, but a broad audience will feel them as visual confusion. Correct structure and clear composition usually reinforce each other.
- Can a reviewer identify the nicked strand in every relevant shot?
- Does the PBS meet the exposed 3-prime DNA end before synthesis begins?
- Does the amber tract remain continuous from synthesis through the retained-edit outcome?
- Are interpolated and hypothetical motions recorded in the production notes?
- Are numerical outcomes displayed only from approved data?
Prime Editing Animation FAQ
Should we show PE2 or PE3?
Start with the system your data use. PE2 keeps the core sequence focused on one pegRNA-programmed editor. PE3 adds a second nicking guide that changes the repair context, so it needs its own shot and strand review rather than a silent extra cut.
Can we animate directly from PDB 8WUV?
The structure is an excellent elongation-state anchor. Inspect chain assignments, missing or disordered regions, biological assembly, and the paper's methods before production. A PDB file supplies coordinates, not a complete mechanism or a finished visual hierarchy.
How should we show the desired edit without labels?
Use a short, consistent accent on the RTT-encoded sequence and the DNA copied from it. Keep the accent sparse. The surrounding copy or narration can name the edit; the molecular frame should preserve strand continuity.
Is mismatch repair the final step in every cell?
Repair is context-dependent, and the complete route from flap intermediate to stable edit is not a single universal sequence. Show the branch appropriate to the evidence and keep uncertain transitions conditional.
Should the film compare prime editing with base editing or nuclease CRISPR?
Compare only when the audience must choose or position a platform. Use the same locus and visual grammar, then change the defining event: double-strand cleavage, a deamination window, or pegRNA-templated DNA synthesis.
What evidence should appear at the end?
Use the assay that actually measured editing outcomes, often amplicon sequencing with explicit categories for intended edit, unchanged sequence, and relevant byproducts. CGI can connect molecular states to those categories, but it cannot replace the data.
Try A Prime Editing Scene In Animiotics
A practical first scene is a restrained camera move around the elongation-state complex from PDB 8WUV, with Cas9, reverse transcriptase, pegRNA, target DNA, and the growing edited tract given stable visual identities. Keep the shot focused on one relationship: the RNA-templated DNA product accumulating beside the editor. Animiotics lets you import a PDB structure and build a molecular scene in the browser, so you can test that hierarchy before expanding into the full repair storyboard.