
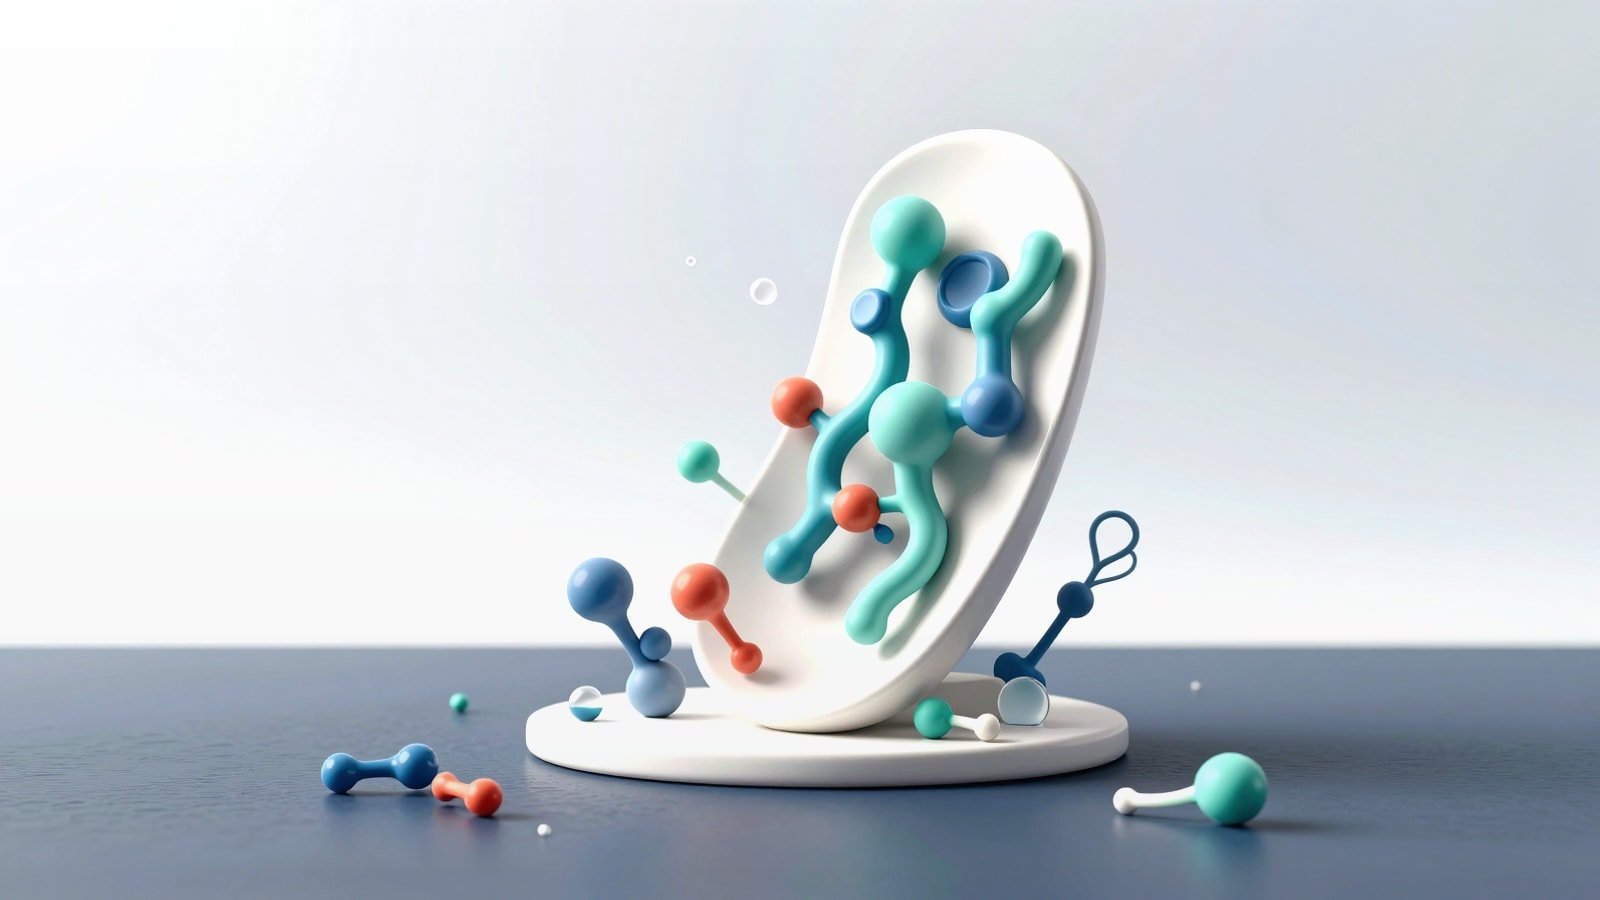
Why This ChimeraX Animation Tutorial Matters
A strong chimerax animation tutorial should do more than explain which button to click. It should show how to turn a structural model into a visual argument that a viewer can follow in seconds. In practice that means deciding what the audience needs to notice first, what should appear later and how each camera move supports the biological point instead of distracting from it.
For many researchers UCSF ChimeraX animation work starts as a technical task and ends as a communication problem. The software is excellent for moving between saved views, restoring scenes and recording frames into a movie file. The challenge is that a usable output still needs narrative order, restrained motion and visual consistency. That is why the best protein animation chimerax workflow begins before recording.
If you already prepare still figures you will recognize the same principle here. Define the message first then build each shot around it. If your project also includes static panels or journal graphics, this pairs well with our guide to PDB to animation and our article on protein-ligand interaction visualization.
- Use animation to clarify a mechanism not to show every available representation
- Save camera states early so you can compare transitions before recording
- Treat each shot as one message with one focal point
What ChimeraX Handles Well for Animation
A practical ucsf chimerax animation workflow rests on a few core capabilities. The movie command records image frames and encodes them into a video. Saved views let you store camera positions and restore them over a chosen number of frames. Scenes preserve a broader display state including model positions, display styles colors labels some map settings and background color. The fly command helps connect multiple named views along a smoother path.
Those tools matter because they separate planning from output. You can save a promising camera angle with `view name`, preserve a full visual setup with `scenes save`, test motion timing with `view <name> <frames>` or `fly` and only then record with the chimerax movie maker commands. That division makes iteration much faster than trying to improvise every movement in one pass.
The official tutorials also show that ChimeraX is comfortable with common molecular storytelling patterns: spin shots, ligand zone reveals, morphs between conformations, density inspection and even 360-degree output. In other words it is strong at showing structure, change and context. Your job is to pick the subset that advances the story.
- `movie record` starts frame capture for scripted sequences
- `view name` saves a position and `view savedName 60` restores it over 60 frames
- `scenes save` stores a richer display setup than a named view alone
- `fly` is useful when you need a continuous path through several saved viewpoints
Plan the Story Before You Record

The most common mistake in a chimerax animation tutorial workflow is recording too early. A smooth turn or morph can look impressive while still failing to answer the scientific question. Before you touch the record command write a simple shot list. Start with the global context, move to the functional region, isolate the key residues or ligand and finish on the mechanism or comparison that matters most.
For example a clean protein animation chimerax sequence might use four shots. Shot one establishes the whole assembly. Shot two narrows to one chain or domain. Shot three changes representation to highlight the active site. Shot four adds a conformational change, density map or ligand contact view. Each shot should have a visual purpose and a sentence-level takeaway.
This is also the point where accessibility pays off. High-contrast backgrounds, restrained color logic and readable labels make later editing easier. If the animation will support a paper, poster or video abstract you should align those choices across formats. Our guides to scientific figure accessibility and alt text and the rise of the video abstract are useful references when you move from screen capture to publication-ready communication.
- Write the audience takeaway for every shot in one sentence
- Limit each transition to one main change in view style or selection
- Keep labels and color rules stable across the full sequence
Build Reliable Shots with Saved Views and Scenes
The core of any chimerax scenes tutorial is understanding the difference between views and scenes. A saved view is mainly about orientation and camera-related state. A scene stores much more of what the audience actually sees such as style colors labels map display and background. In practice views are best for motion planning while scenes are best for visual checkpoints you may need to restore repeatedly during production.
A reliable workflow is to set your first framing then save both a named view and a scene. Repeat that for every major shot. After that test transitions with short frame counts. If the camera route is awkward, fix the saved views before you think about final export. If the display state is inconsistent, restore the relevant scene and clean it up there. This prevents the classic problem where the camera path works but colors labels or clipping differ between takes.
For multi-step movement use named views with `fly` or sequential `view` transitions. For display changes such as switching from ribbon to surface or revealing a ligand use scene restores or explicit commands paired with a short transition. This division keeps your motion readable and your state changes predictable. It is the most practical foundation for an efficient chimerax scenes tutorial workflow.
- Save both a view and a scene for each major shot
- Use views for camera travel and scenes for visual state recovery
- Test short transitions first before recording full resolution output
Record a Clean Movie in ChimeraX

Once the shot logic is stable you can use the chimerax movie maker workflow with much more confidence. ChimeraX supports `movie record` to capture frames and `movie encode` to generate the output file. The official materials also show `movie crossfade` and `movie duplicate` for transitions and holds that appear in the final movie without requiring real-time playback. That makes scripted recording far more controlled than screen recording by hand.
Timing is where many first attempts break down. ChimeraX uses frame-based commands so a transition is only complete if you allow enough frames to pass. The `wait` command is therefore essential after turns zooms view restores or fly sequences. A short scripted block is often easier to maintain than interactive recording because you can change one number and rerun the same shot until pacing feels right.
A basic pattern is simple: start recording, run the motion, wait for it to complete then encode. The official tutorial examples also demonstrate combining multiple commands on one line with semicolons or storing them in a `.cxc` file. That approach scales well because you can version your shots like any other production asset and rerender them when a model or color choice changes.
- Record after motion planning not during exploration
- Use `wait` after frame-based commands so the movie includes the full transition
- Store repeatable sequences in `.cxc` command files for quick reruns
| Goal | Useful ChimeraX approach |
|---|---|
| Start capture | `movie record` |
| Move between saved positions | `view shot2 60` or `fly shot1 40 shot2 40 shot3` |
| Hold on a frame | `movie duplicate 20` or `wait 20` depending on the shot |
| Finish output | `movie encode output.mp4 quality high` |
Polish the Animation So It Communicates Clearly
Good molecular animation is rarely about adding more motion. It is about removing ambiguity. Keep one dominant object in focus. Avoid rapid representation changes unless the switch itself carries meaning. Use silhouettes, lighting and background choices to increase depth perception only when they improve legibility. The official ChimeraX movie tutorials show how much clearer a structure can become after a careful lighting or style adjustment.
This is where a raw ucsf chimerax animation becomes presentation-ready. Check whether the viewer can still identify the ligand after a camera move. Make sure morphs are slow enough to reveal structural change. If you are showing maps or fit quality, avoid overwhelming the frame with too many overlays at once. Clear sequence beats maximal complexity almost every time.
If your project begins with predicted structures or mixed biomolecular assemblies, keep the visual logic consistent from analysis to animation. Our article on AlphaFold 3 complex visualization is helpful for turning model interpretation into a coherent story before you animate it.
- Prefer slow deliberate motion over constant camera movement
- Use color to encode meaning not decoration
- Check every frame for clutter around the region of interest
Common Problems in a Protein Animation ChimeraX Workflow
If a sequence feels jerky the first issue is usually not the encoder. It is often a mismatch between command timing and frame count. A `view` restore over many frames needs time to complete. A turn command without a matching wait can cut off early in the recorded output. Fix timing first then revisit quality settings.
If transitions feel disorienting the saved positions are probably too different. Add an intermediate view or reduce the amount of change per shot. The fly command can help when you need to connect several viewpoints smoothly, but remember that view-based transitions and scene restores do different jobs. Use the right tool for the right problem instead of forcing one command to handle everything.
If the animation is technically correct but still weak as communication, the issue is usually narrative density. Too many labels, too many colors or too many simultaneous changes make the sequence hard to follow. Reduce the scene until each shot answers one question. Then build complexity only where it adds meaning. That same discipline improves graphical abstracts as well which is why our graphical abstract maker guide maps closely to good animation planning.
- Jerky motion usually means missing waits or overly long jumps between viewpoints
- Inconsistent styling usually means scenes were not saved or restored systematically
- Visual overload usually means the shot is trying to explain more than one idea
FAQ
**What is the difference between a named view and a scene in ChimeraX?** A named view is mainly for position and orientation related state while a scene captures a broader visual setup such as styles colors labels some map display settings and background. Use views for motion paths and scenes for restoring how a shot should look.
**Is ChimeraX good for scripted movie making?** Yes. The movie command is built for scripted recording and encoding. That makes it well suited to repeatable scientific animations where you may need to rerender after changing a model, color scheme or timing value.
**What is the best way to make a protein animation chimerax sequence look professional?** Plan the story first, save your views and scenes systematically, keep each shot focused on one message and use frame-based timing carefully. Strong output depends more on sequencing and clarity than on complicated effects.
**Should I use screen recording instead of the ChimeraX movie command?** For polished output the built-in movie workflow is usually better because it records frames for encoding rather than relying on live playback. Screen recording is more useful for quick demos or software walkthroughs.
**Can ChimeraX handle morphs and ligand-focused stories?** Yes. Official tutorials show morphing between conformations, focusing on ligand zones, residue fit walkthroughs and map-based explanations. Those are all useful foundations for structural biology storytelling.
Turn a Working ChimeraX Sequence into a Finished Story
ChimeraX gives you the tools to build a strong structural animation. What it does not automatically provide is editorial judgment about pacing, visual hierarchy and audience comprehension. If you need to turn a lab-ready sequence into a client-ready explainer, conference asset or polished publication companion, Animiotics can help shape the script, refine the visual logic and deliver a cleaner final result.
That is especially useful when the animation has to connect with broader scientific communication assets such as a graphical abstract, figure set, landing page visual or mechanism-of-action video. If that is your next step you can also explore how we handle ADC mechanism of action animation or start the process directly on our homepage.